Harness the power and control of a Linux VPS?
Want to unleash the freedom of a Linux VPS and take charge of your hosting environment? This is a simple task with Vilcom Networks Ltd. This tutorial will show you how to order your perfect Linux VPS through our easy-to-use client site in a streamlined manner.
With Vilcom, your Linux VPS will be provisioned and activated promptly after you've finished the secure checkout process and finalized your settings. In little time at all, your projects and applications will be ready for deployment!
Throughout the process, you can always count on our knowledgeable support staff for assistance. Please contact us if you have any questions; our expert support team is always available and are happy to assist you!
Step 1: Access Vilcom Services Portal
From your browser, you can access our services portal using the link.
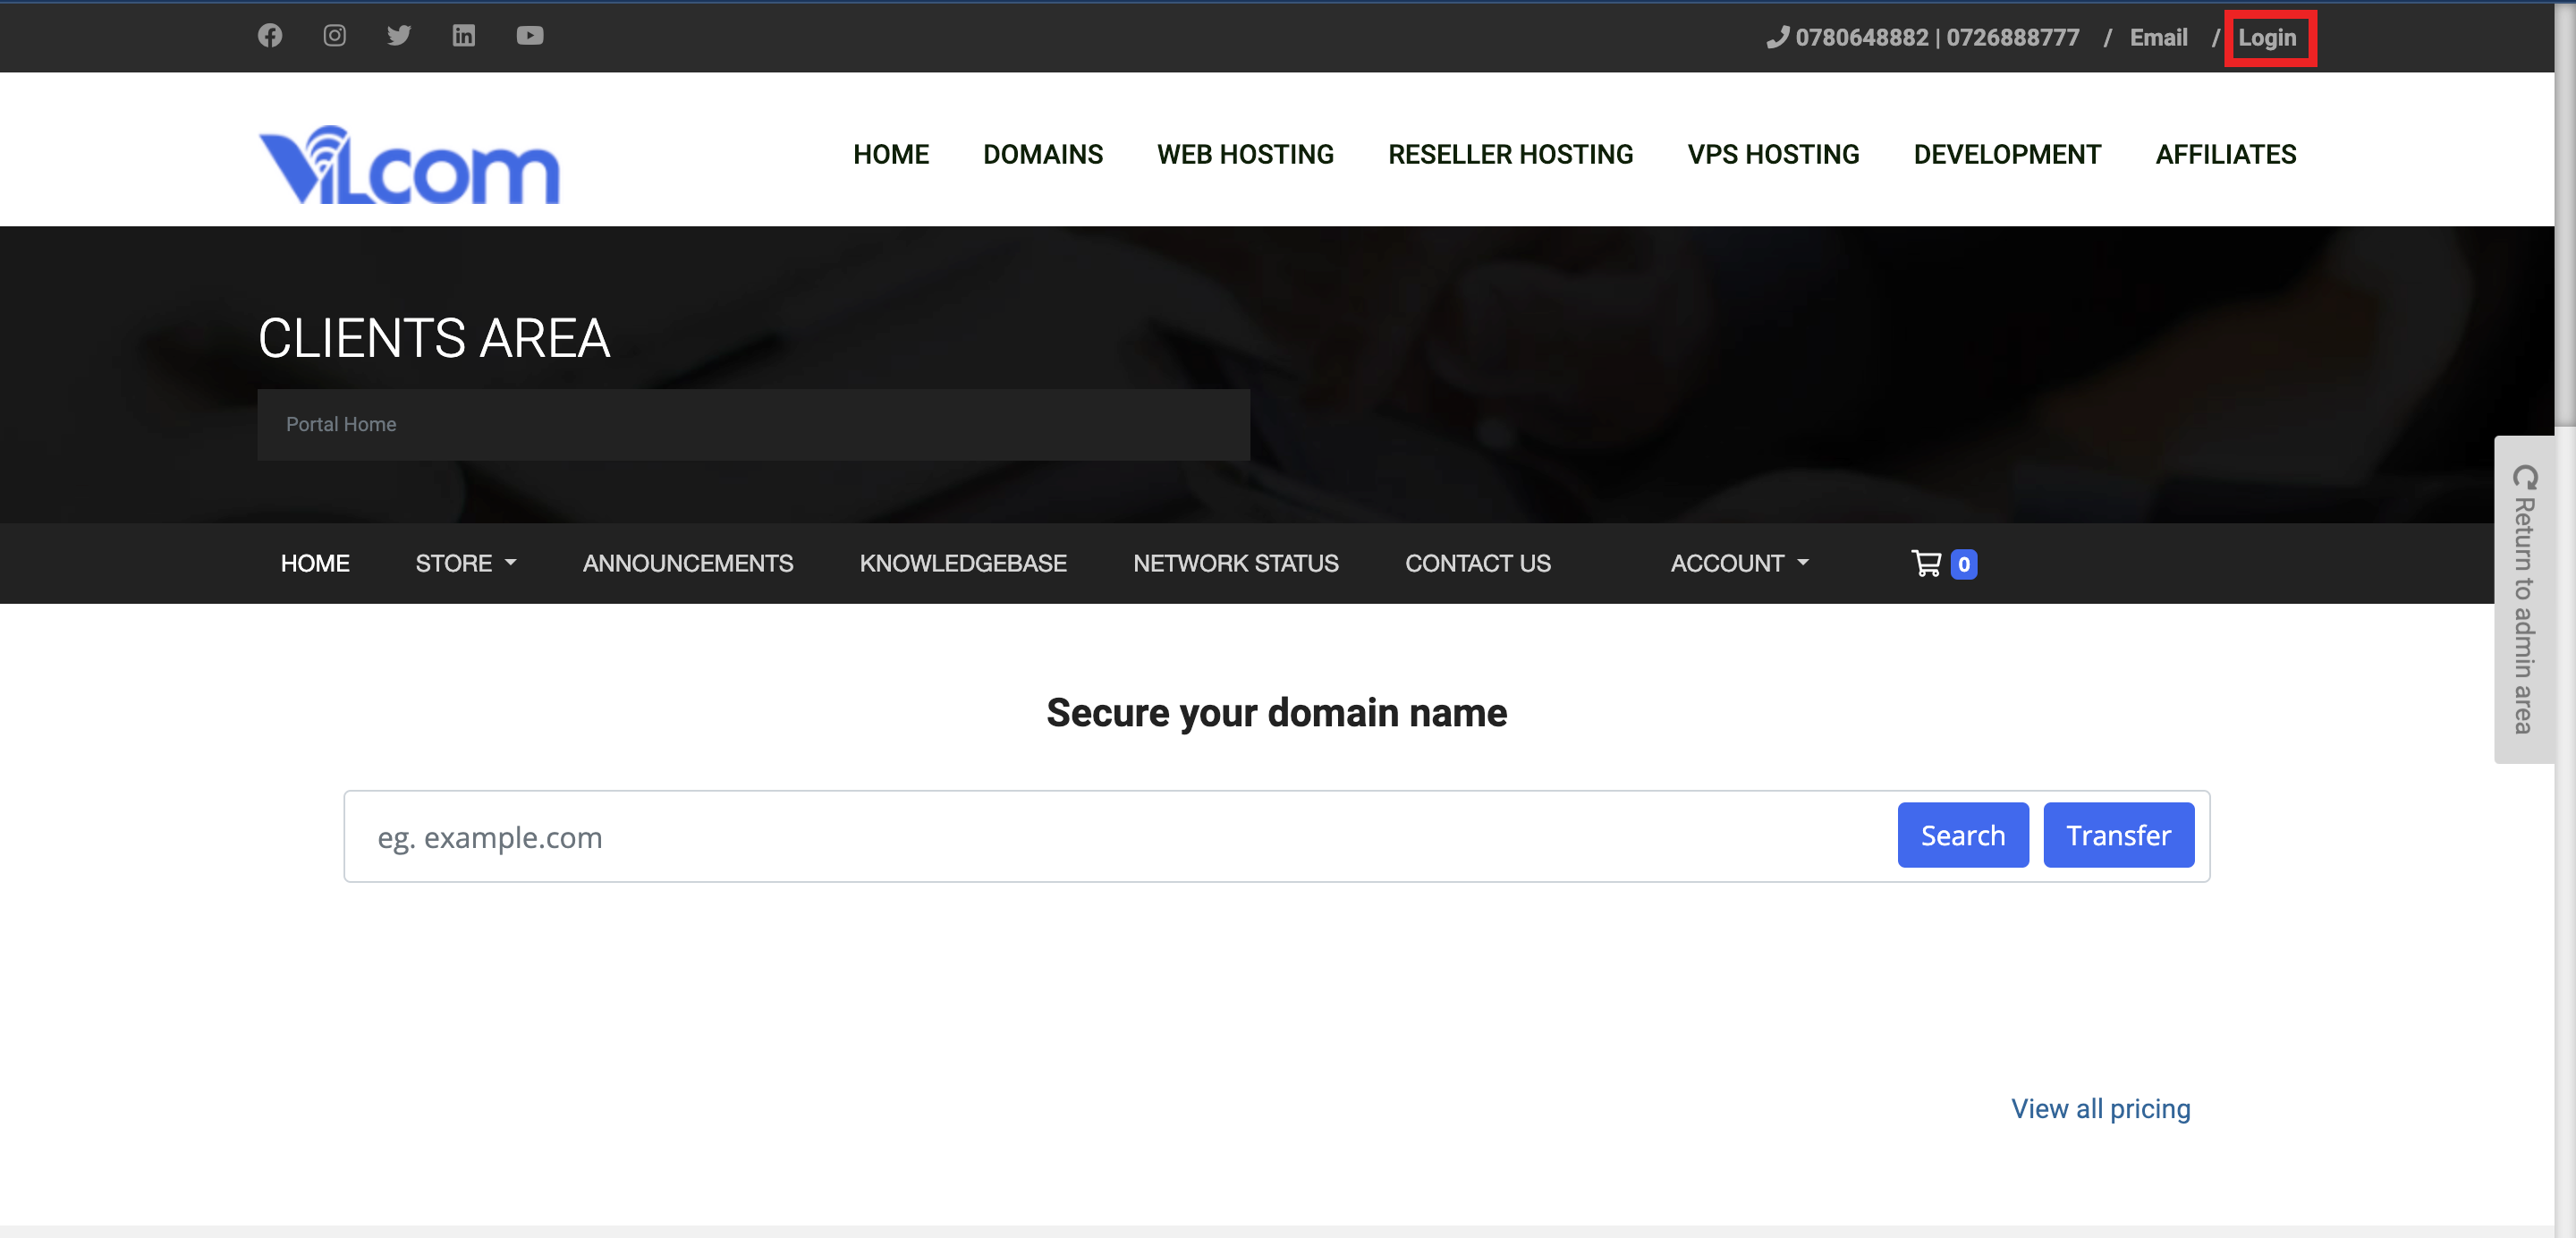
Step 2: Login or Create a new account
To be able to access the services and make orders, you need to login with your client email and password. If you have an existing account login with your username(email address) and password.

If you don't have an account already, click on the Create Account link, on the login page, just below the login button.

Input your key information required such as your:
- First and Last Names
- Email Address
- Phone Number
- Optional Company Name
- Address information - Street address, City, Country, State, Country and Postal code
Also, you have the option to select your default currency from the available options. After that, choose a strong password for your account. To have a strong password made for you automatically, we suggest utilizing the "Generate Password" option.

When you've entered all the required details, including your account passwor, go ahead and create your account by clicking on the Register button.
Step 3: Order Linux VPS from "Products" page
Login using you email address and the password you just created. Once logged in, you'll be taken to the Client Area.

From there, you can view your services, domains, tickets, invoices, and even your account details. To place an order, you've got many options, you can use the Services tab, or directly click on My Services, or click on Place an Order.

Now click on show menu and select Linux VPS from the menu.

This will display all the available Linux VPS packages.

Once you've chosen your ideal product, select the billing cycle that best suits your needs. We offer flexible options, including monthly, quarterly, semi-annual, and annual billing.

In the "Configure Server" section, you are required to set the hostname of your VM, root password and provide two nameservers. You can also provide the domain name on which the VM will be created and your public SSH key for accessing your VM over SSH (optional). This is highly recommended for increased security.
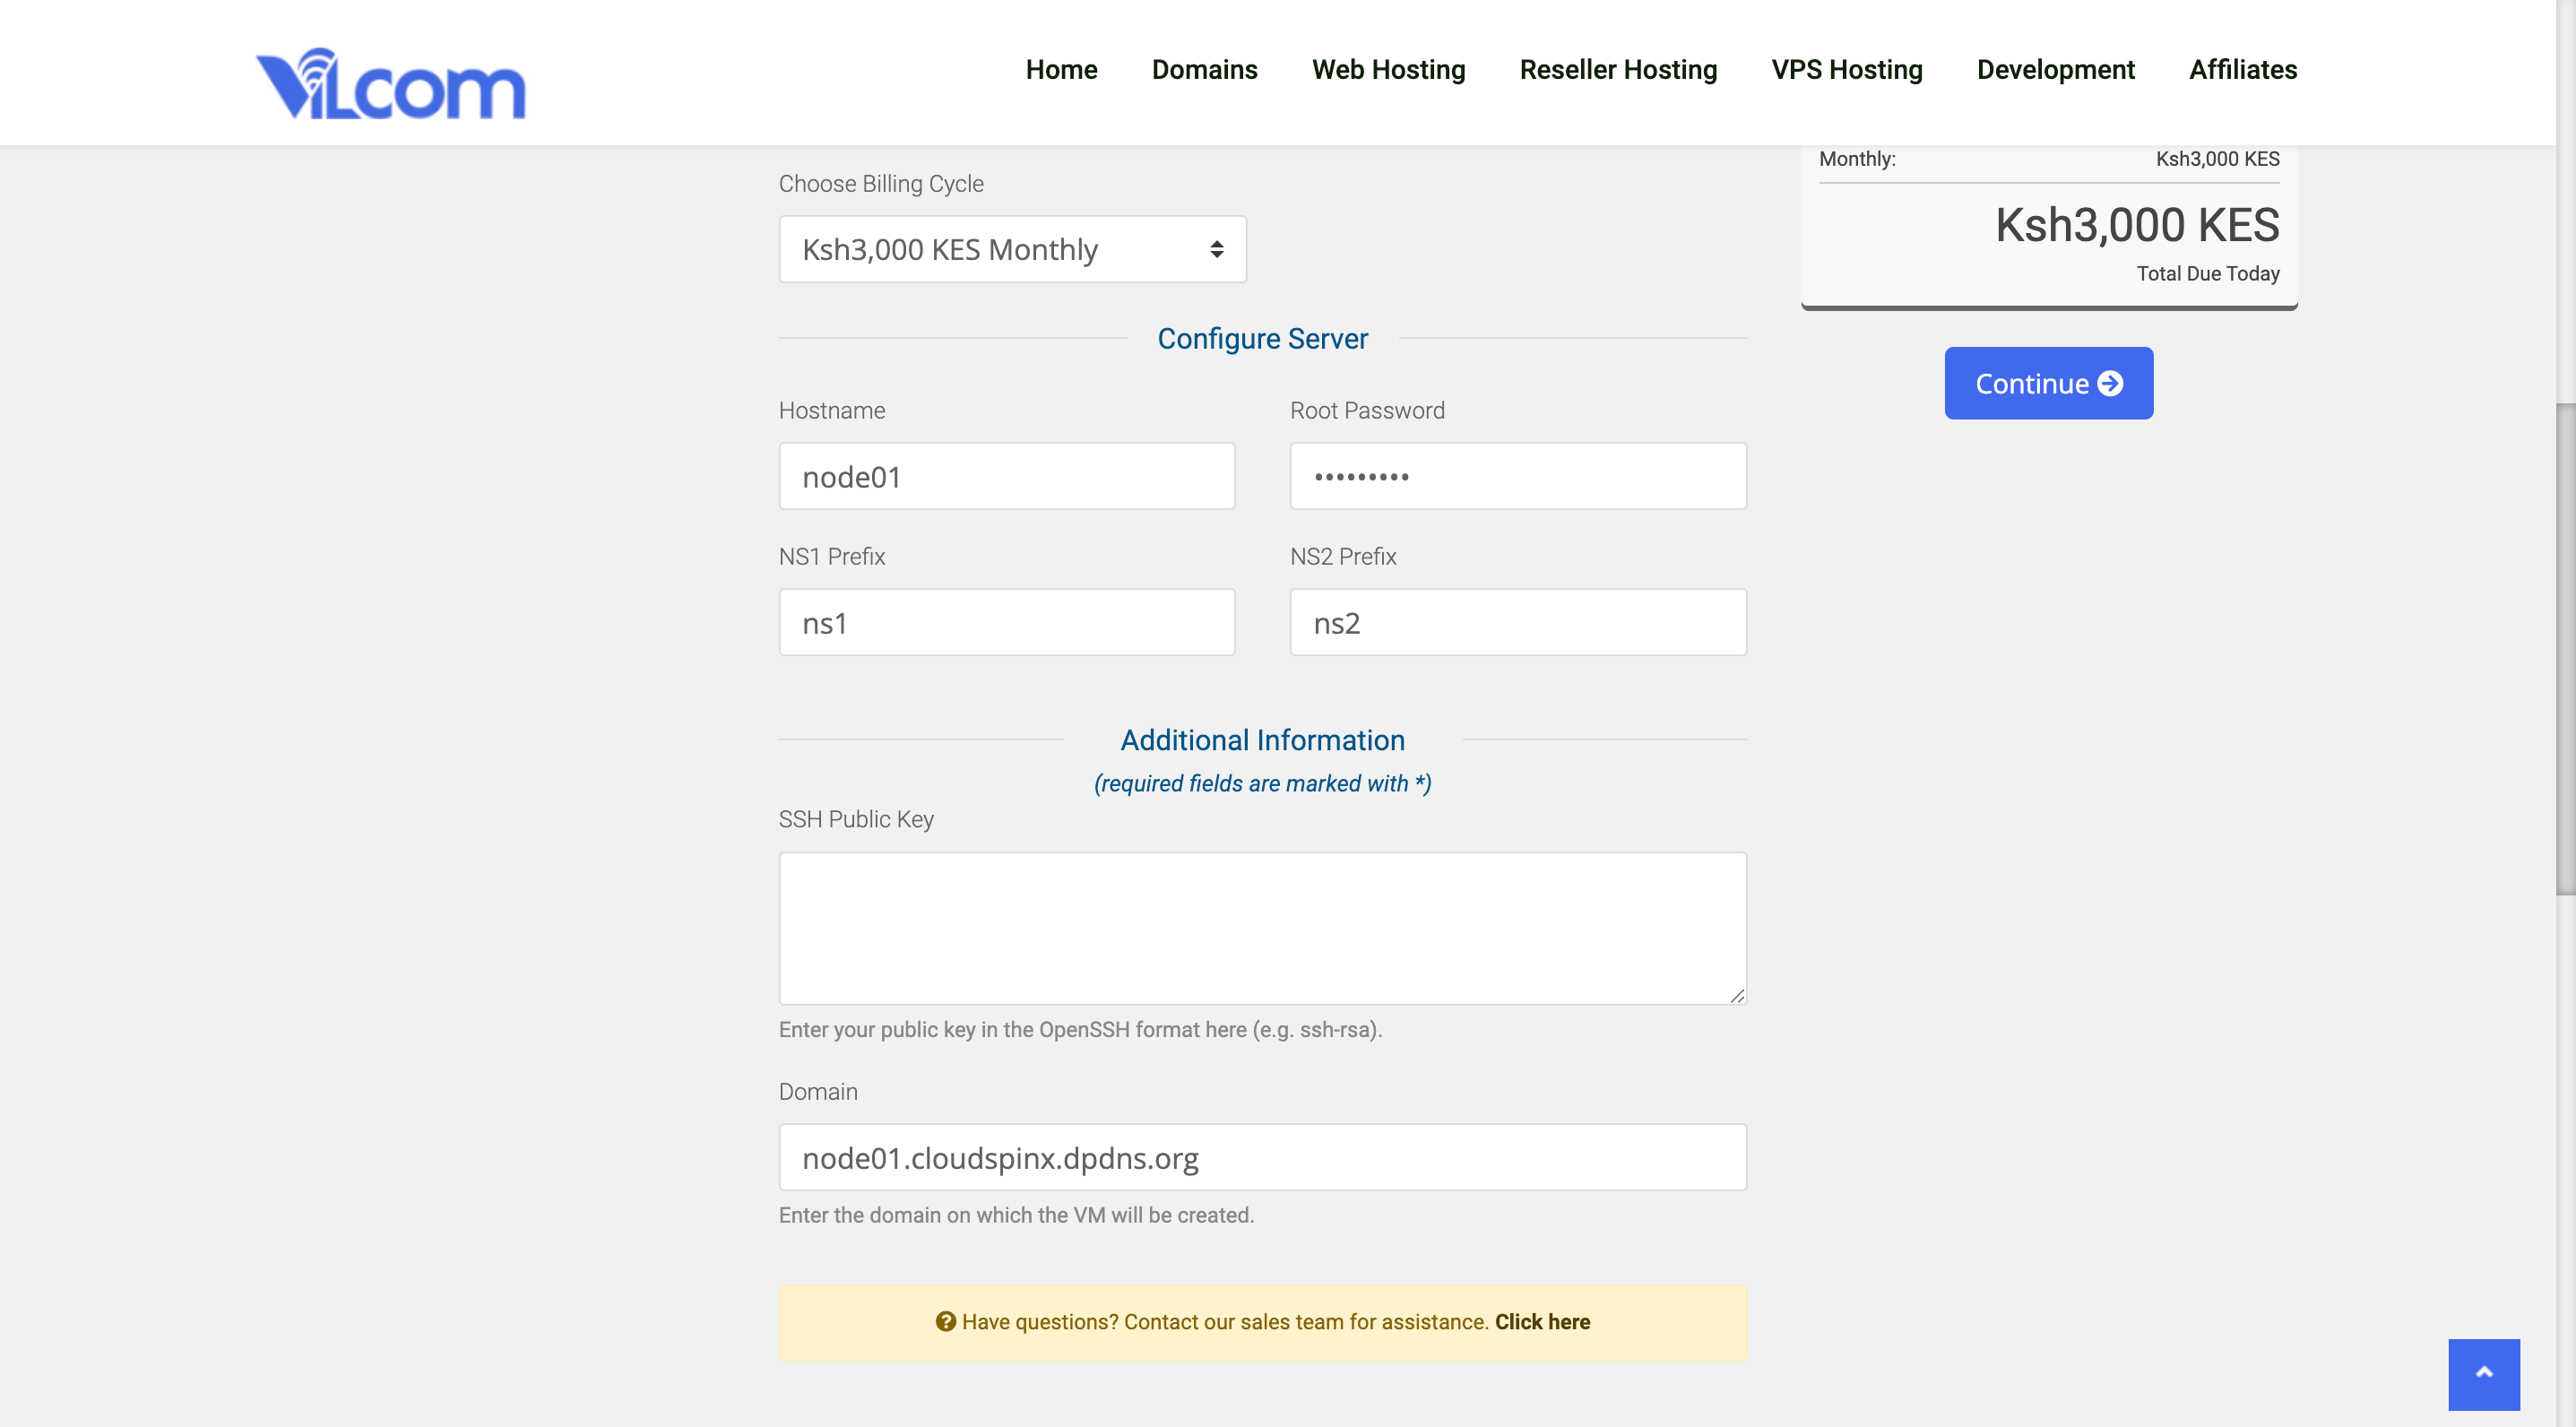
Click on Continue to proceed to Review & Checkout.
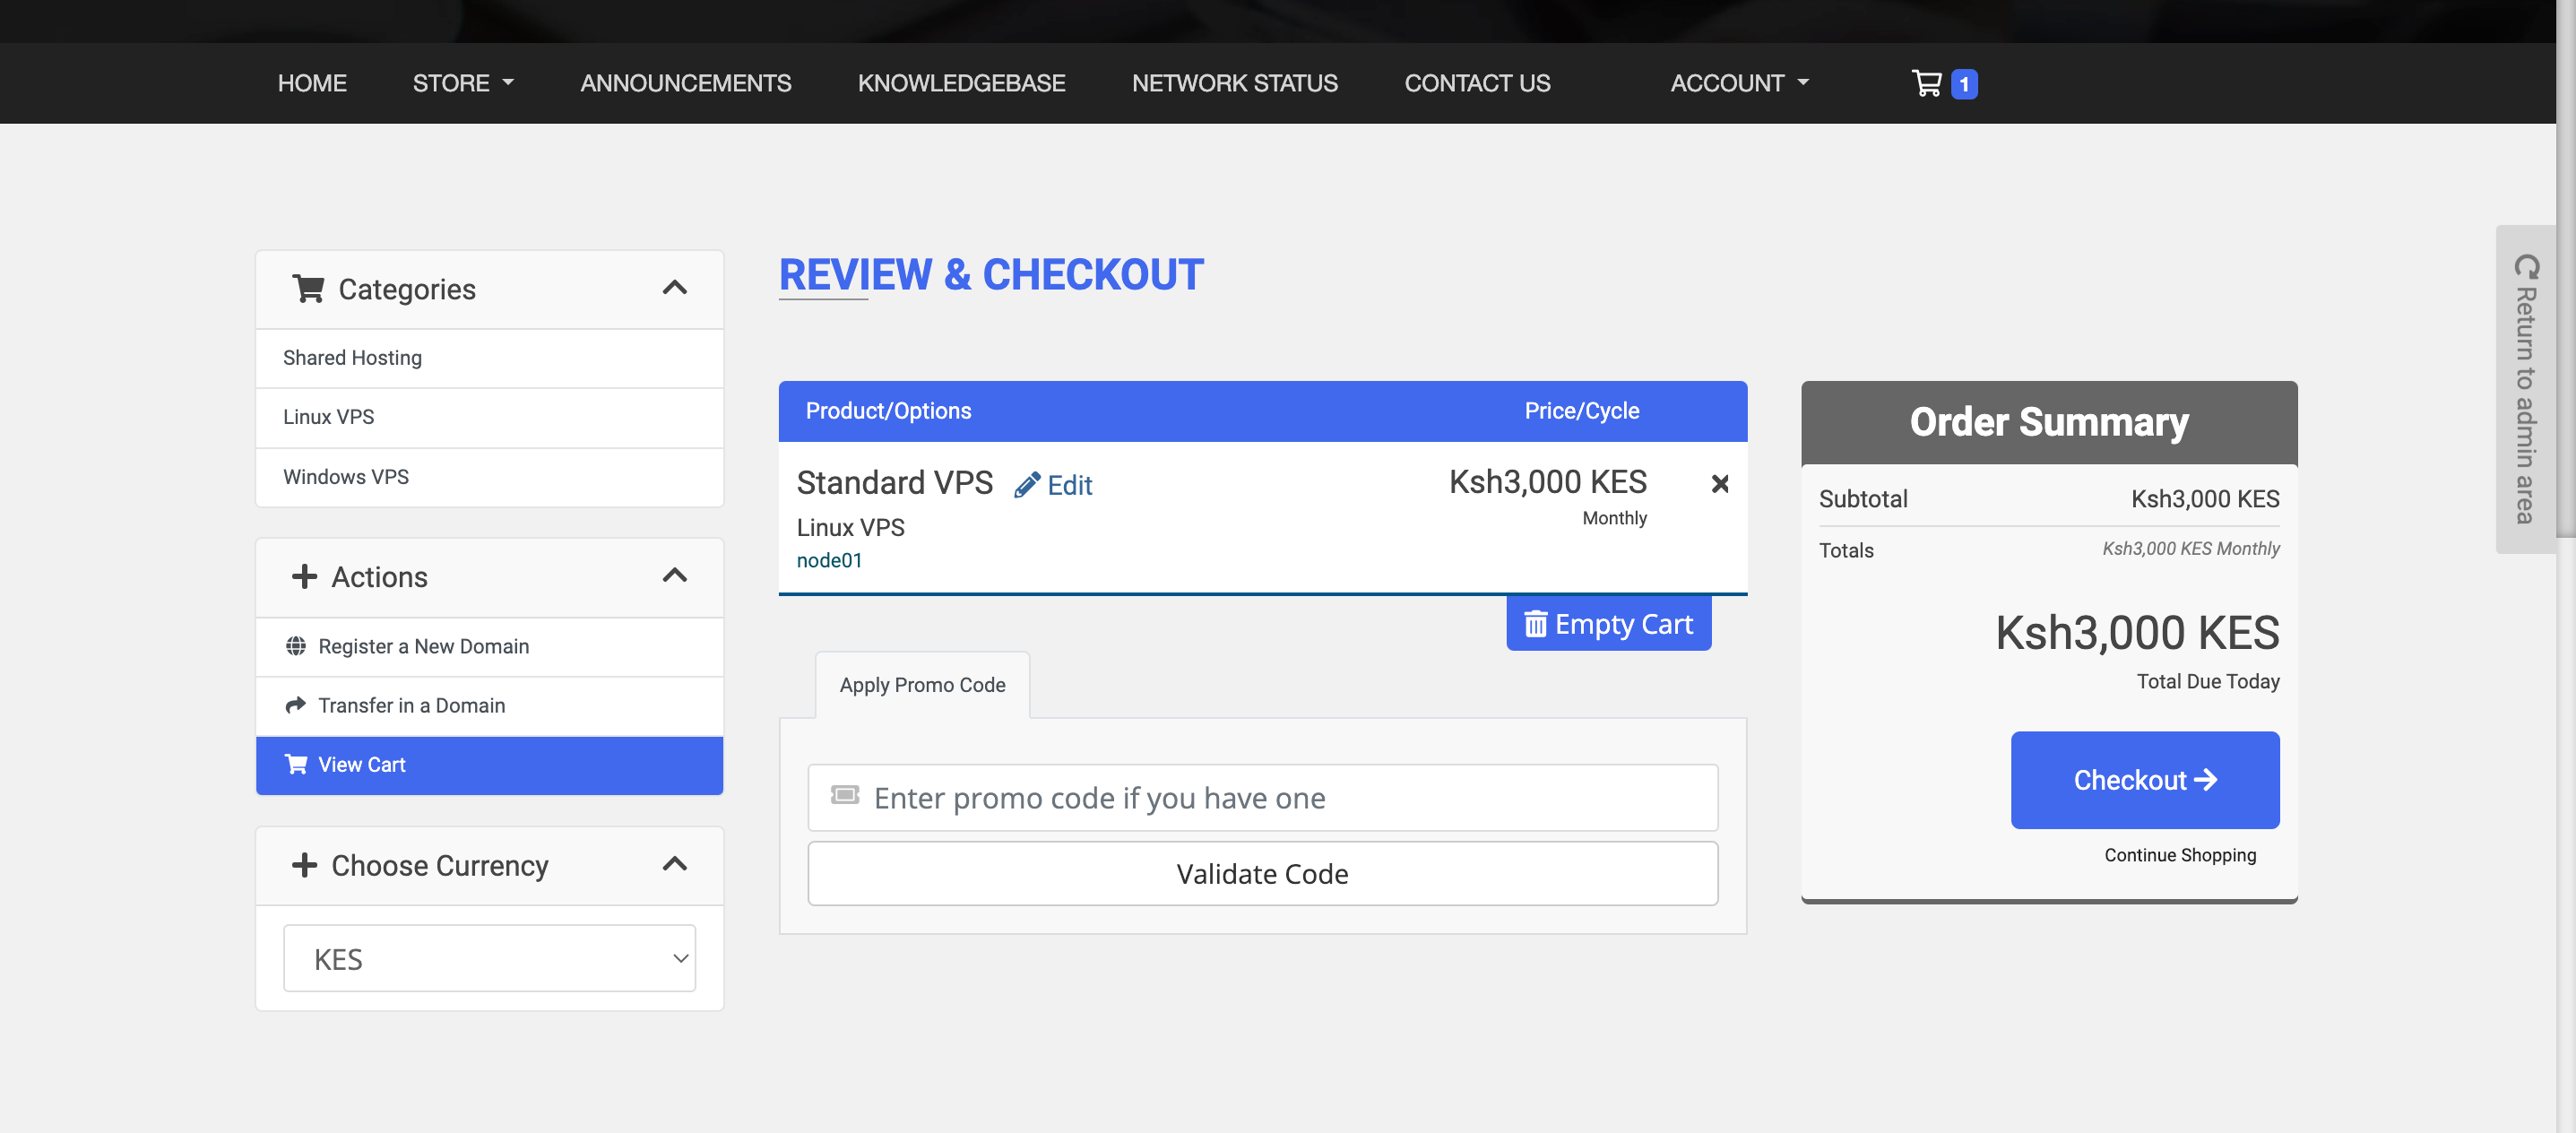
Check if everything is in order and clik on Checkout.

In the Checkout page, click on Complete Order, to proceed to the payment page.

Now click on Pay Now and you'll be provided with two M-Pesa payment, options; M-Pesa Express and M-Pesa standard. Pick one and proceed to make the payment.

Step 4: Order Confirmation
After making the payment, you will see Order Confirmation message with the order ID.

Click "Continue to Client Area" to access your personalized dashboard, where you'll get a convenient overview of your services.
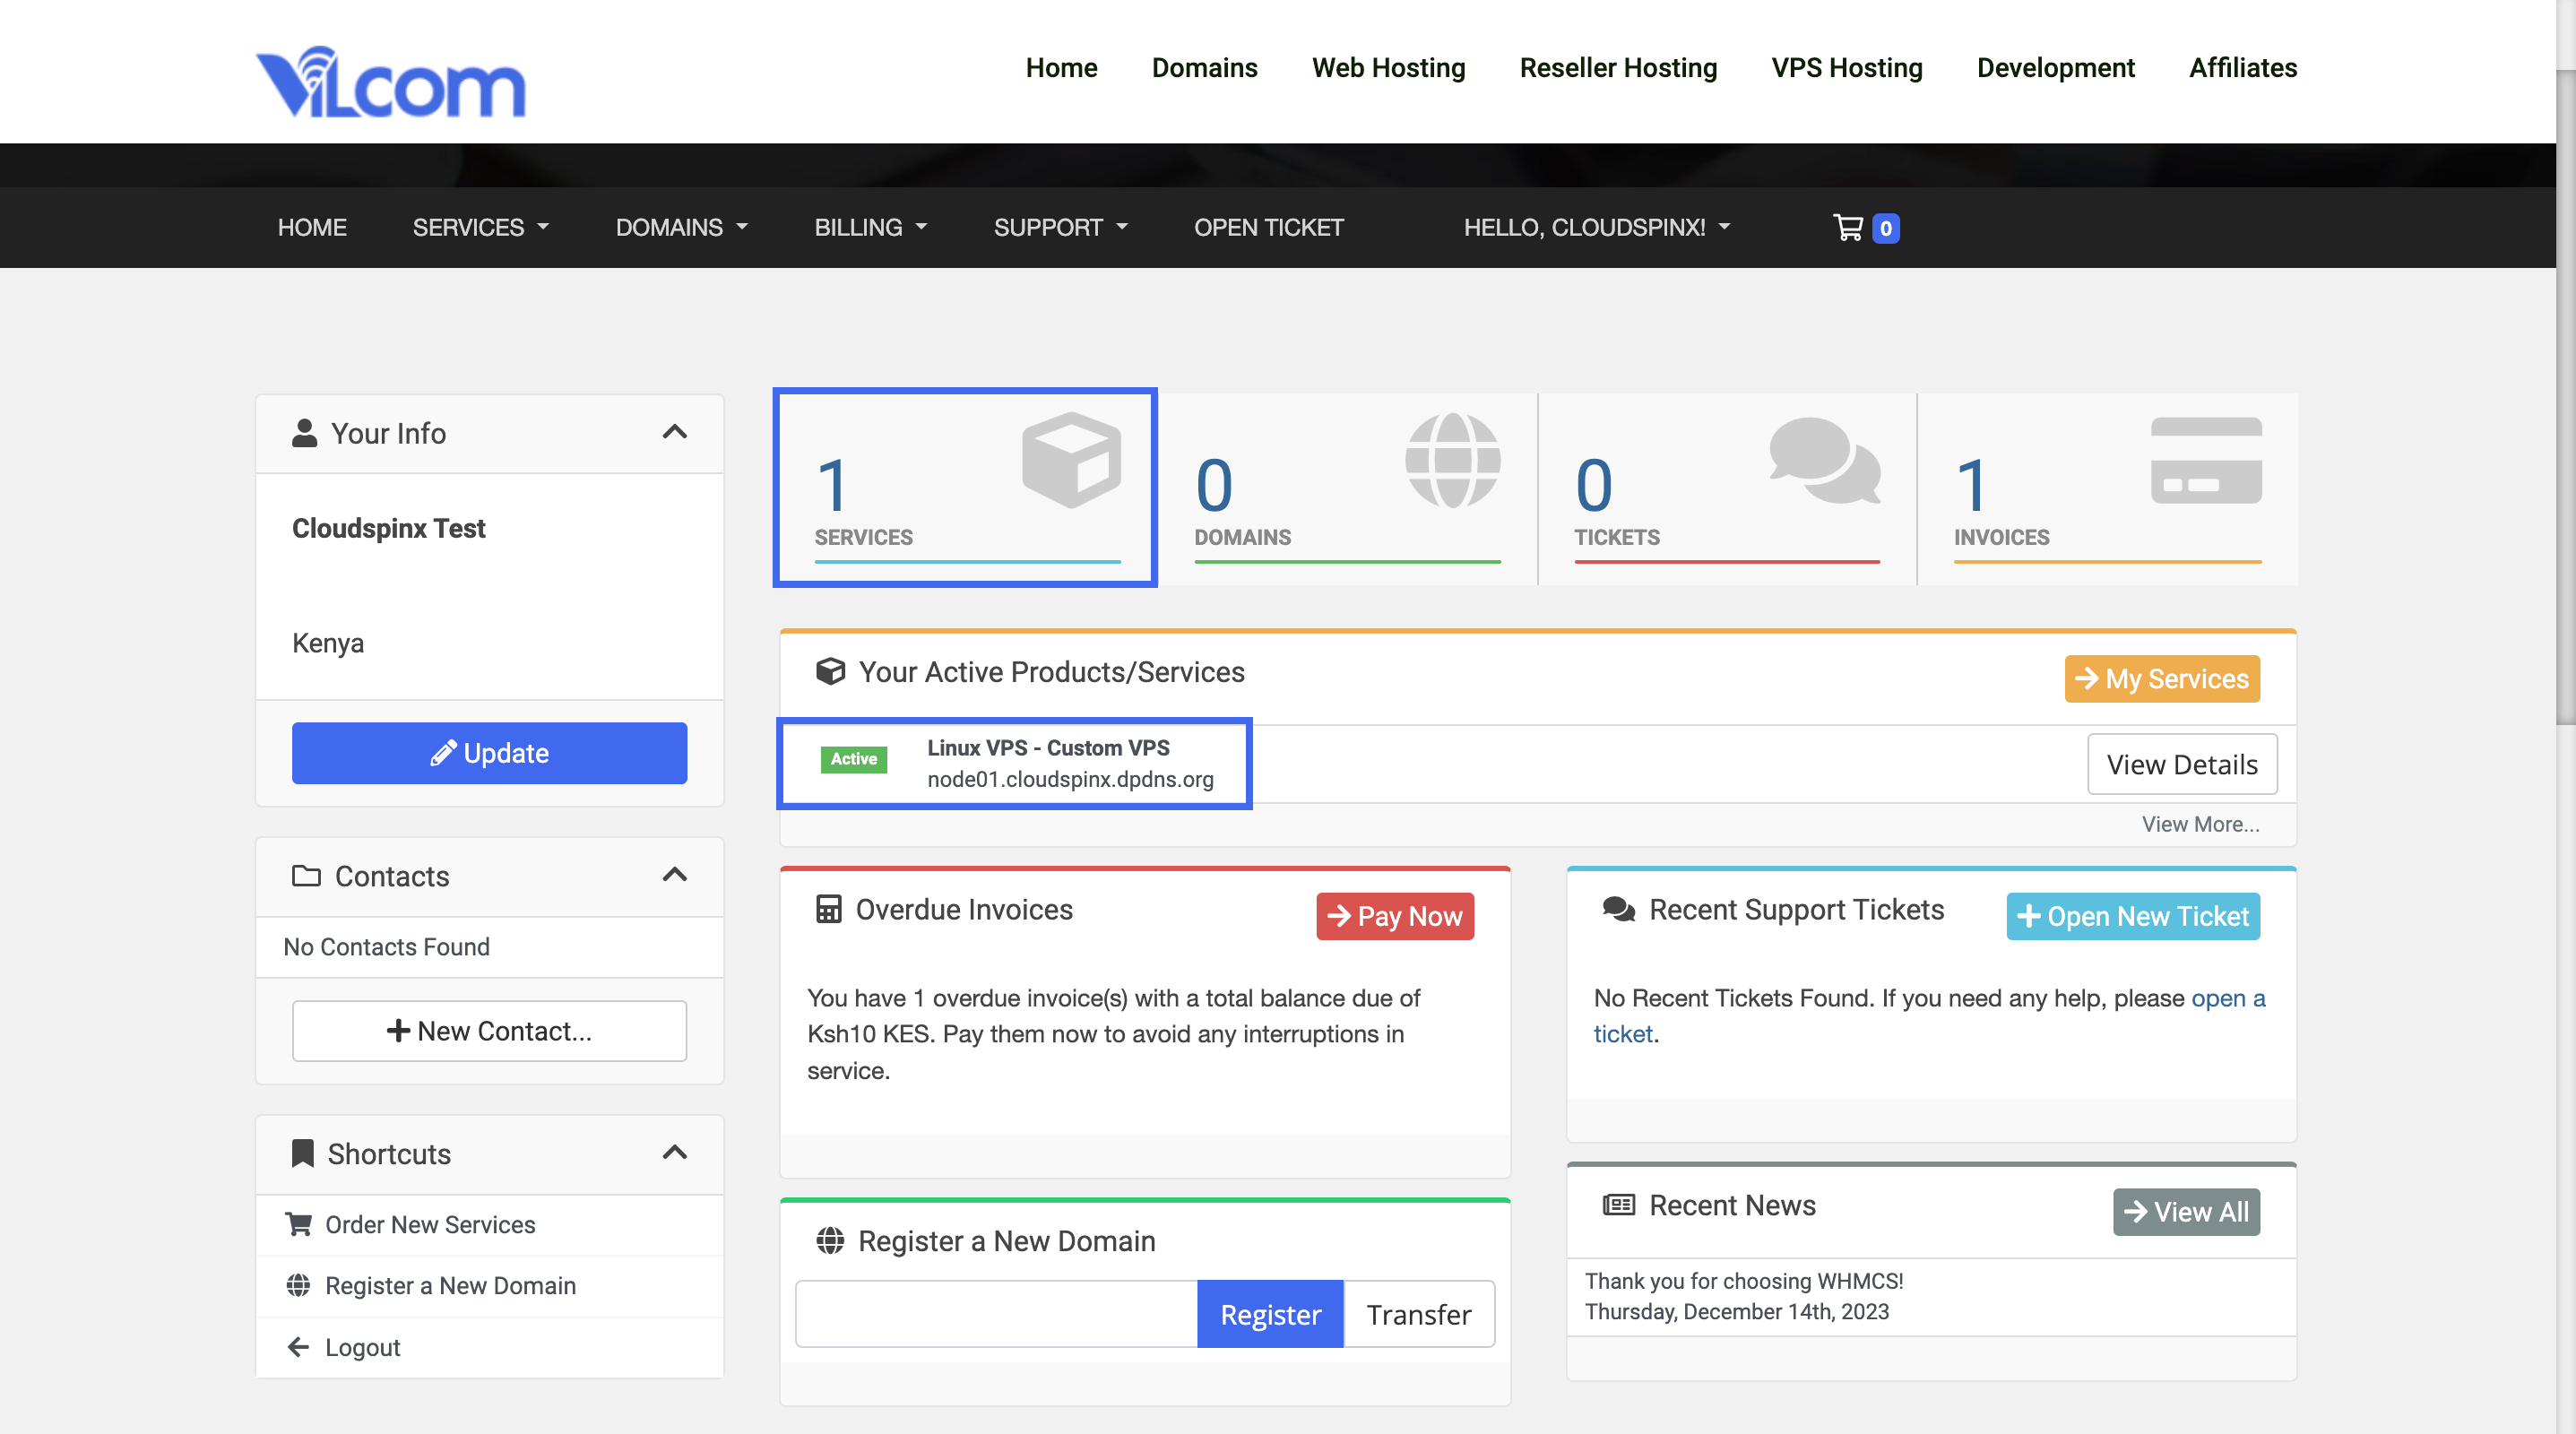
To access detailed information about your VPS instance, click the "View Details" button. Then follow our next article on how to access your Linux VPS.
