VNC Console?
What do we mean when we say VNC Console? VNC stands for Virtual Network Computing, which is a screen sharing system that allows you to remotely control another computer in your web browser. Using VNC is like having a remote desktop for your cloud instance, it's pretty amazing.
VNC vs. SSH
You are probably torn between which one to use since we provide both options. SSH is quite good at text-based commands for managing servers. On the other hand, VNC Console provides a graphical user interface that lets you control your VPS desktop environment, explore directories, and interact with apps just like you would on a real computer.
VNC Console has limitations even though it provides a handy way to visually interact with your cloud instance.For instance, it might not be possible to copy and paste files directly within the VNC Console, unlike on your local computer. Copy and pasting can be quite handy for file management tasks.
Here's why you should use our web-based VNC Console
Our VNC Console offers a very user-friendly experince, it also eliminates the need for running commands in the terminal for complicated tasks. A visual GUI accommodates for user with minimal expertise with the CLI.
Also, our VNC Console comes in handy when you are having problems connecting via SSH. You can access your VPS using the VNC Console and troubleshoot any SSH problems.
Accessing your Linux VPS using VNC Console
Accessing you Linux VPS via the VNC Console is just two steps away;
Step1: Login to VPS and Set Root Password
NOTE: For top-notch security, we rely on SSH key authentication instead of passwords. This method provides a stronger defense for your CloudSpinx VPS.
Follow our guide to gain server access as root user using SSH and Public/Private keypairs:
Here is example on logging into the server.
ssh -i ~/Downloads/44_private.rsa root@ServerIP
Once you are logged in, set root user password:
[root@node01 ~]# passwd root
Changing password for user root.
New password: <INPUT_NEW_PASSWORD>
Retype new password: <CONFIRM_PASSWORD>
passwd: all authentication tokens updated successfully.
The password entered should meet the following standards:
- Is at least 9 characters long
- Contains a mix of uppercase and lowercase letters
- Includes at least one number
- Incorporates a special special character (e.g.,
!@#$%^&*).
Step 2: Open your Instance VNC Console
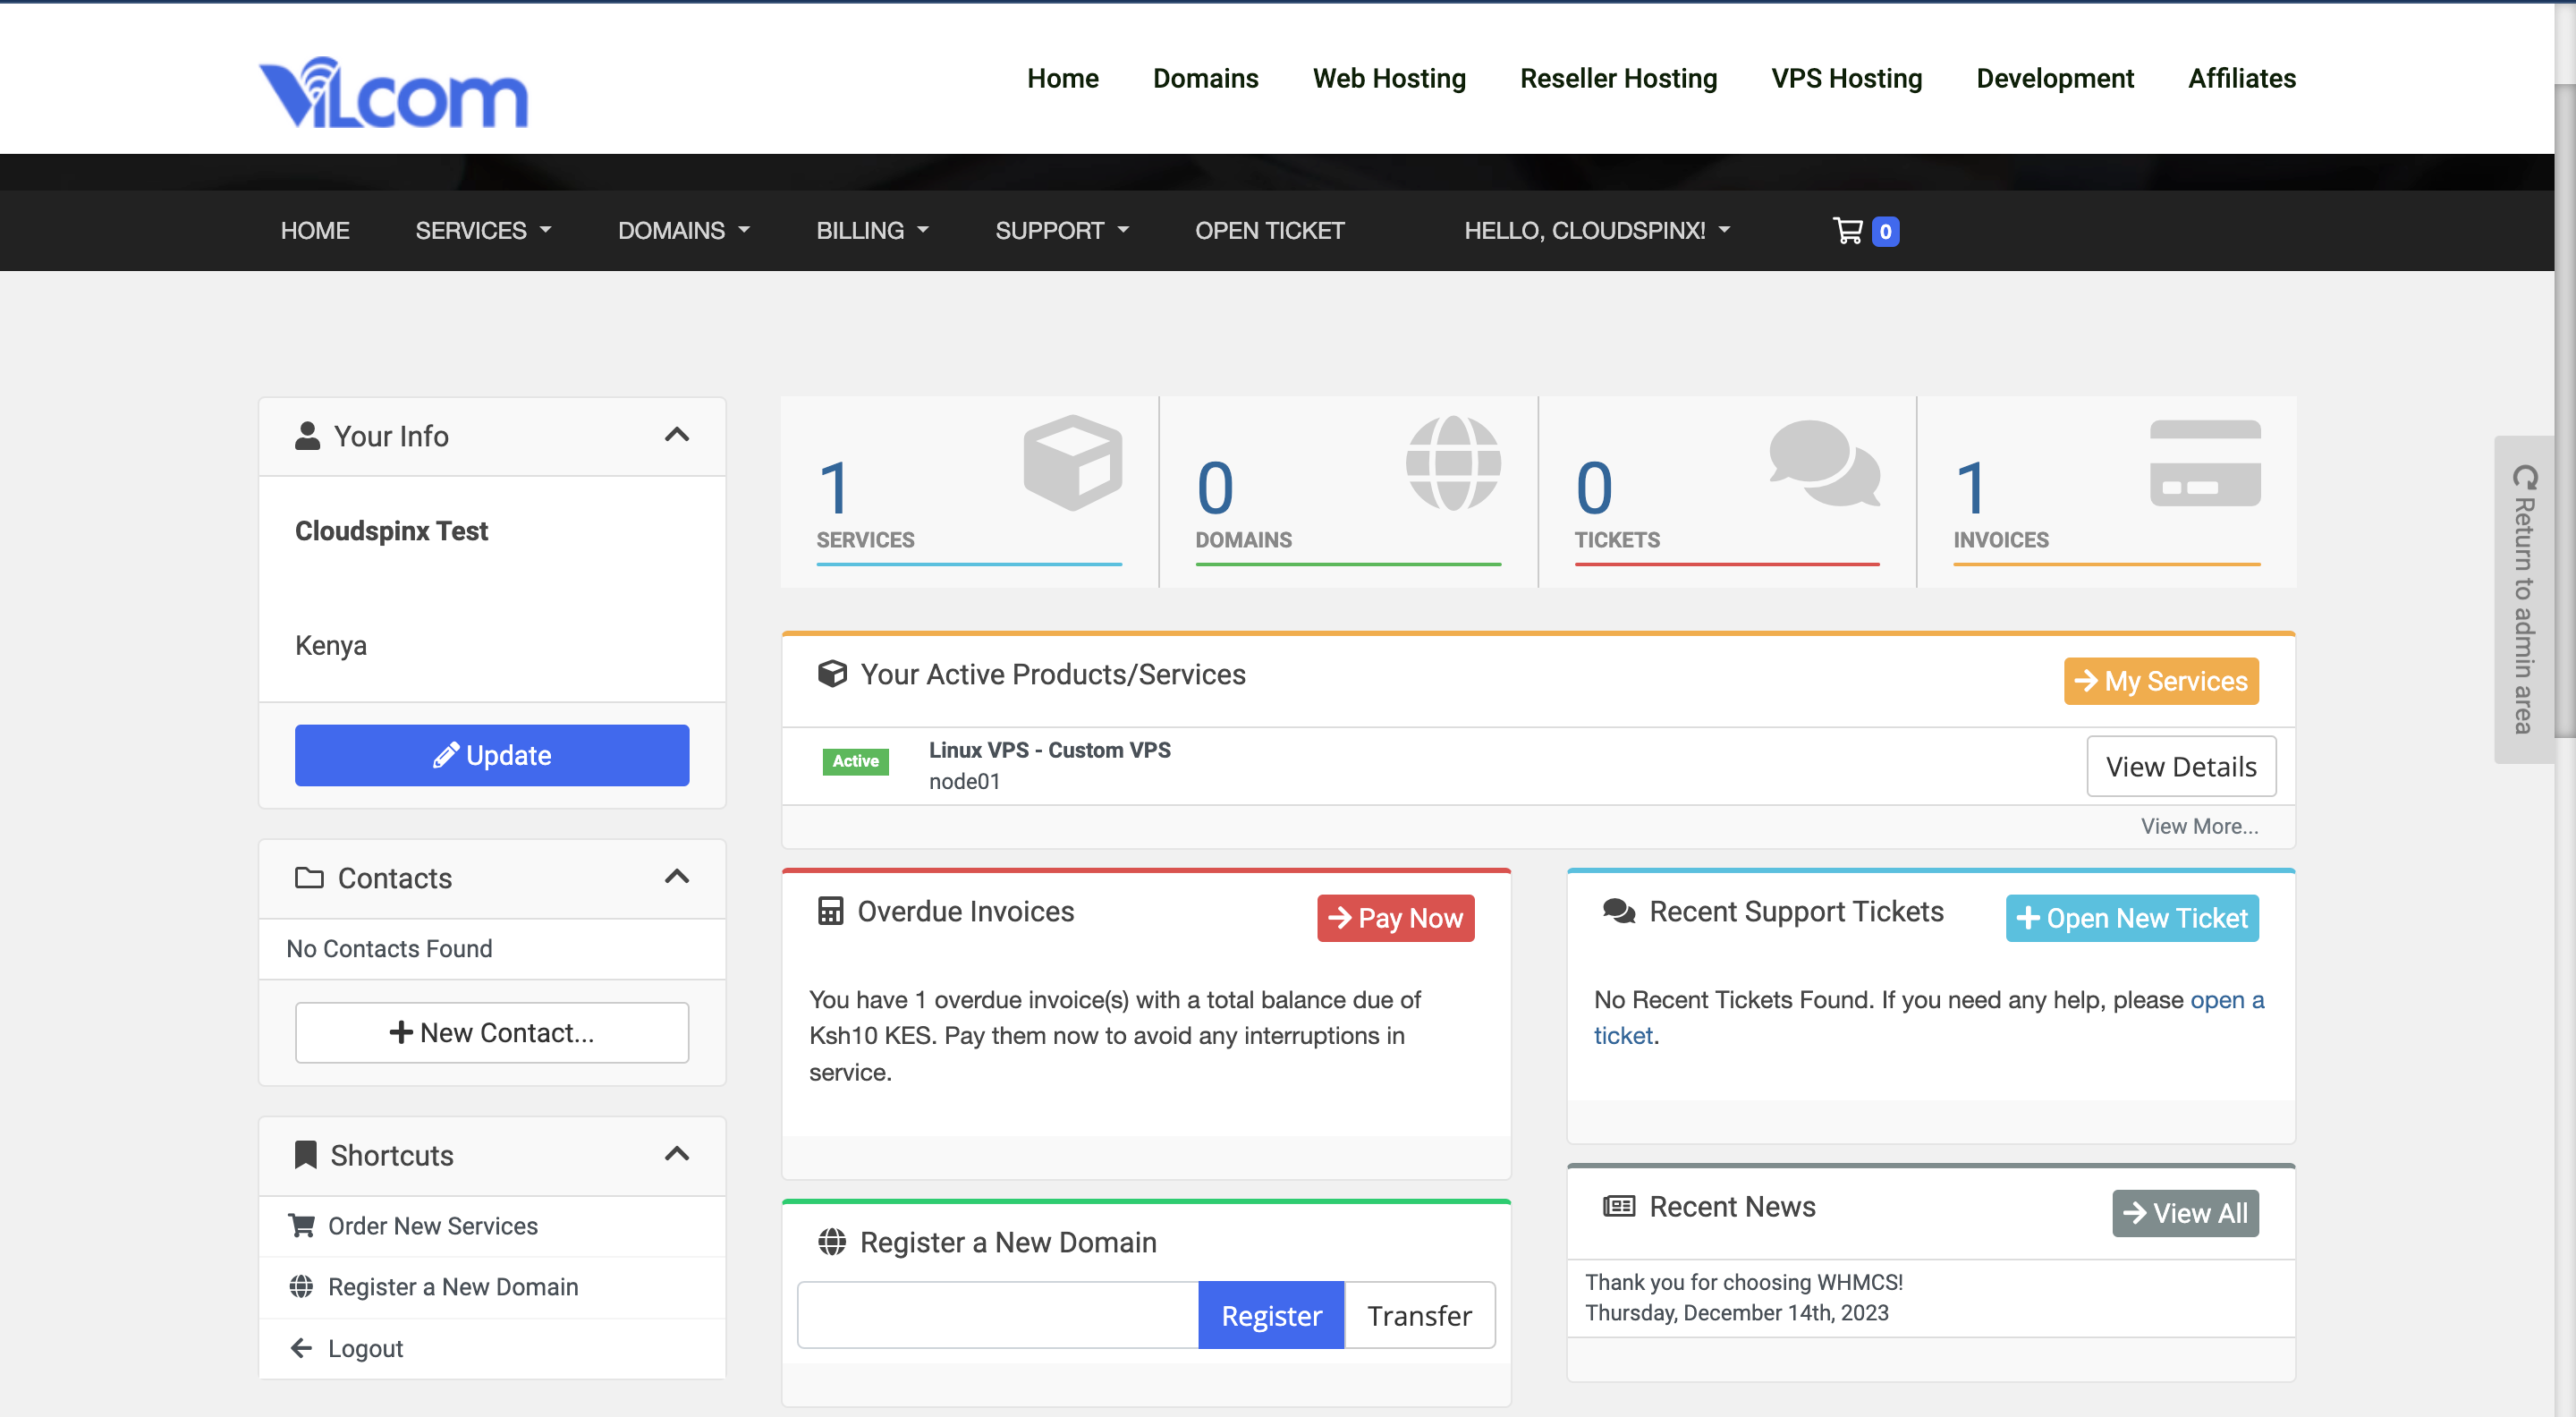
Now login to Vilcom Client Area and you'll see your Linux VPS listed as an active service. Select your specific Linux VPS service by clicking on view details.
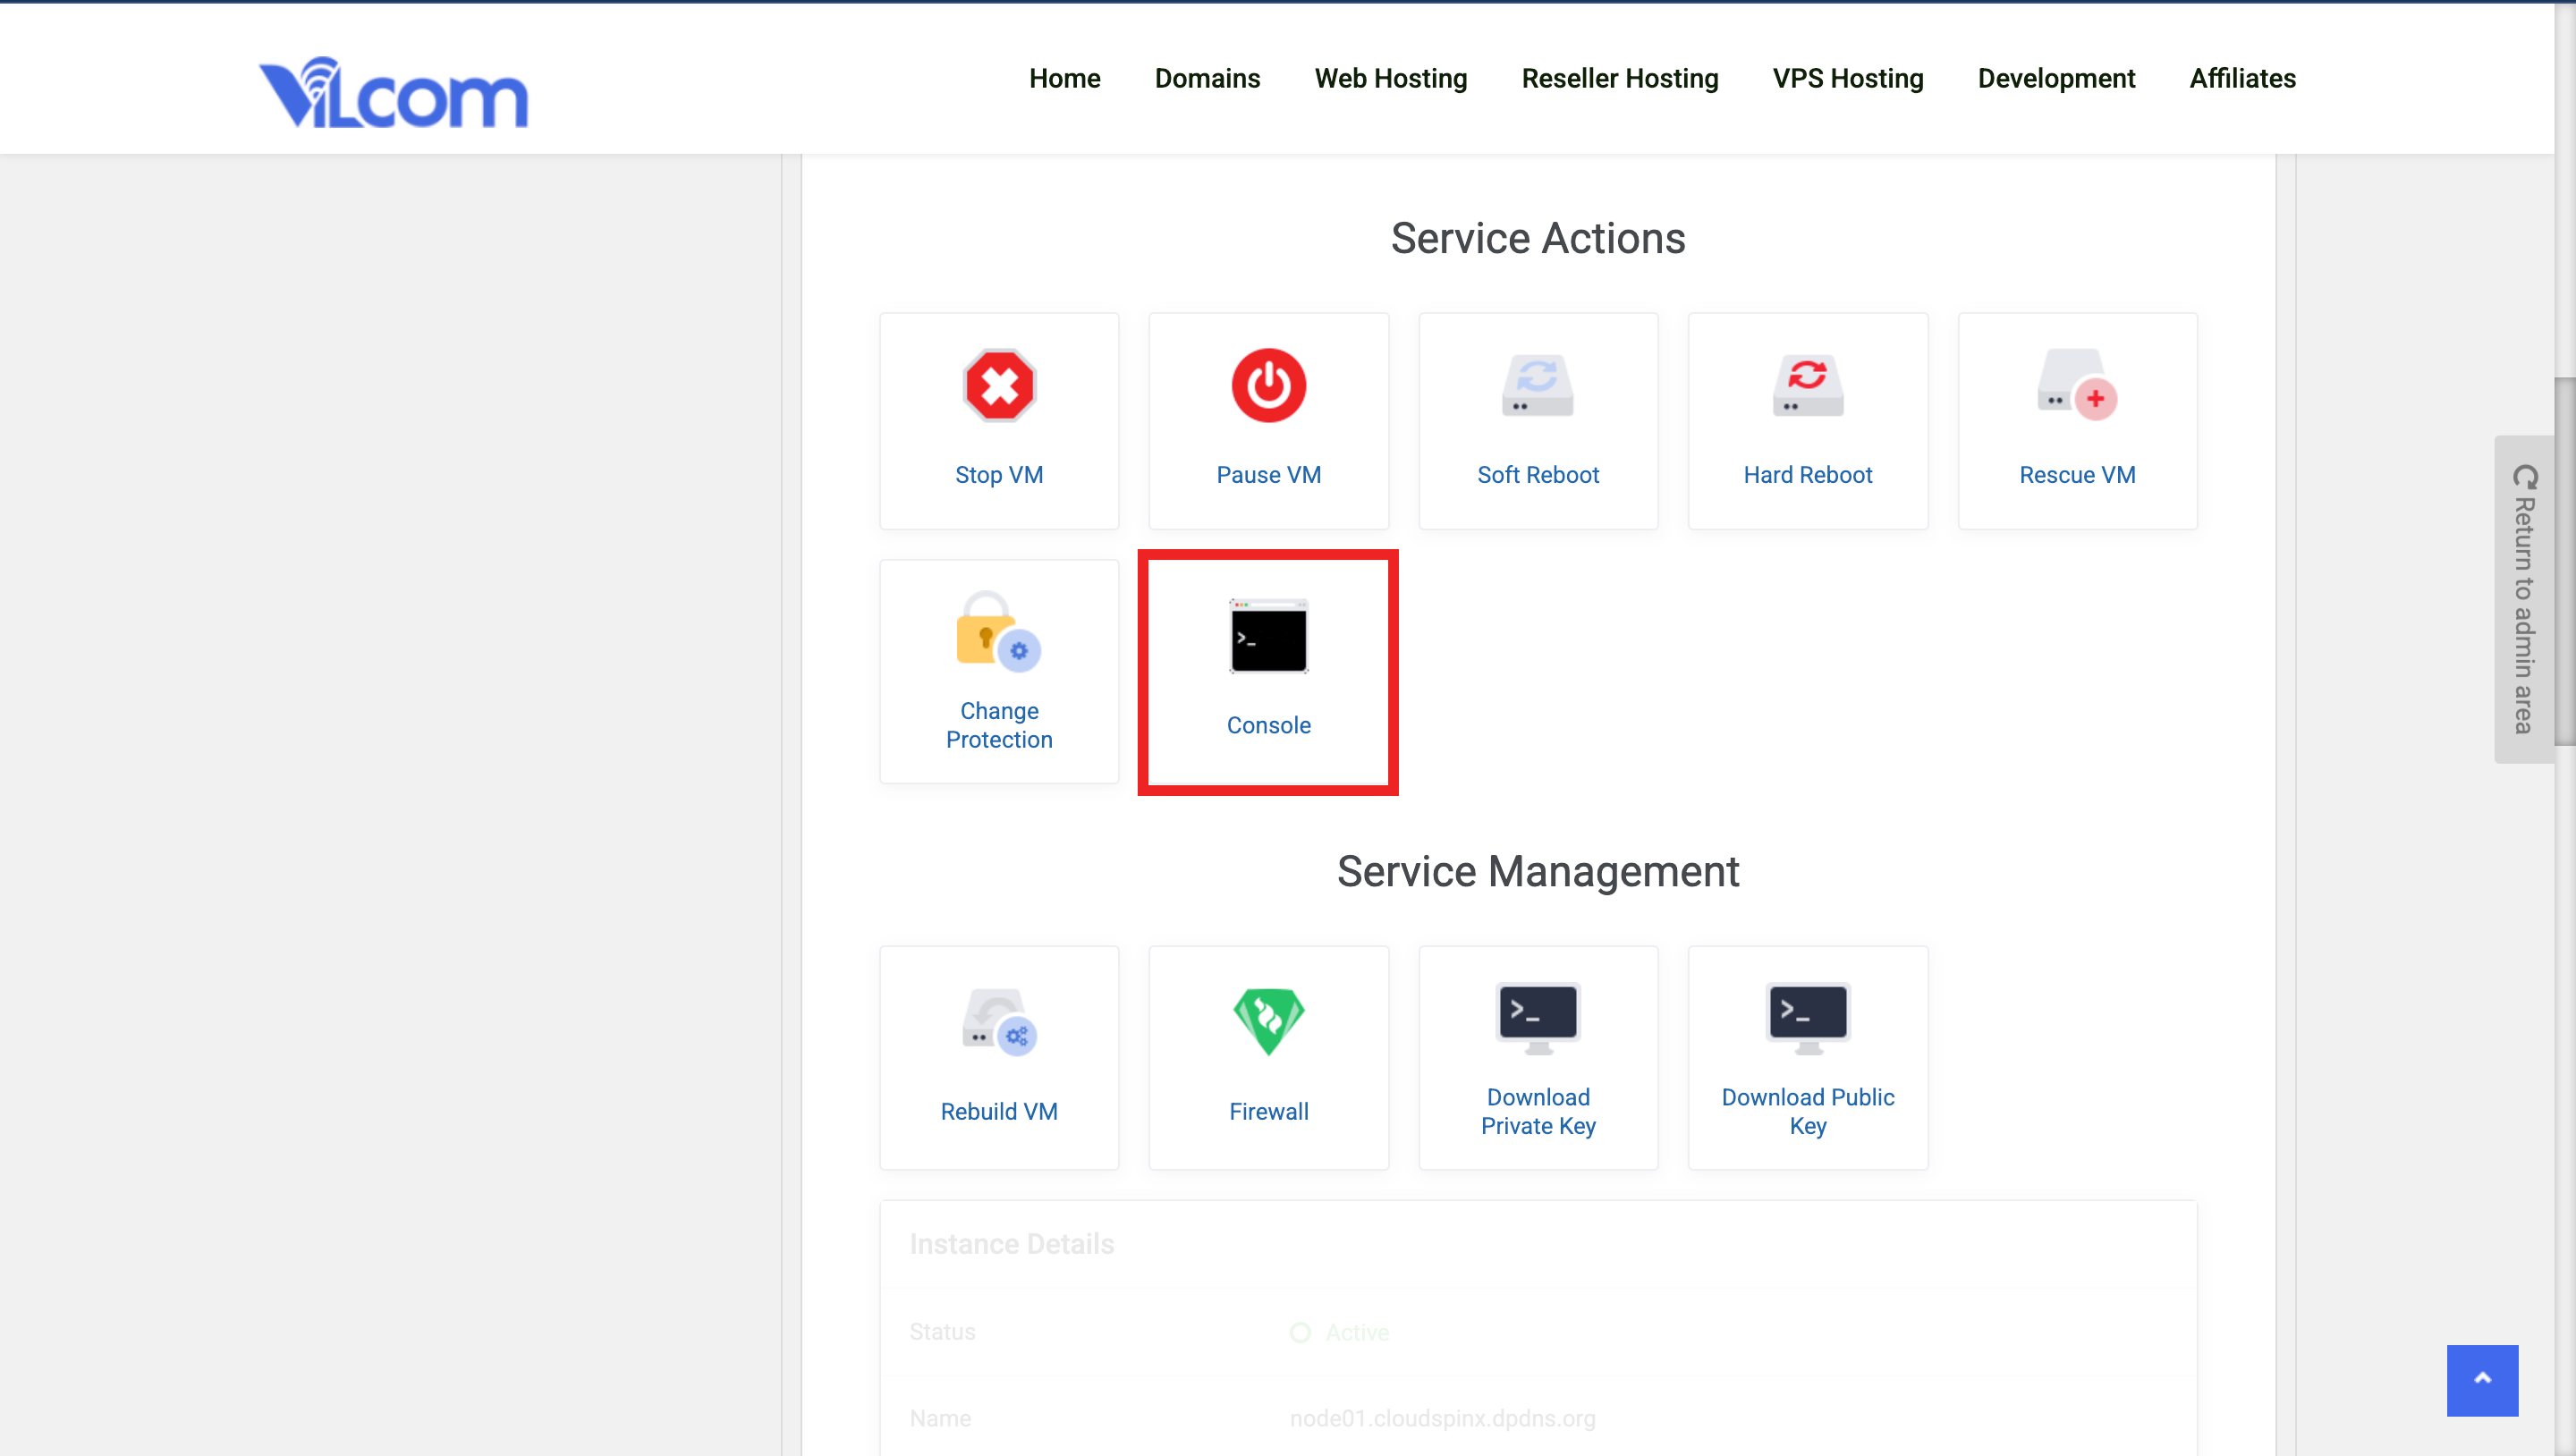
On the service management page, locate the "Service Actions" section. Click on "Console" button.
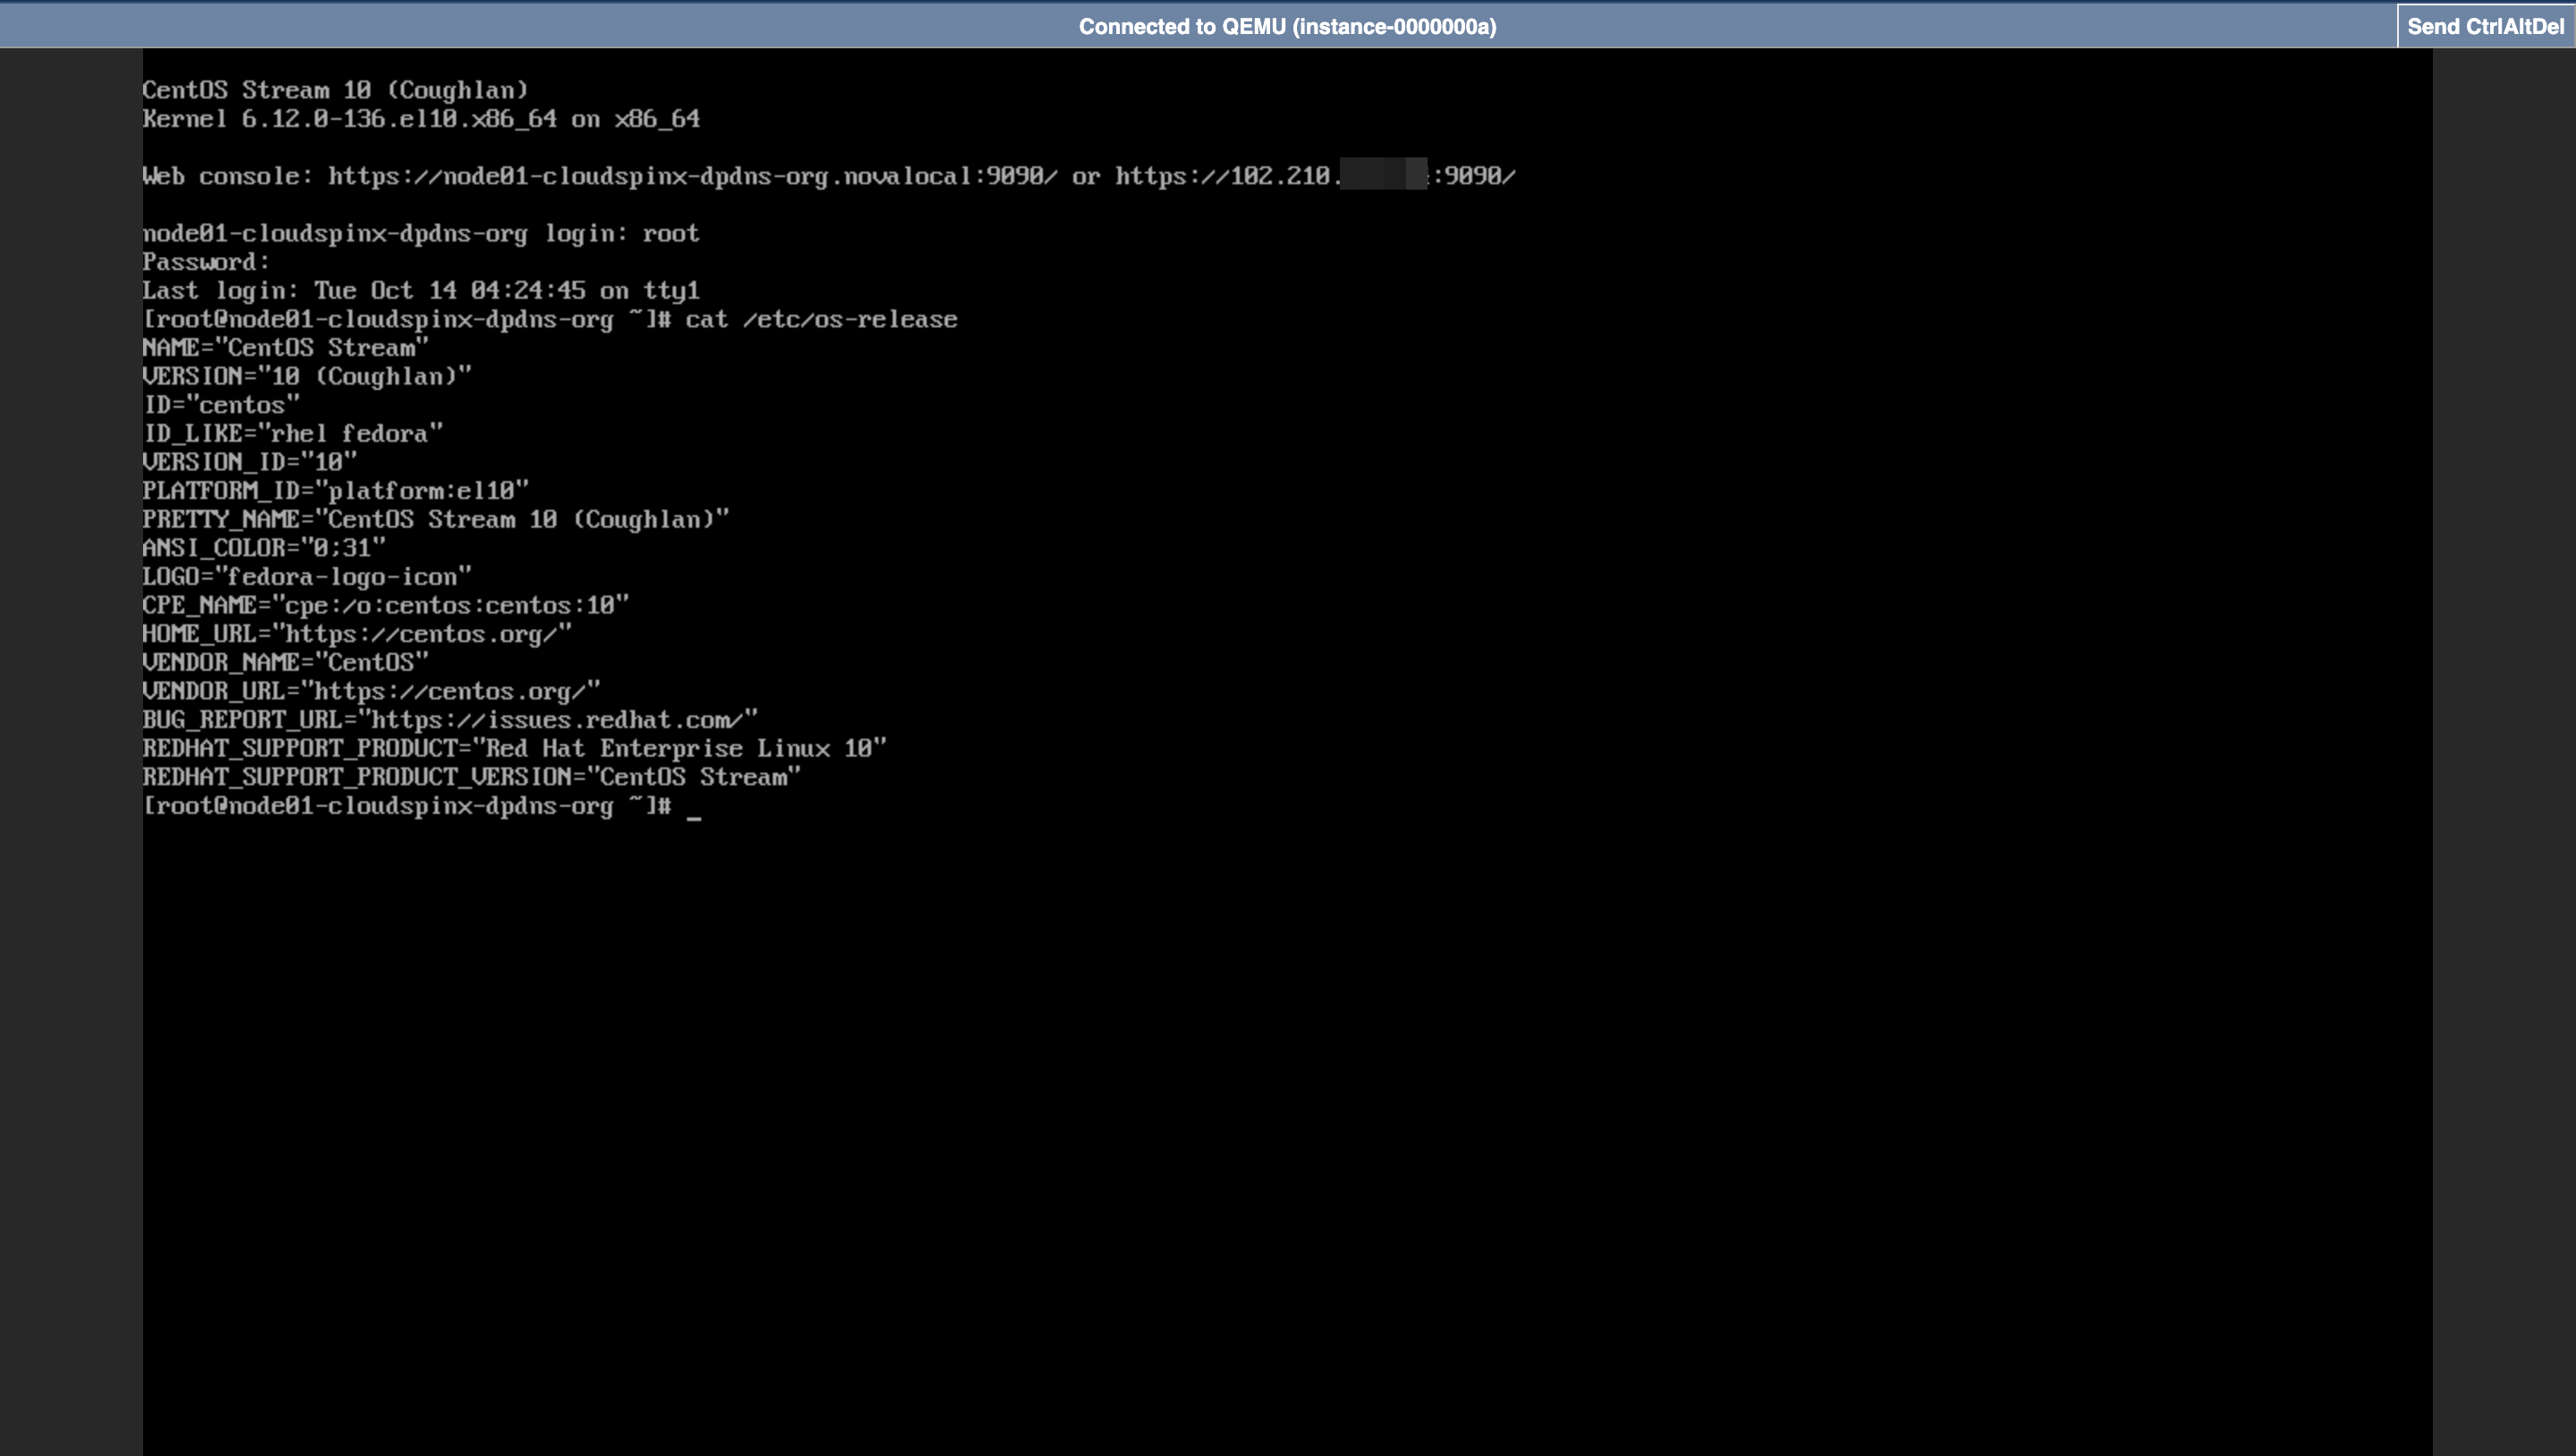
You will be connected to the instance via VNC console.
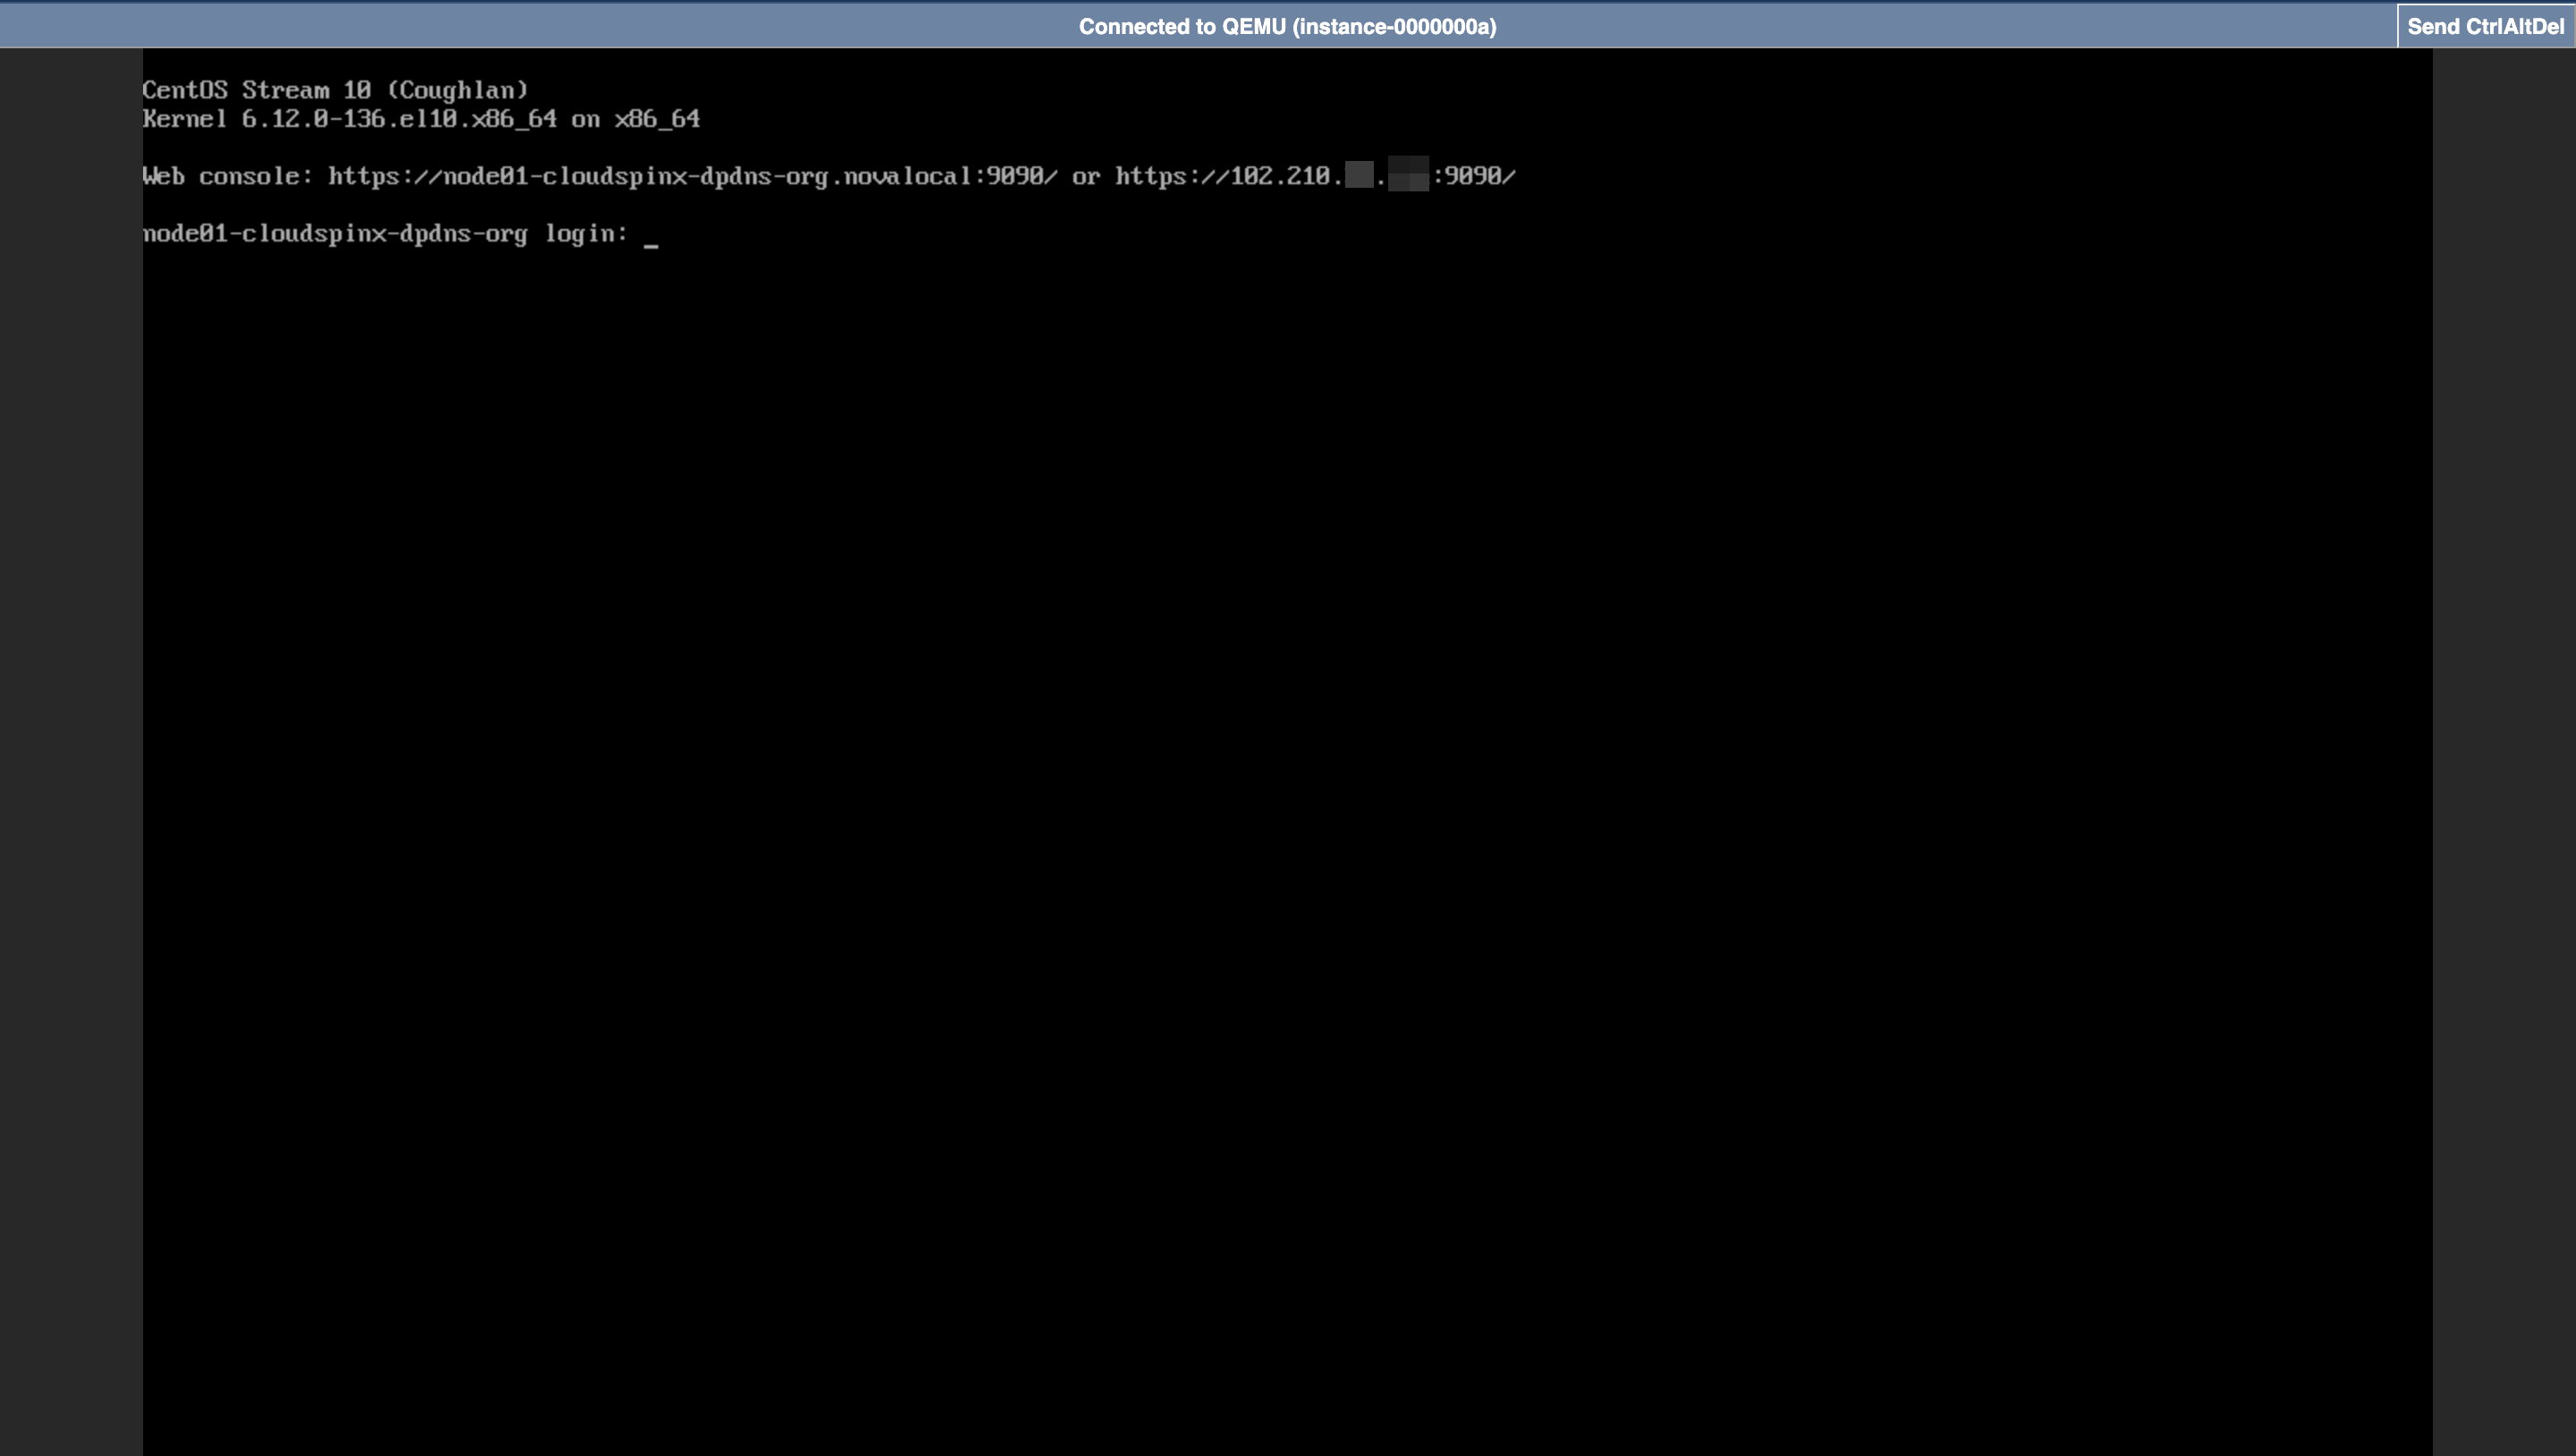
Login with the root username and Password you did set during the service ordering, or in Step 1:
Conclusion
You have now successfully created a VNC connection to your Linux VPS. For simple server operations, this web-based interface offers a handy visual interface. Remember that SSH is still your greatest buddy when it comes to complex server administration duties.
