Congratulations on your new Vilcom Linux VPS! Now that you've got a powerful server at your disposal, it's time to unlock its potential. This guide will walk you through the process of connecting to your VPS using SSH (Secure Shell), the secure industry standard for remote server access.
Why Use SSH?
SSH provides a secure and encrypted way to manage your Linux VPS. Unlike password authentication, SSH utilizes private and public key pairs to verify your identity, adding an extra layer of protection for your server.
Downloading Your SSH Keys
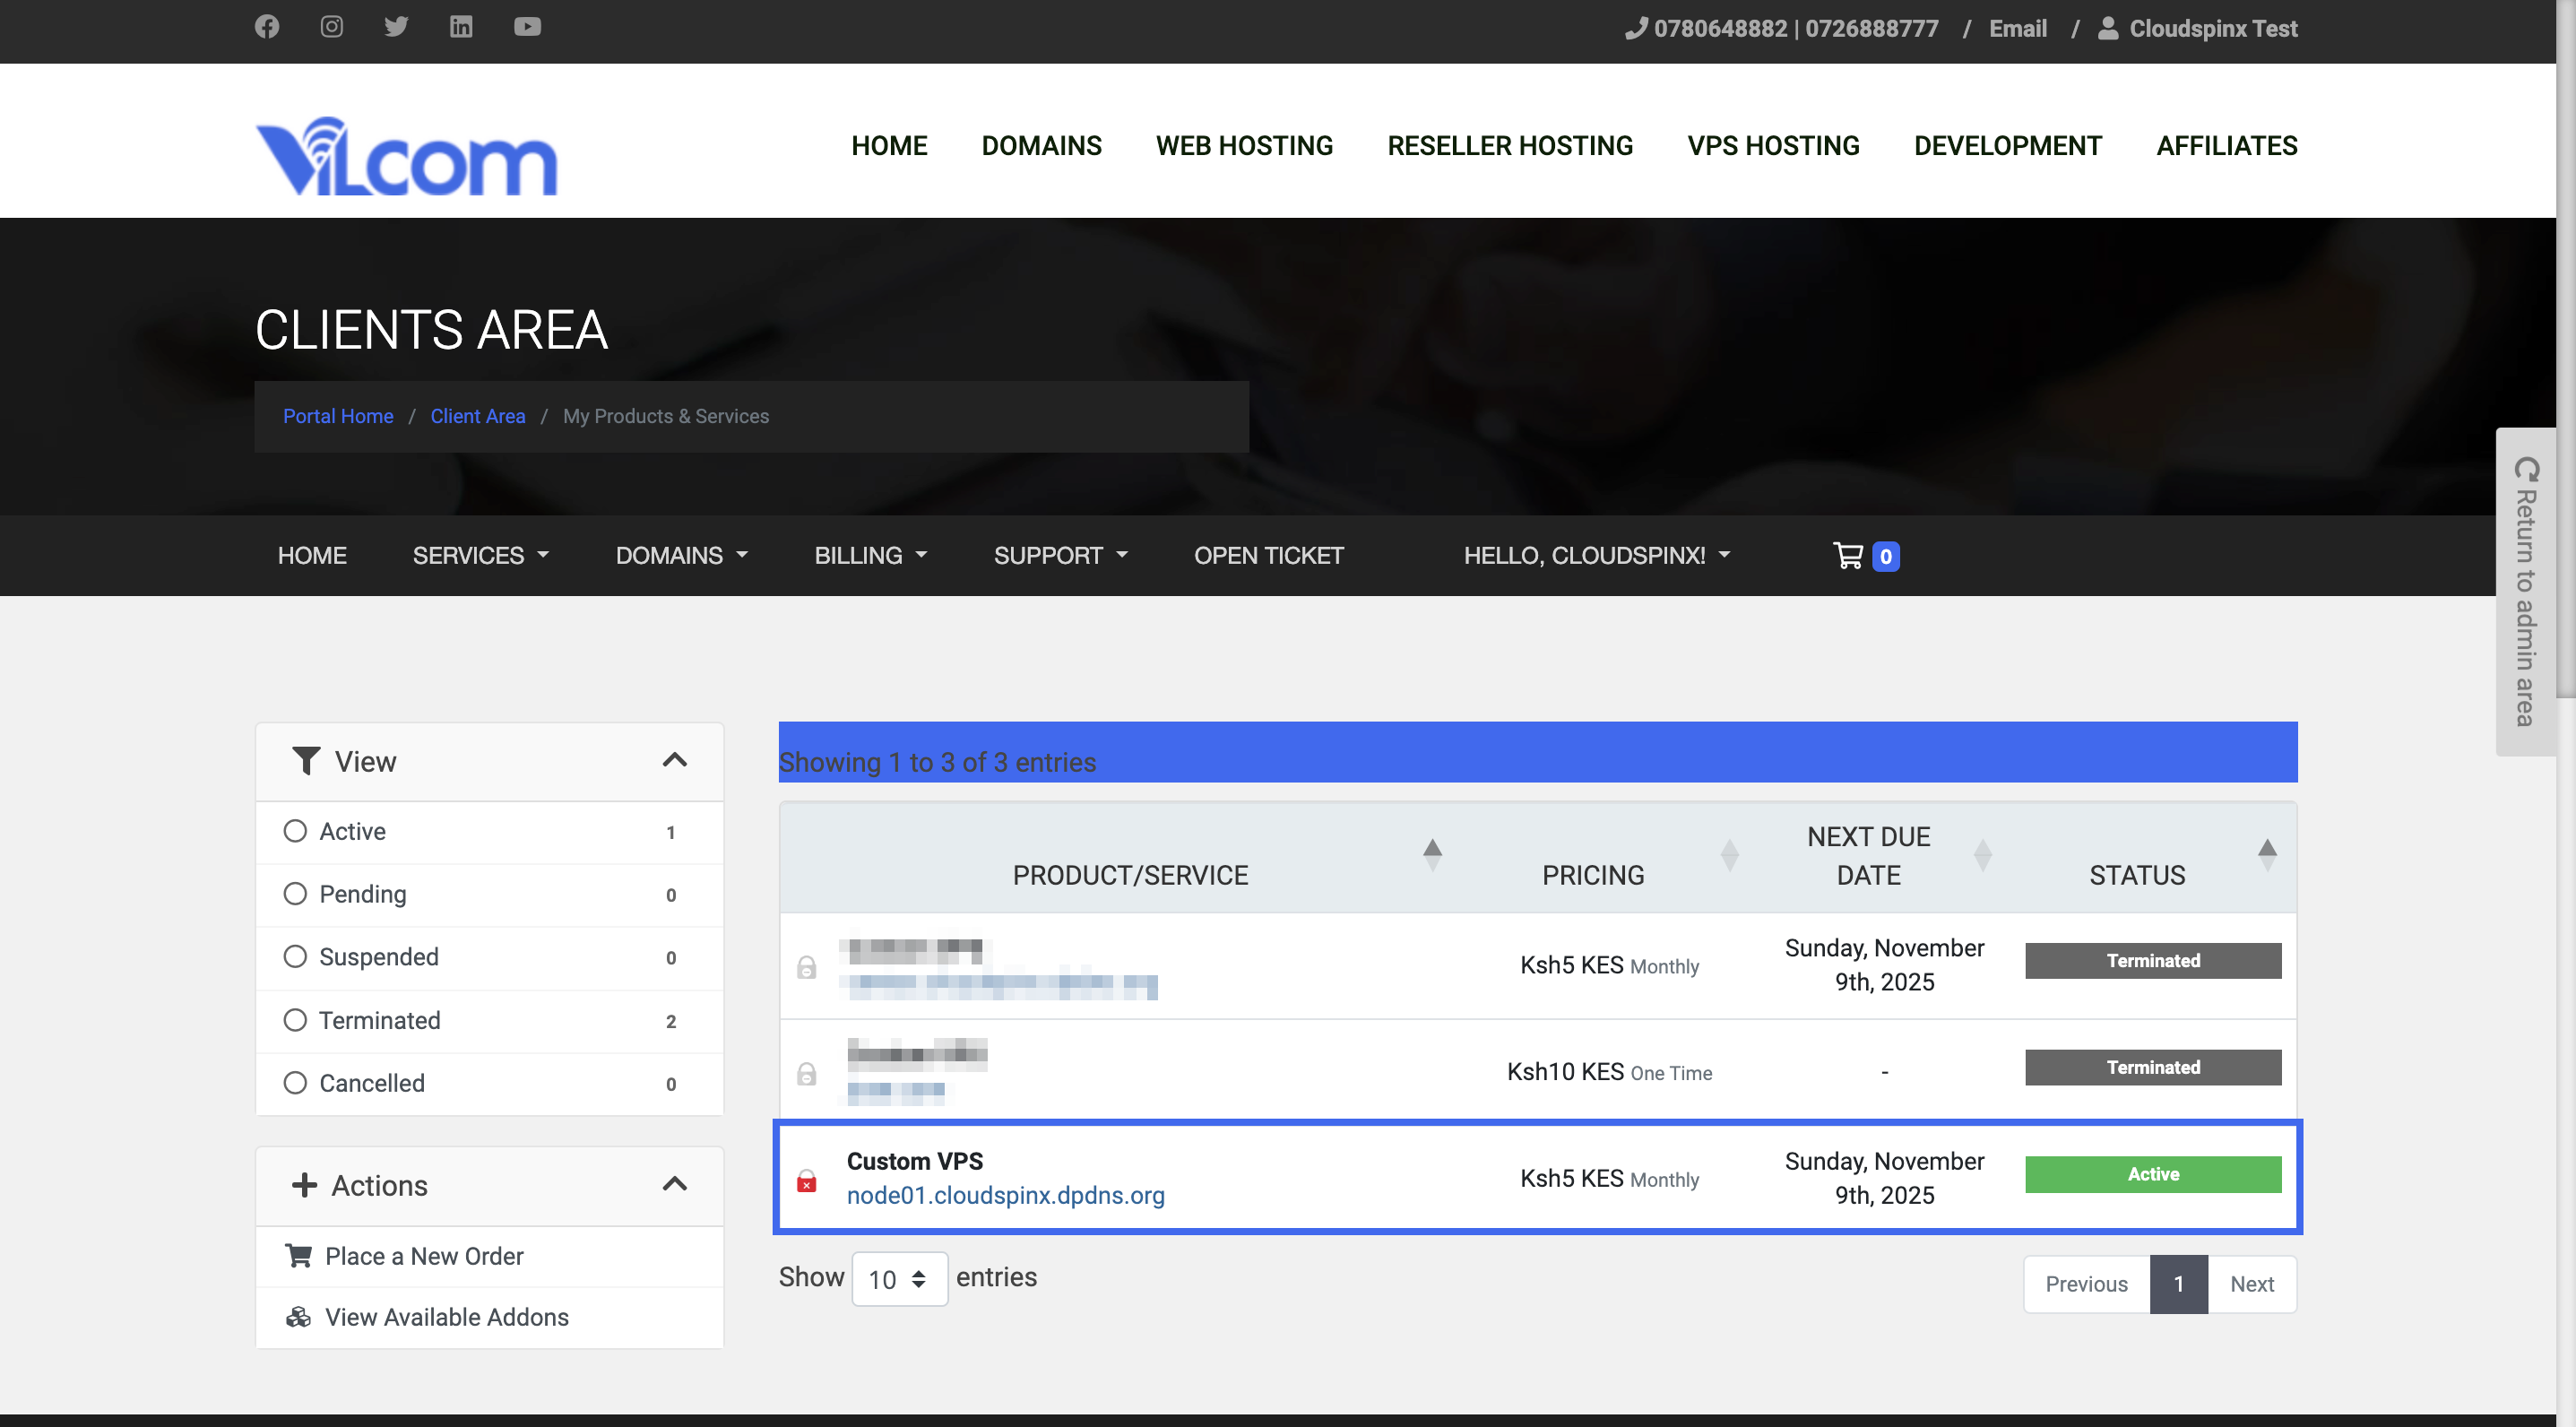
Log in to your Vilcom Client Area, then navigate to Services and select your specific Linux VPS service.

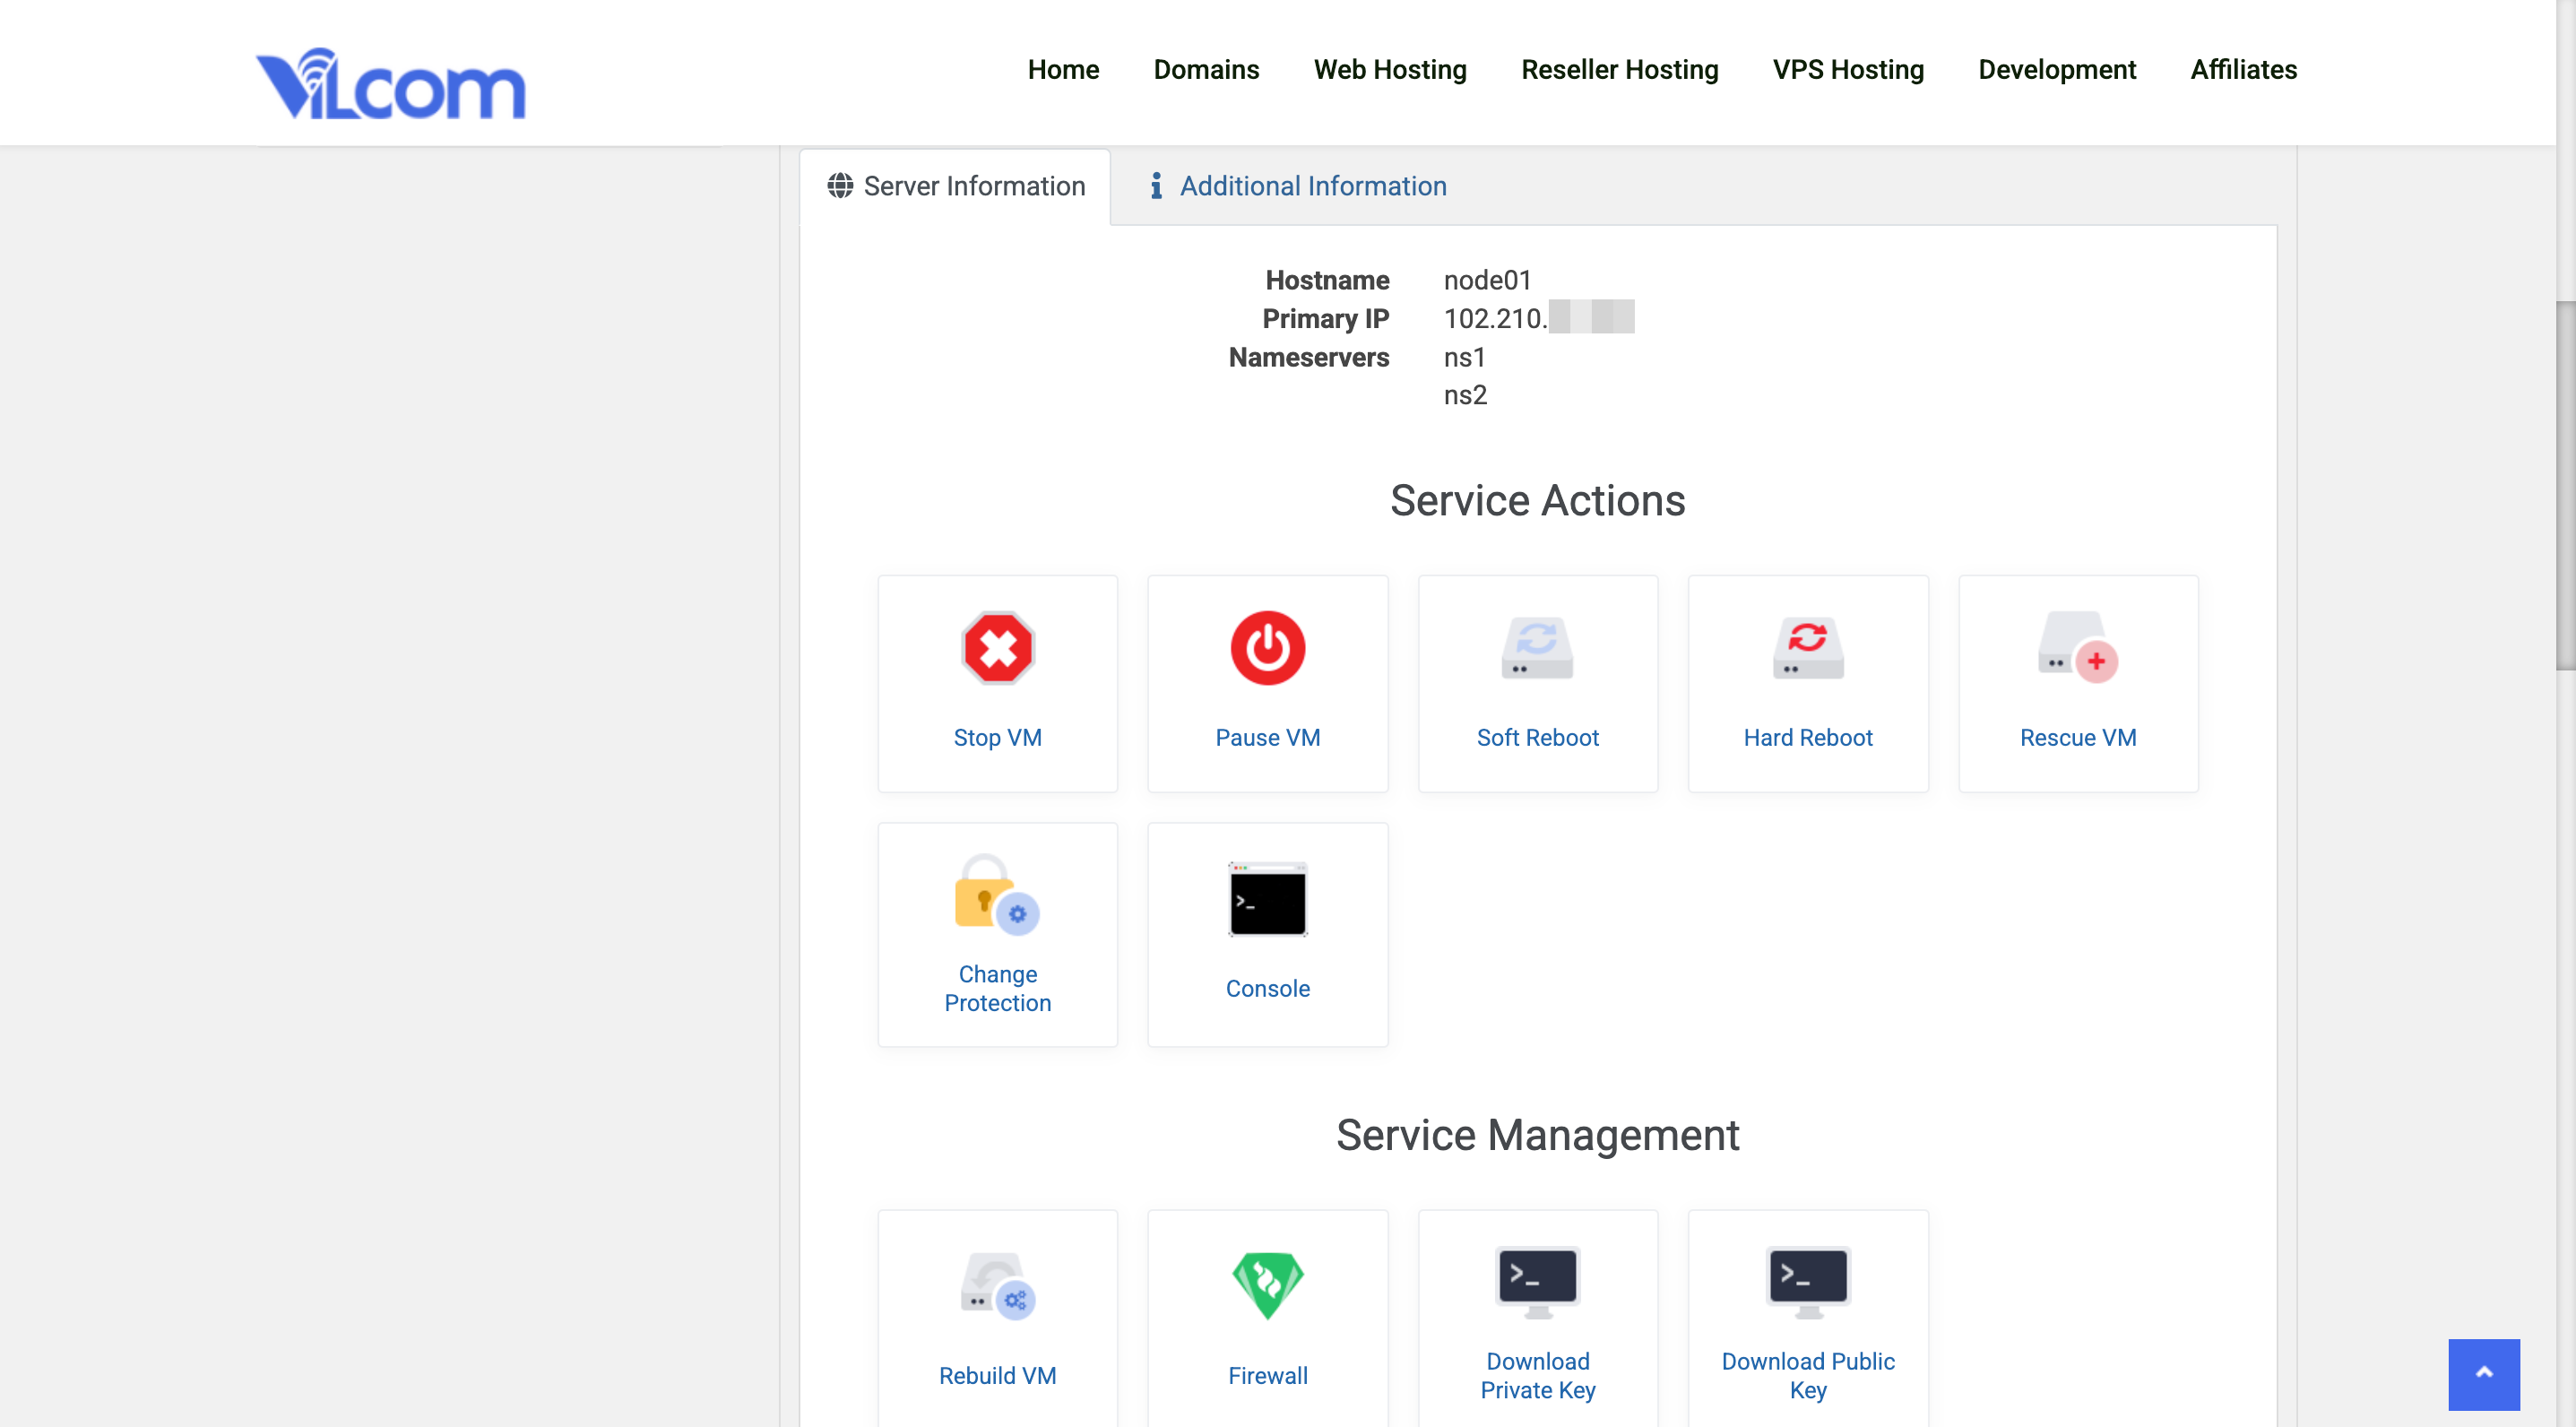
On the service management page, locate the "Service Management" section.
Extra VMN instance details such as Status, IP address, Current OS base image, RAM, Disk, vCPUs is shown.
You will see two buttons: Download Private Key and Download Public Key.
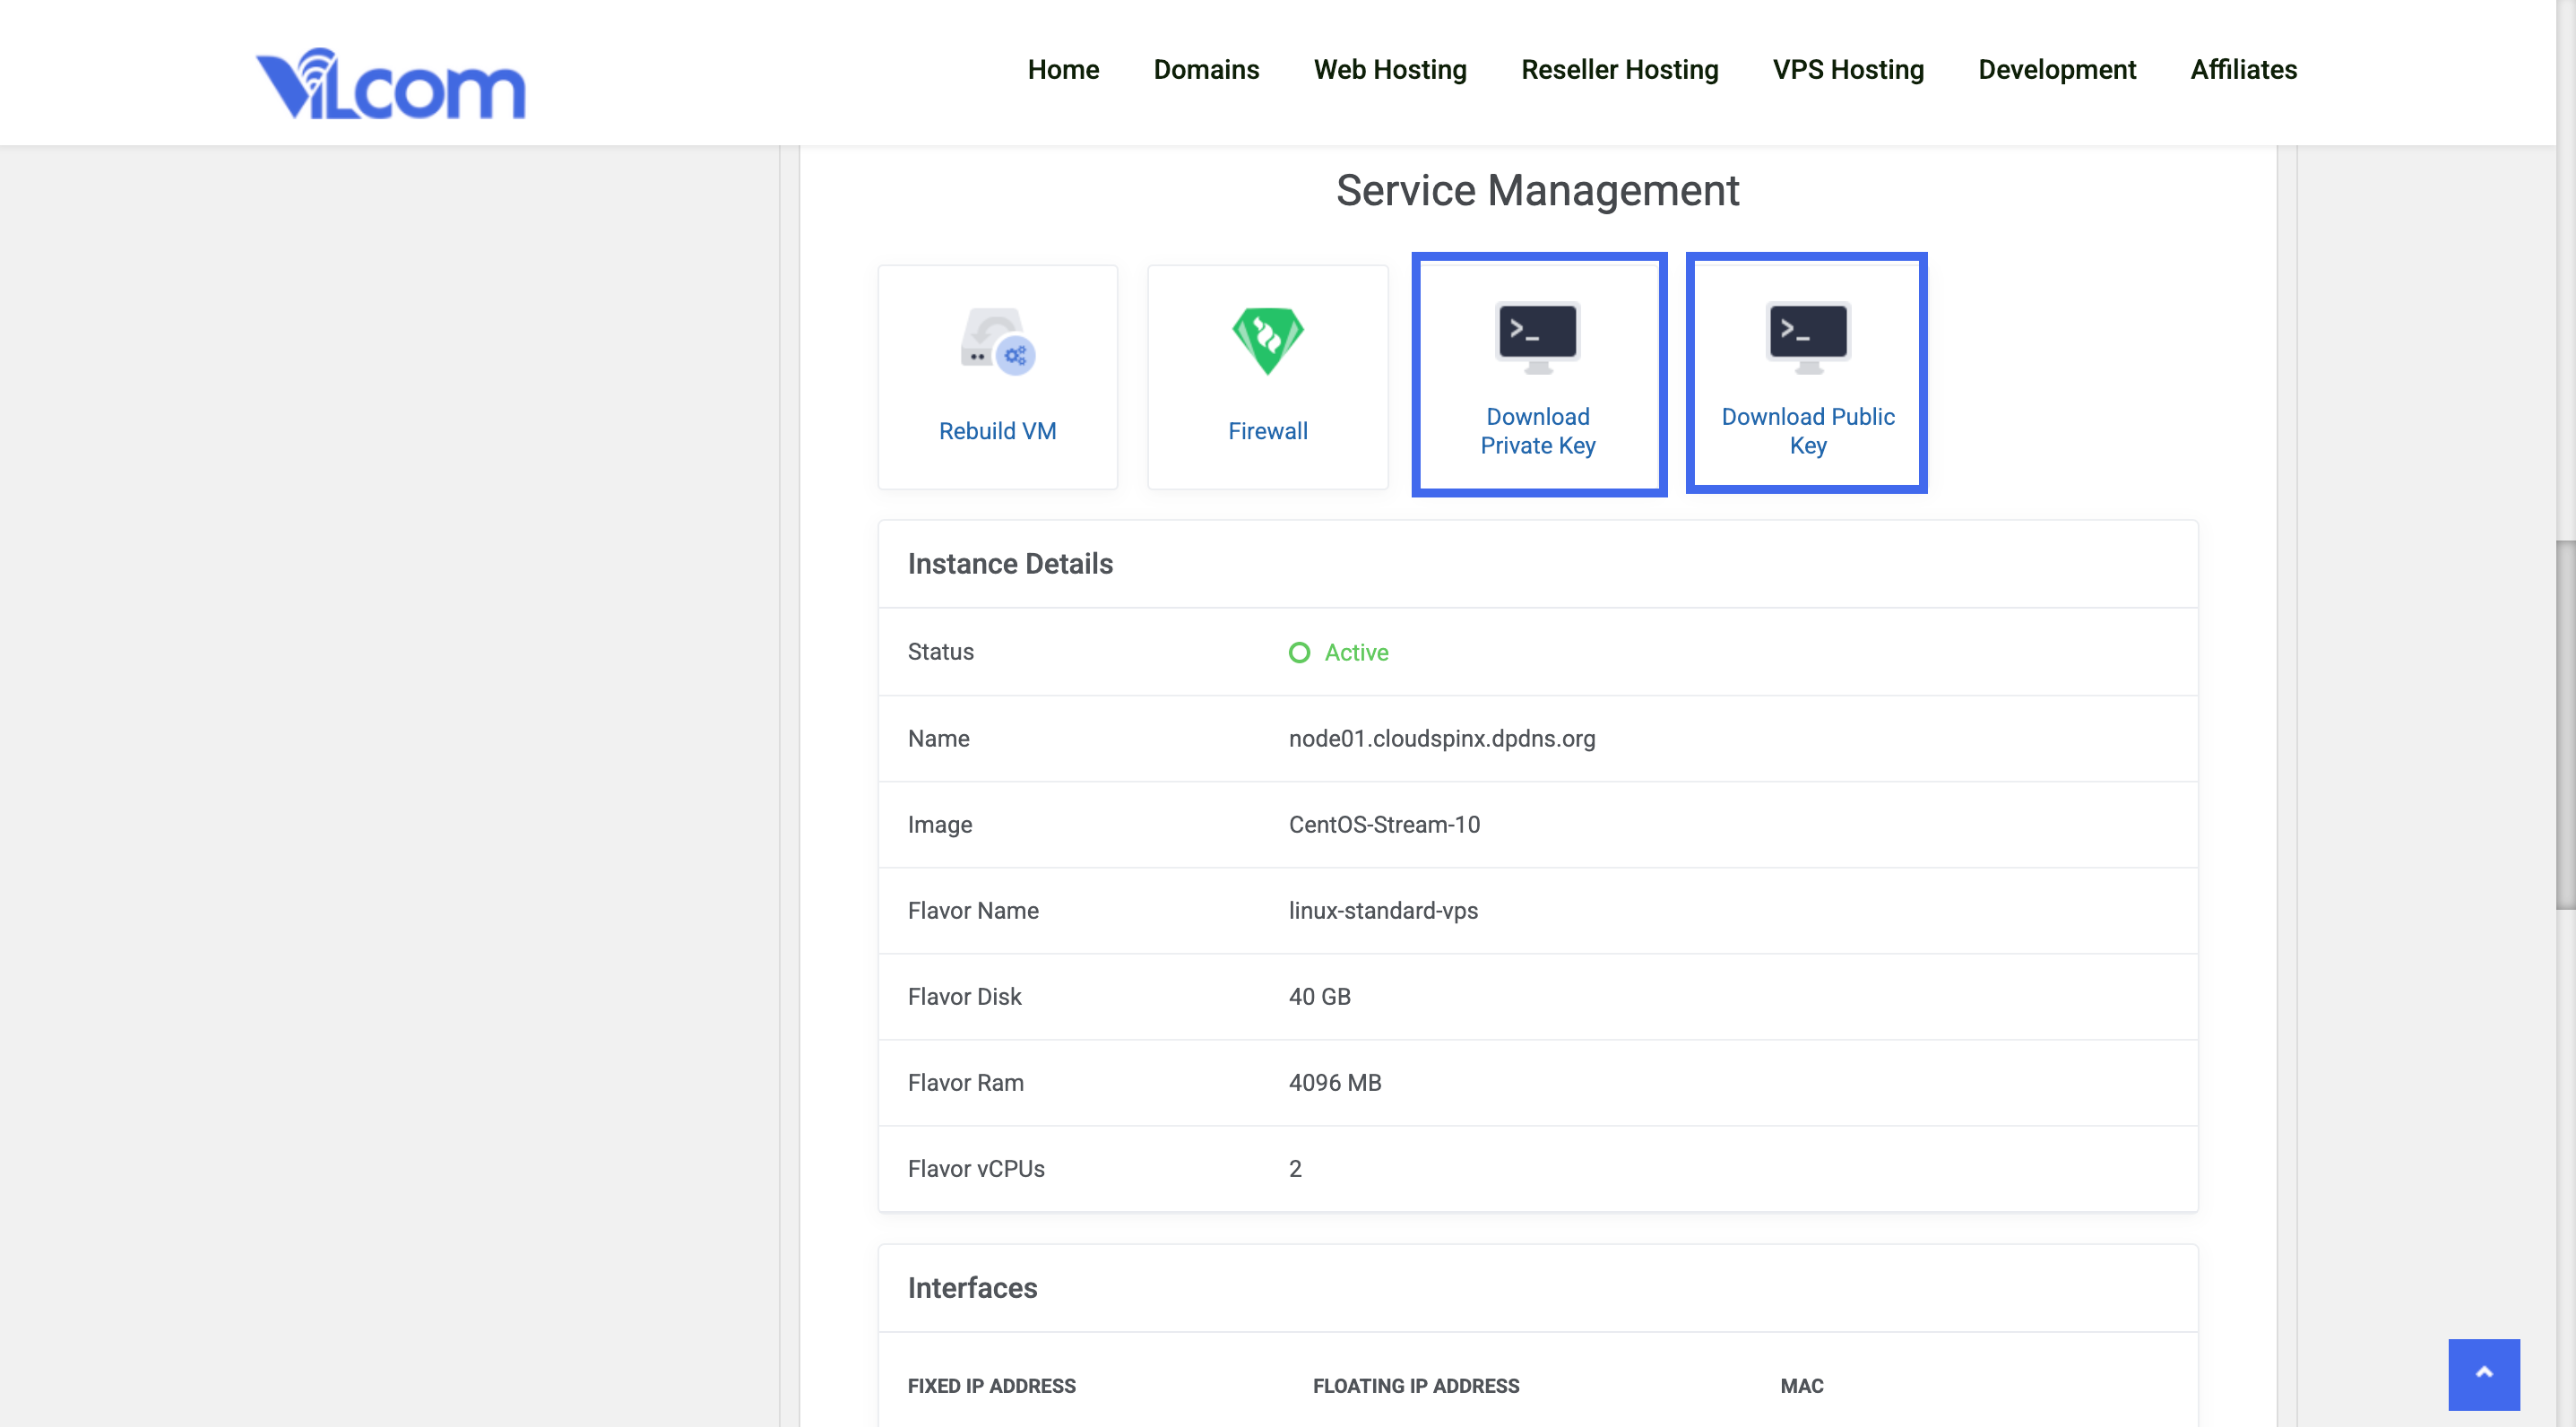
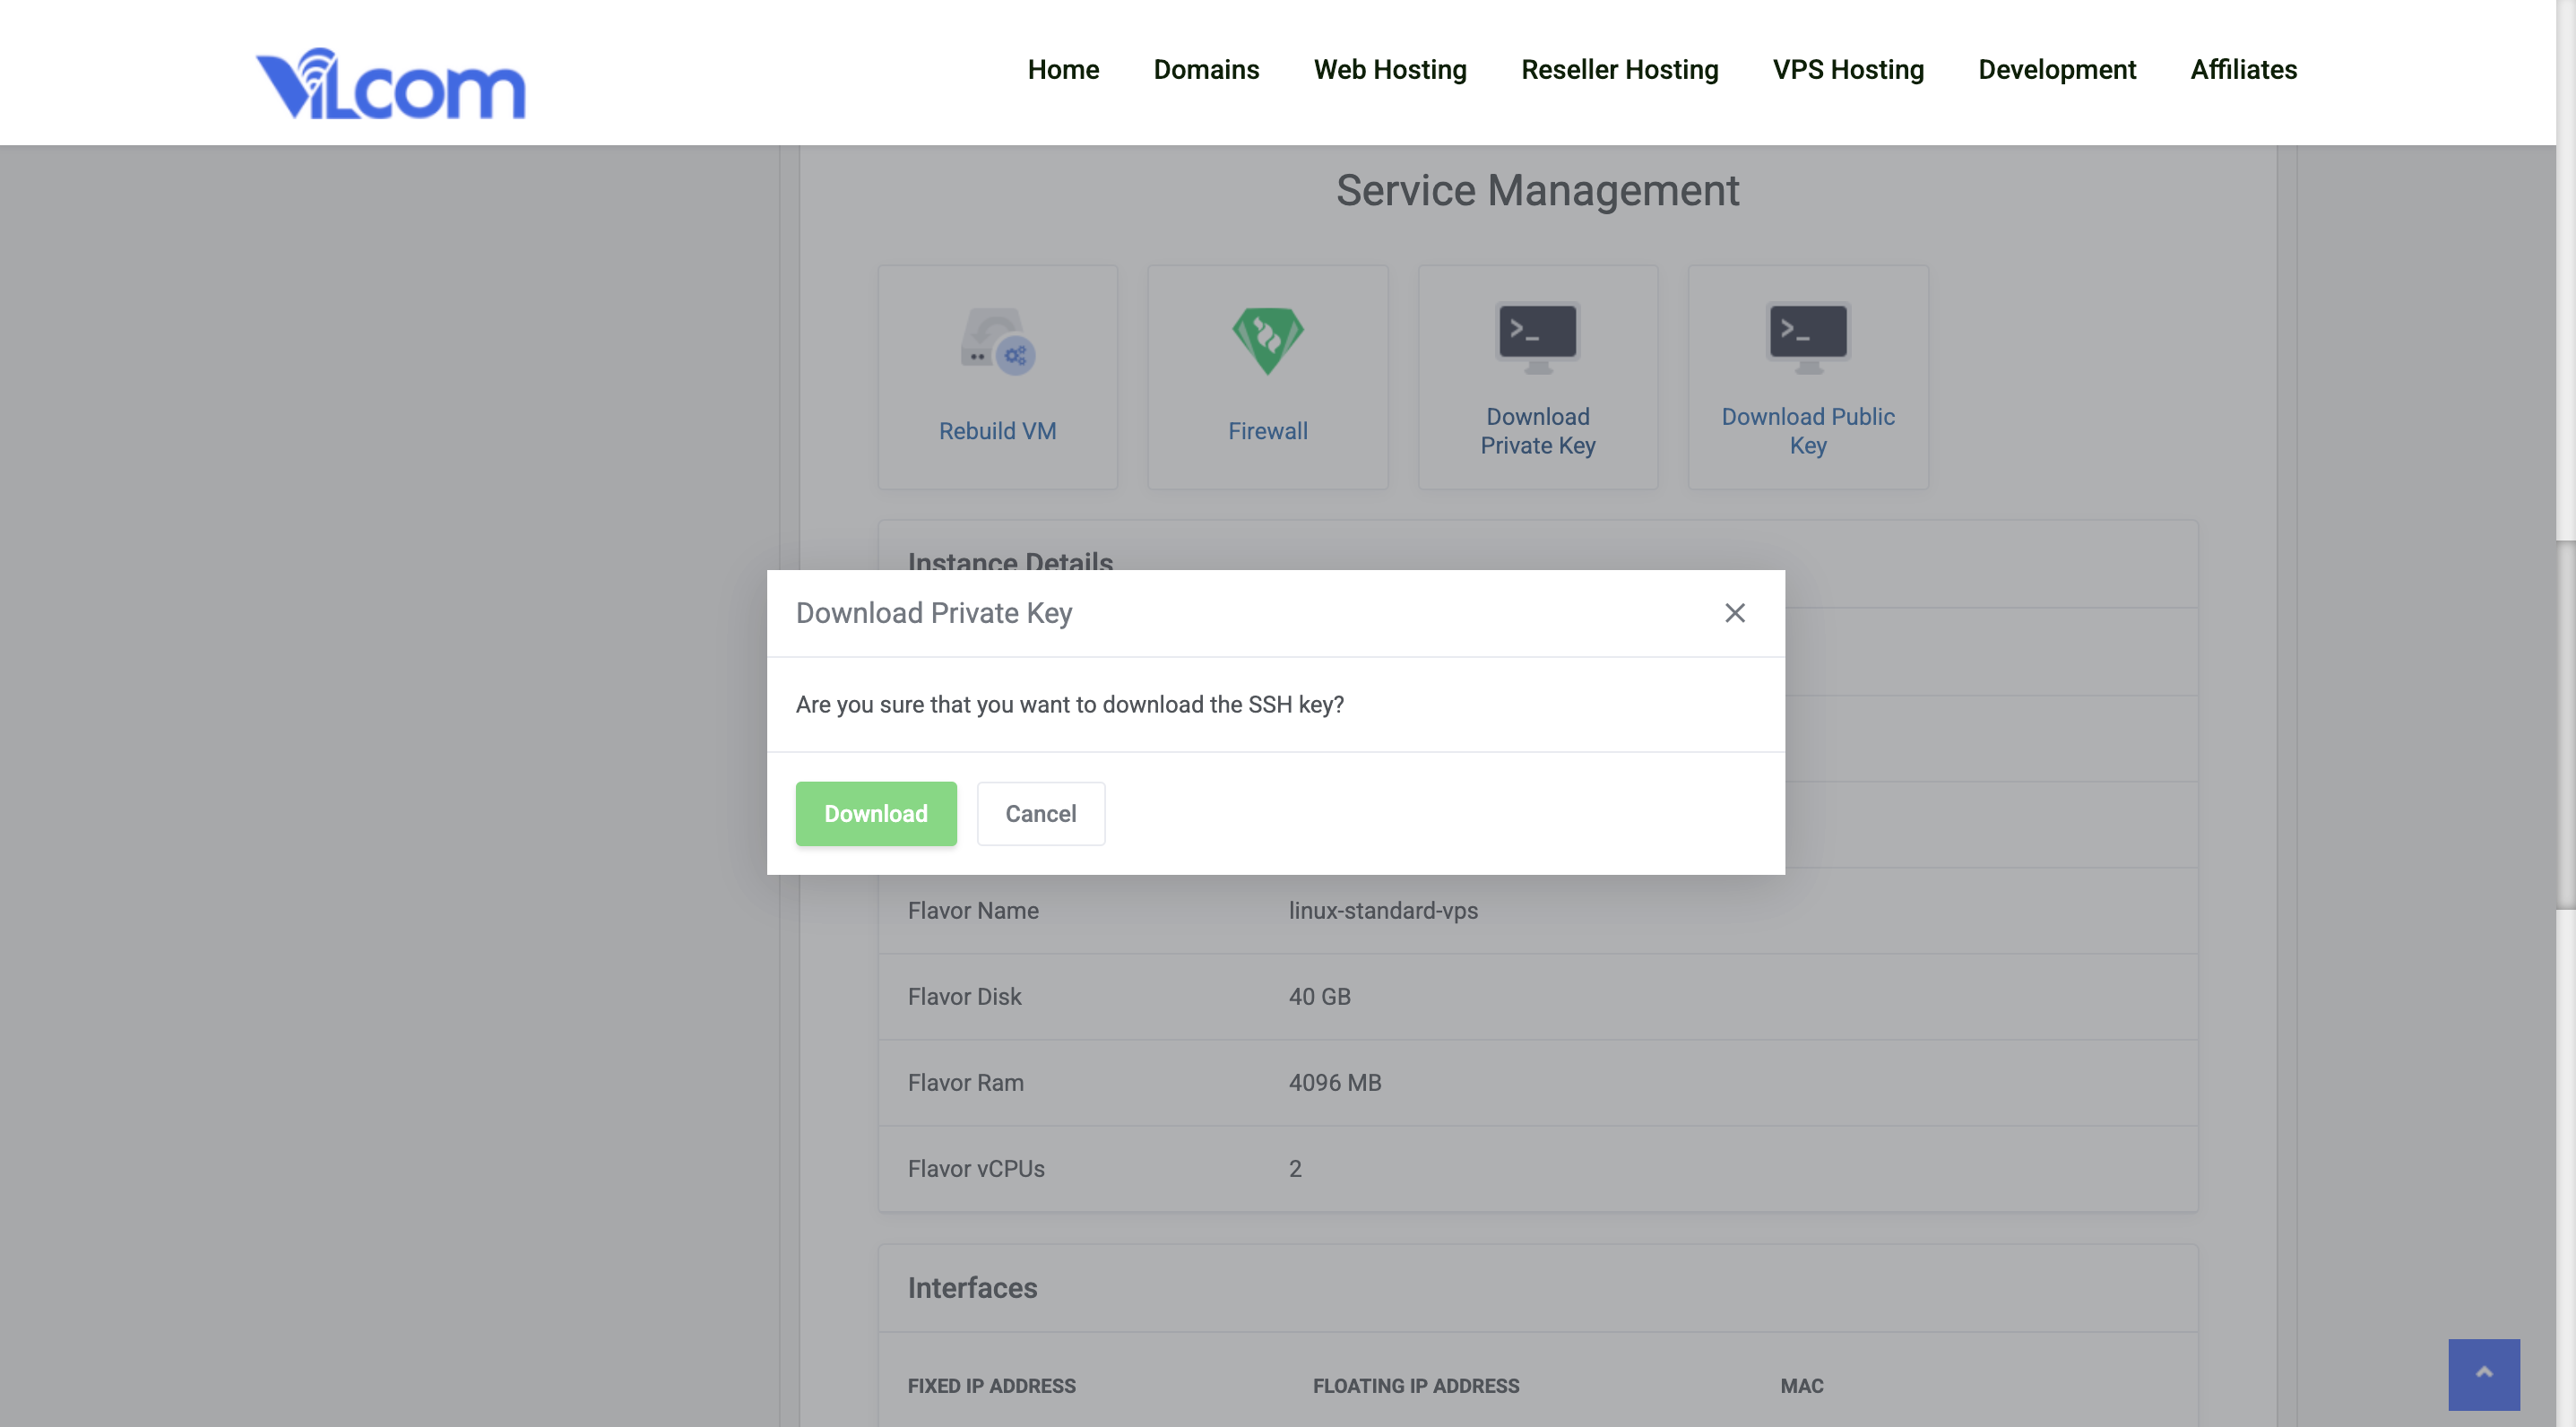
- Download Private Key: This is the essential key that grants you access to your VPS. Keep this file secure! Never share your private key with anyone.
- Download Public Key (Optional): This key can be added to other devices you use to connect to your VPS. Since password login is disabled, having the public key on other devices allows for easier access.
Setting Up Your SSH Client
Permissions: Before proceeding, ensure your downloaded private key file has the correct permissions.
1: Connecting from Linux/macOS
Open your terminal application (Terminal on macOS, default terminal app on Linux).
Linux / macOS user can set permissions like below for the private key.
sudo chmod 0600 /path/to/private_key
# For Example
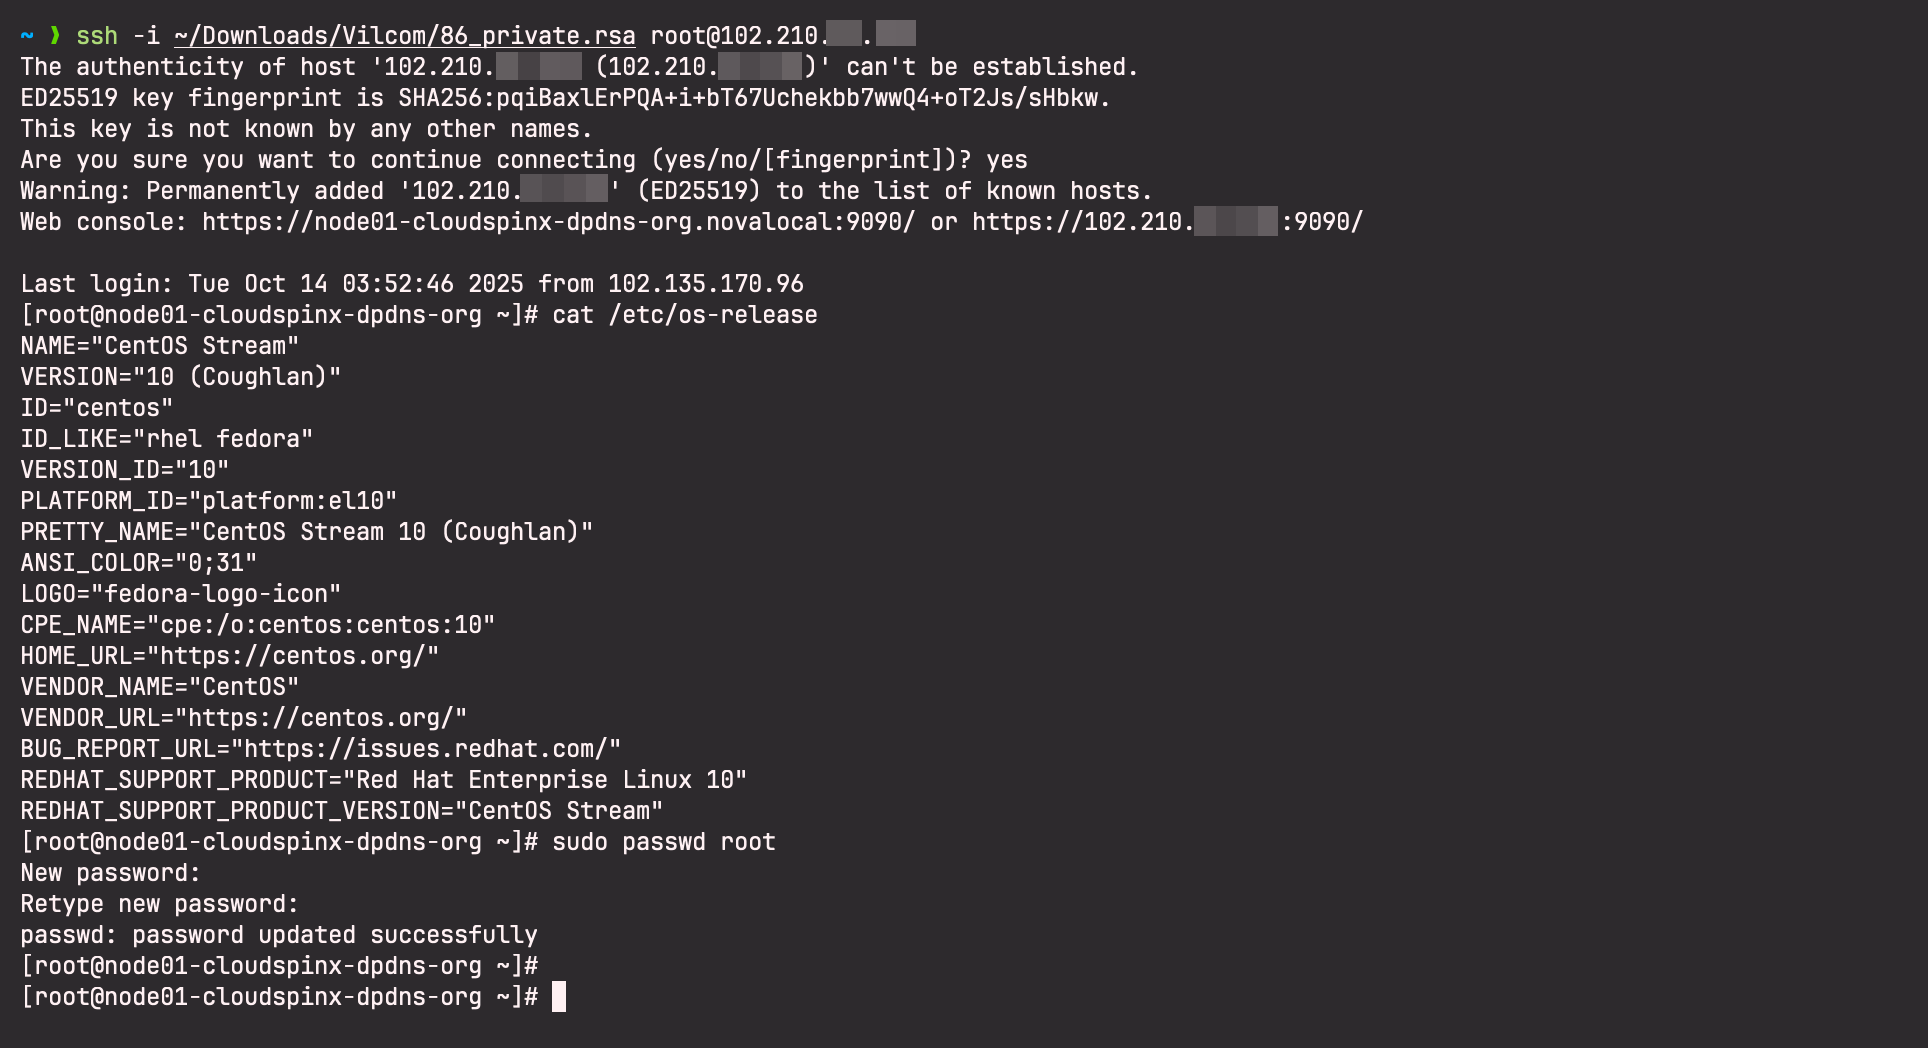
sudo chmod 0600 ~/Downloads/86_private.rsaOnce the permissions are set correctly, use the following command syntax to connect to your VPS, replacing the username with "root" (the default username for CloudSpinx Linux VPS templates) and server_ip with your actual VPS IP address (found in the service management section):
ssh -i /path/to/your/private_key root@server_ipHere is an example on how to SSH to a Vilcom Linux VPS server as root user. The path to private key in this example is ~/Downloads/86_private.rsa
2: Connecting from Windows
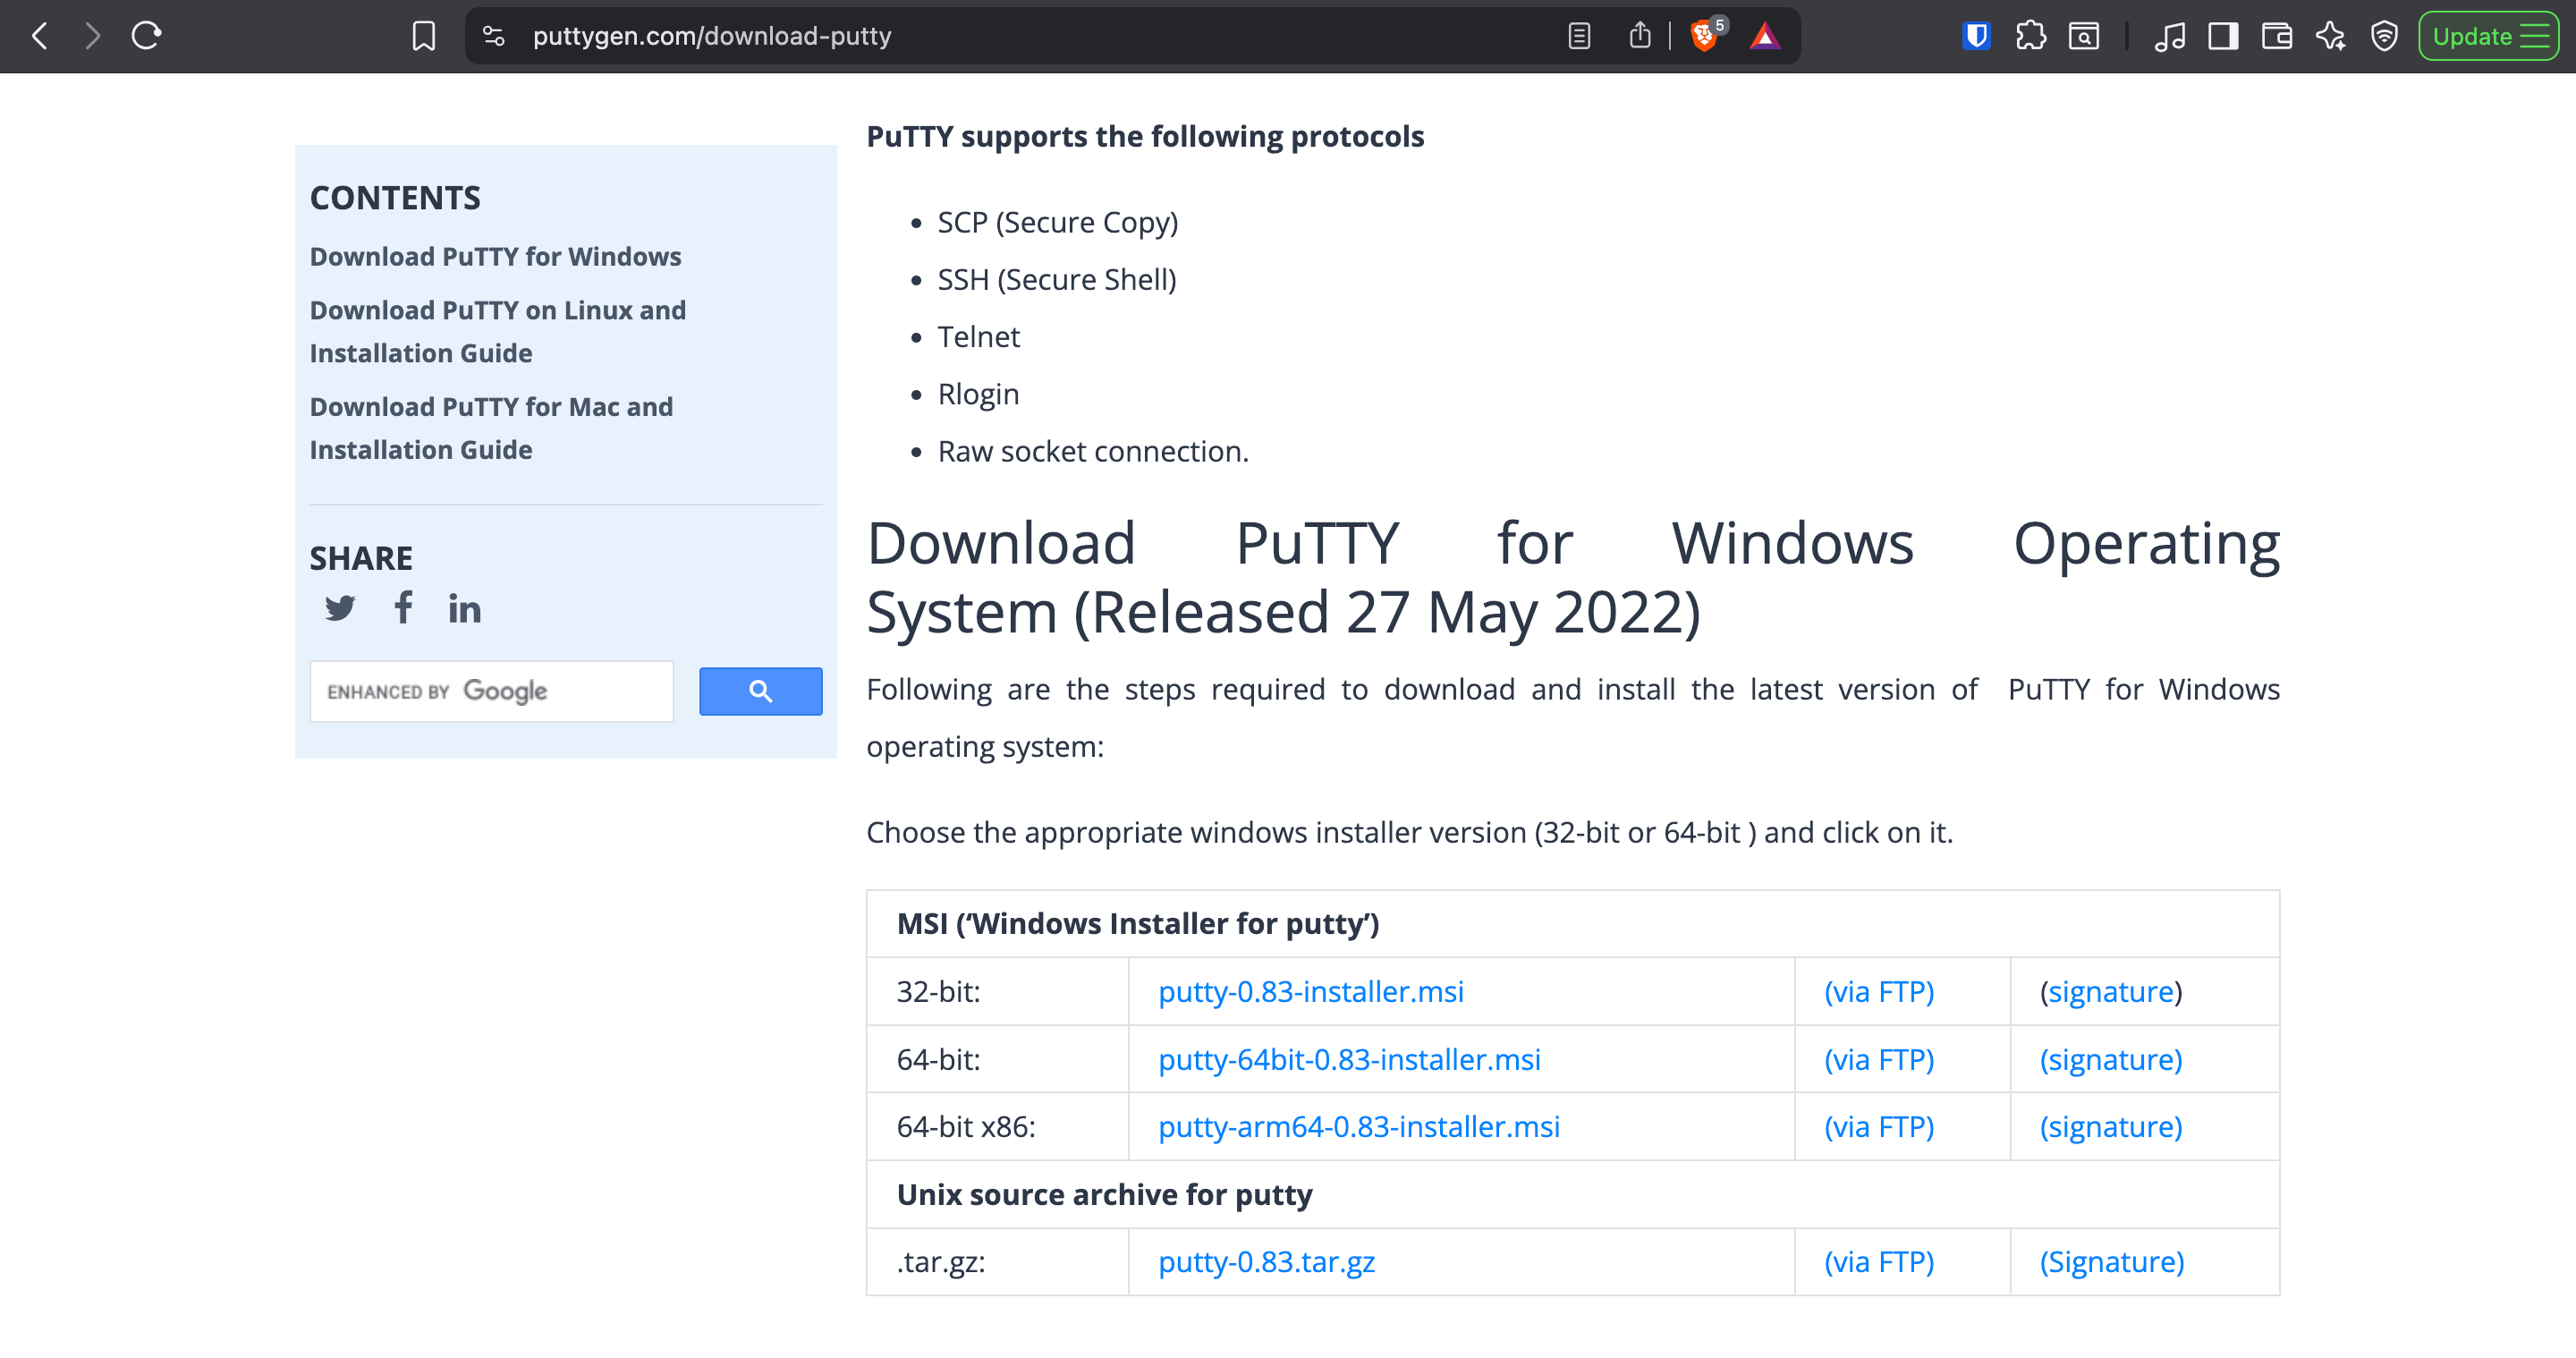
Download and save private key to a directory in your windows machine, then download and Install PuTTygen tool. Choose an installer suitable for your machine CPU.
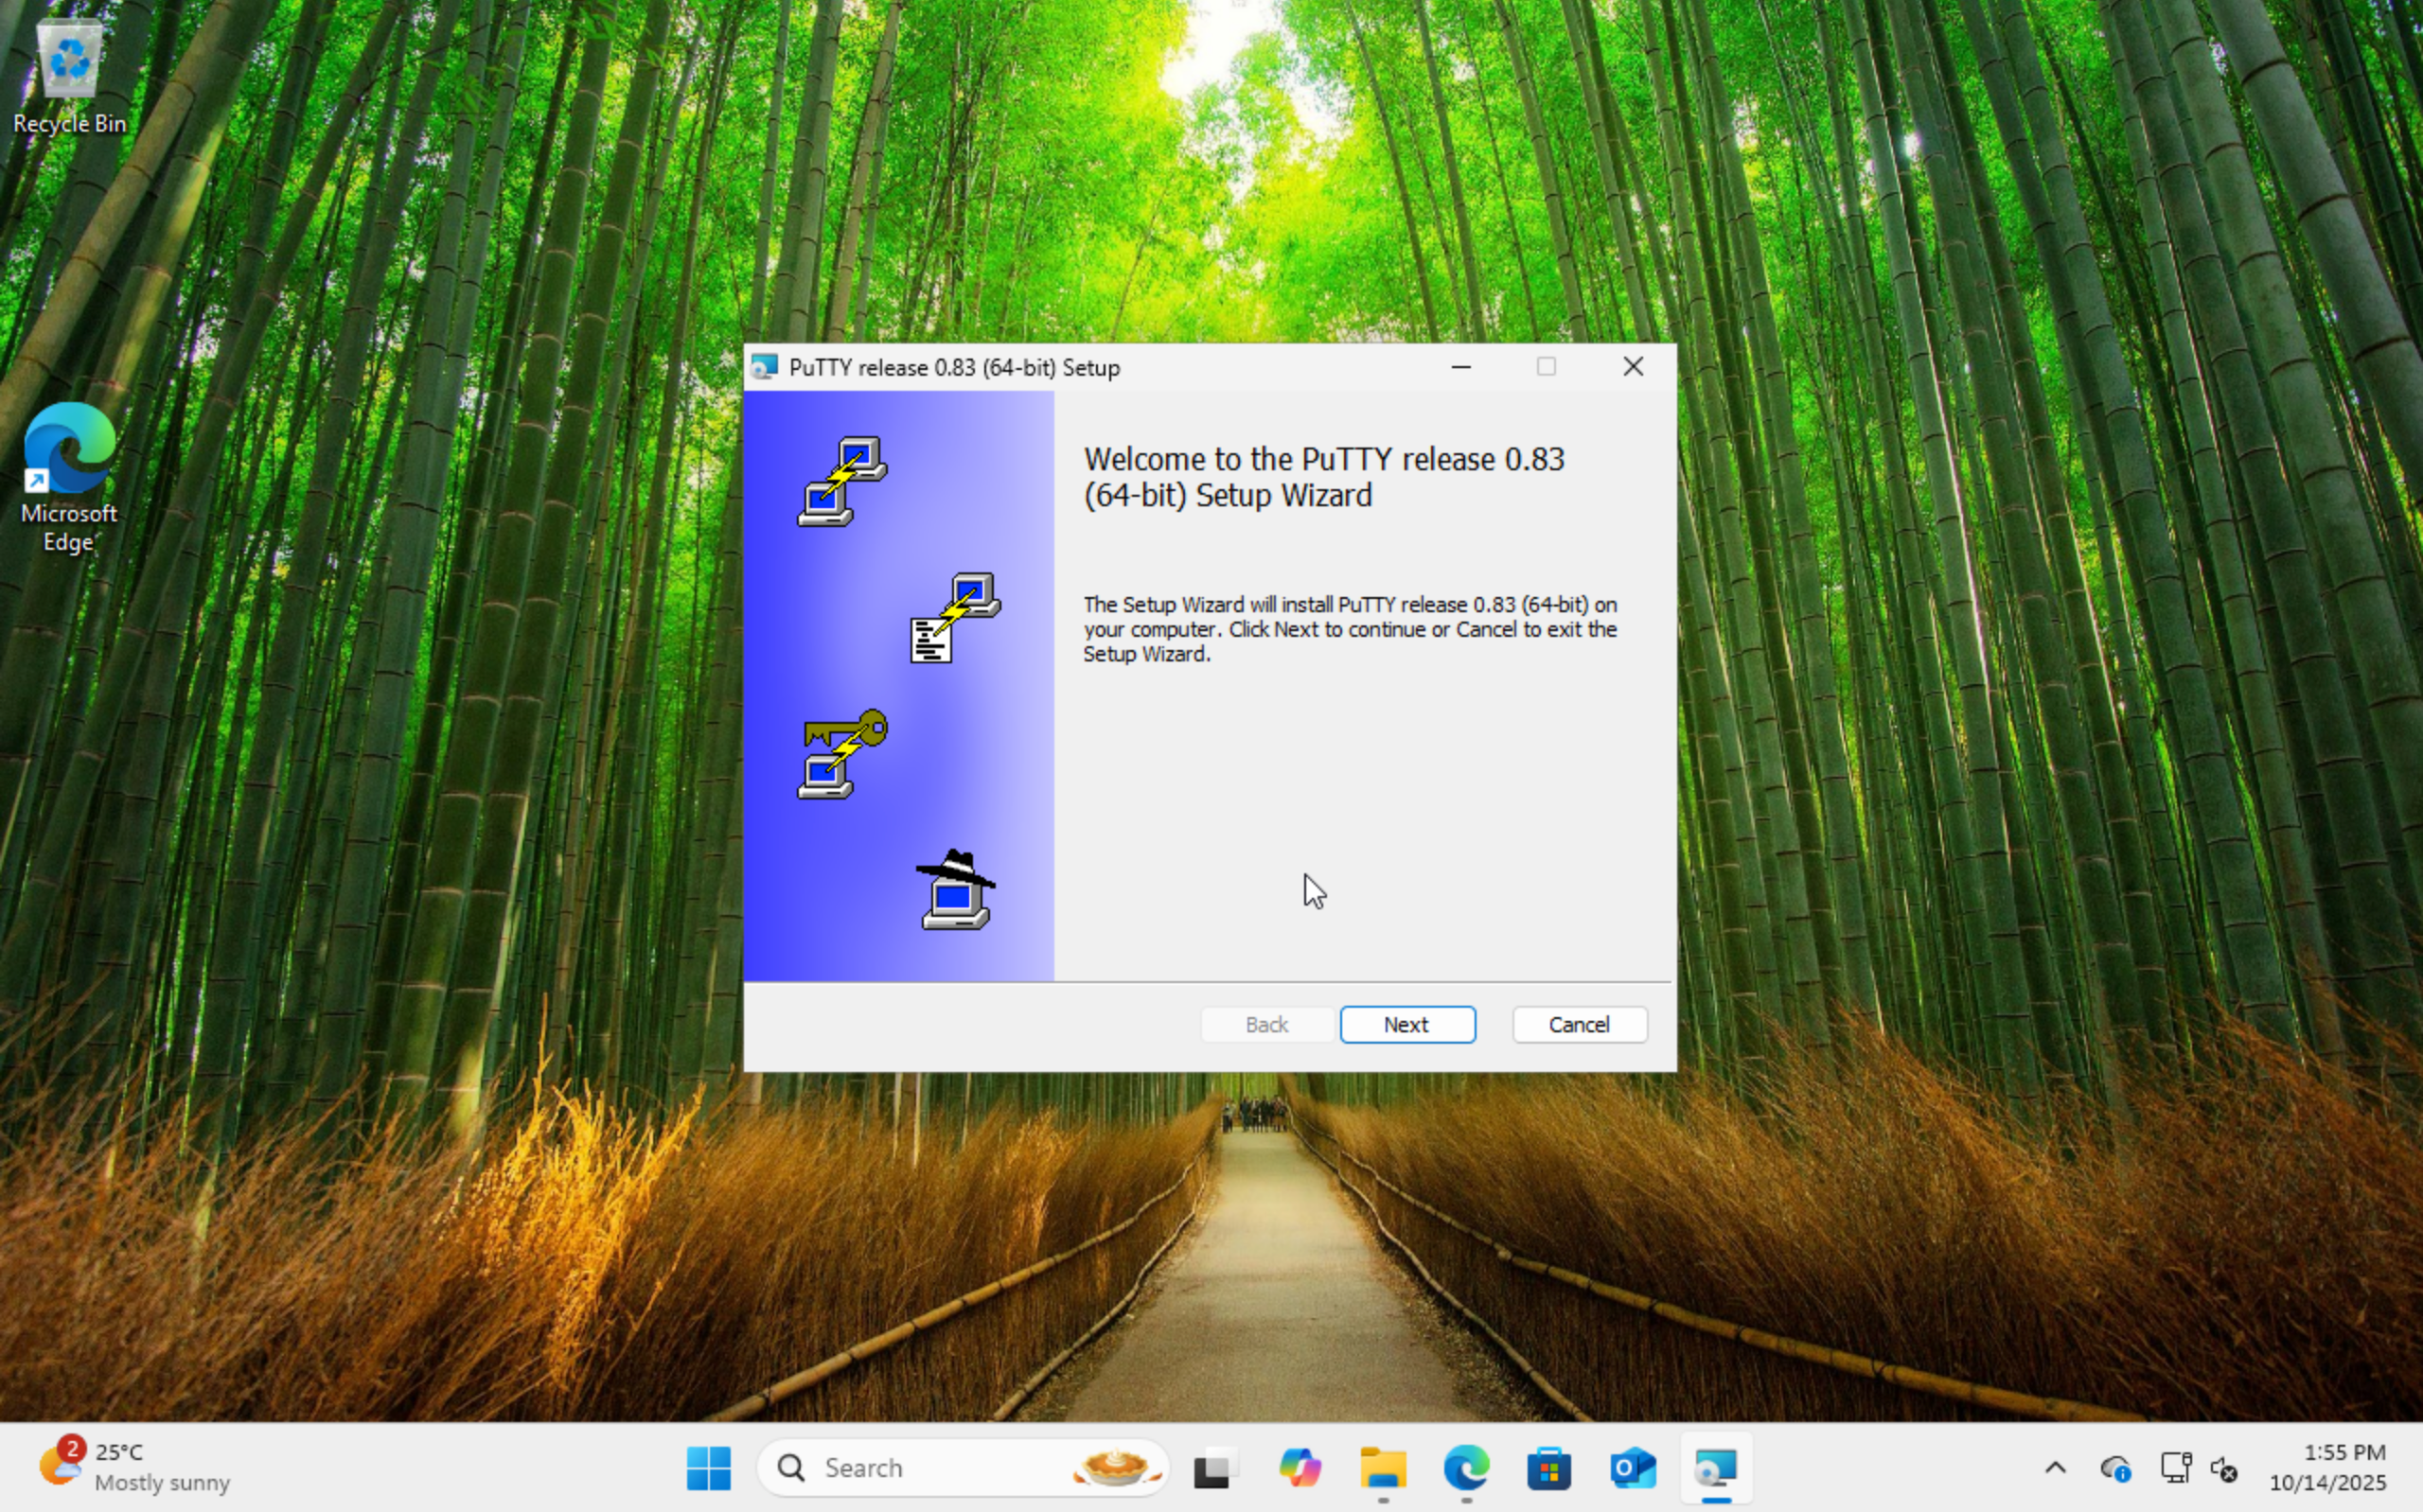
Begin installation by double-clicking .exe file downloaded and follow the prompts.
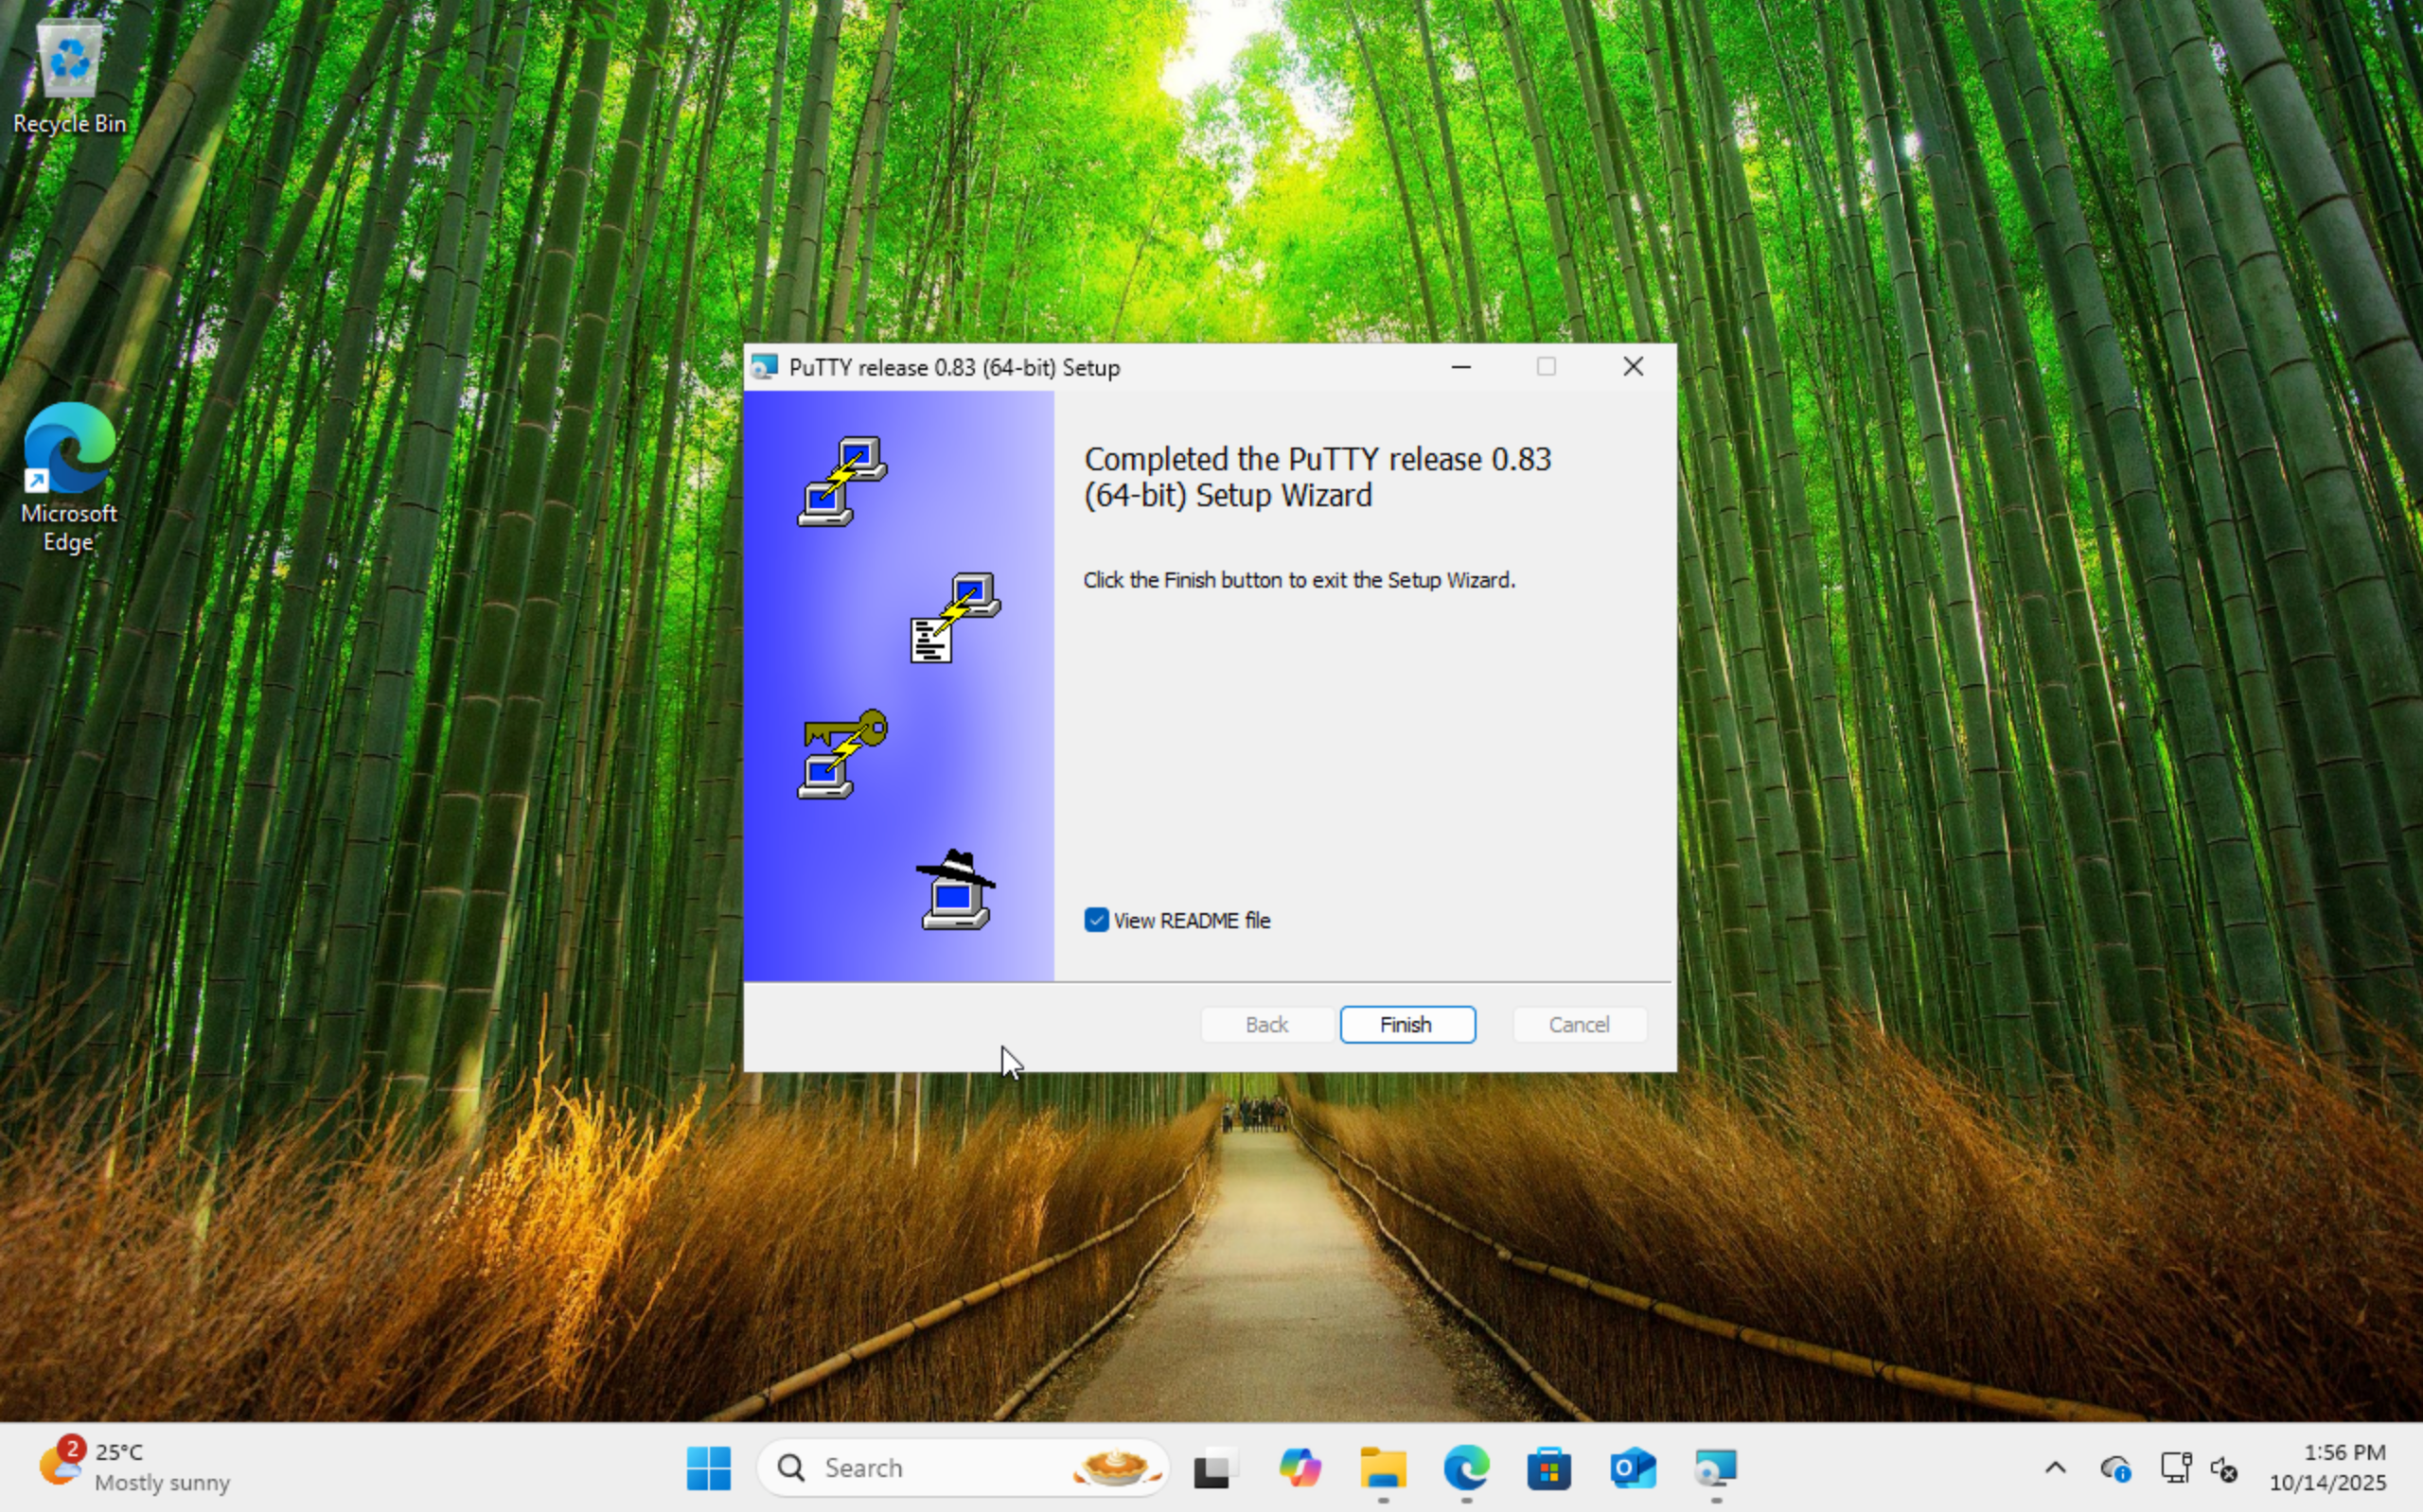
Click Finish when the installation is done.
Search for "PuTTYgen" and open it.

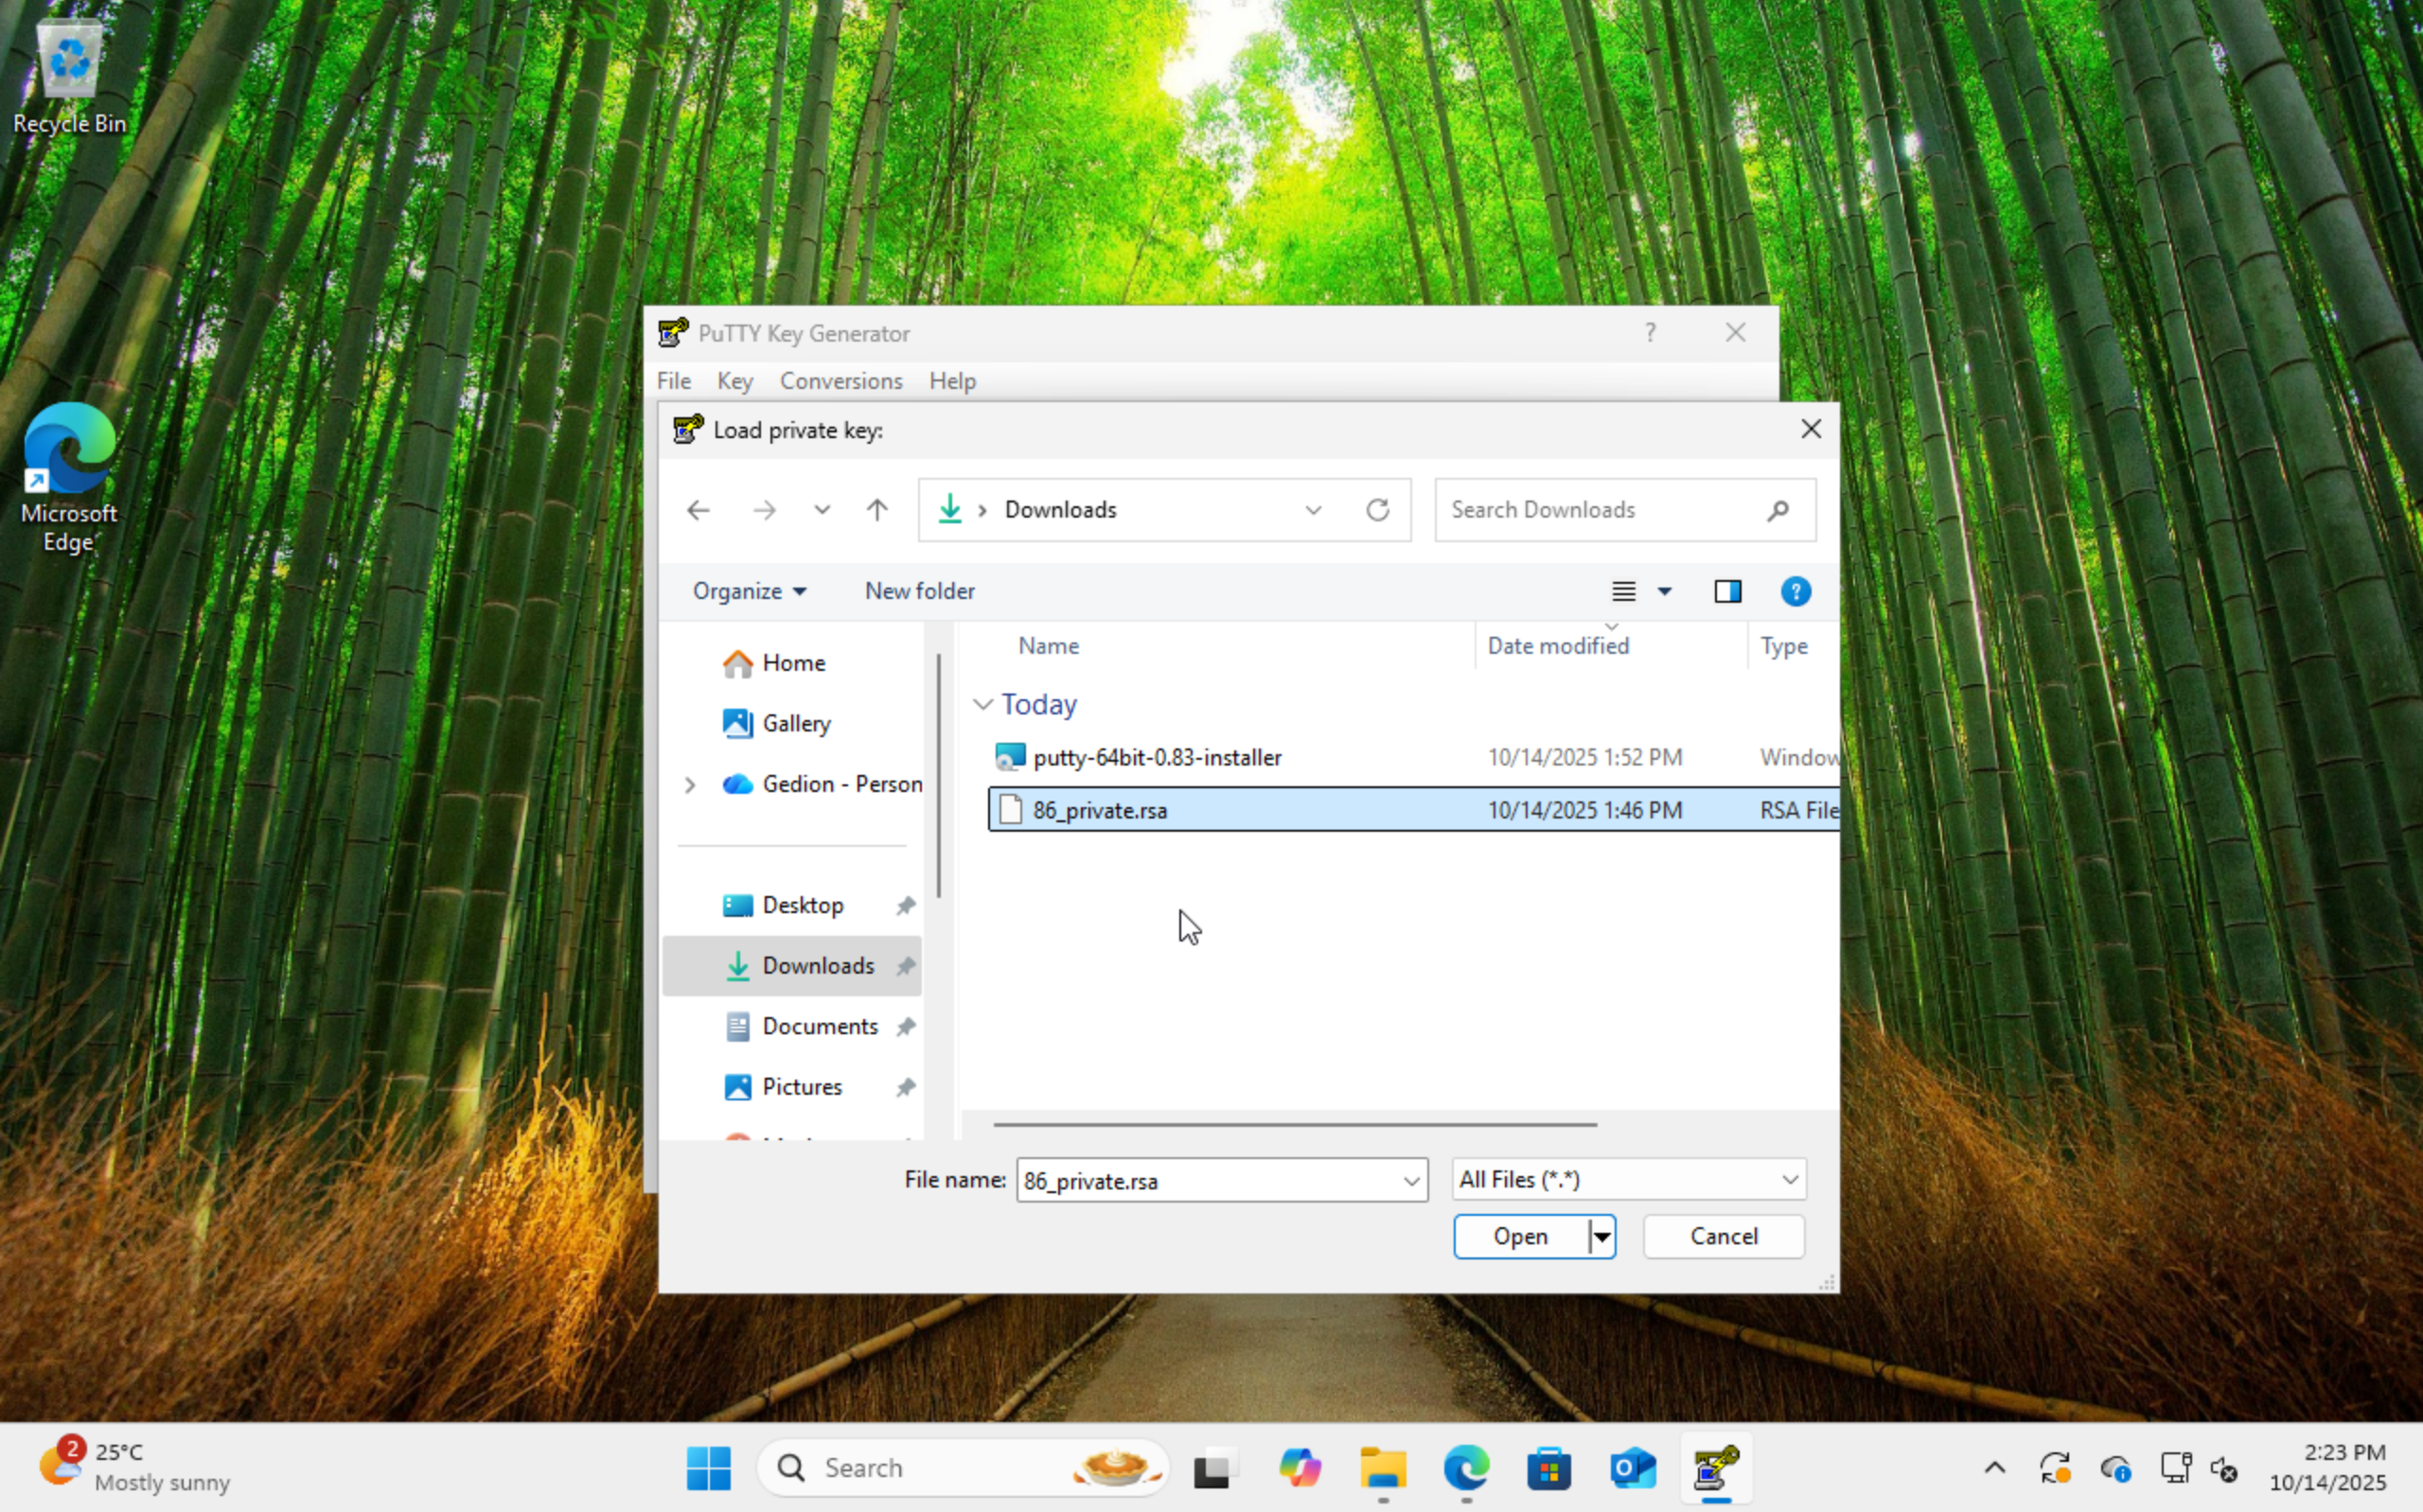
Go to "Conversions" > "Import Key".
 Open the private key file that you downloaded earlier.
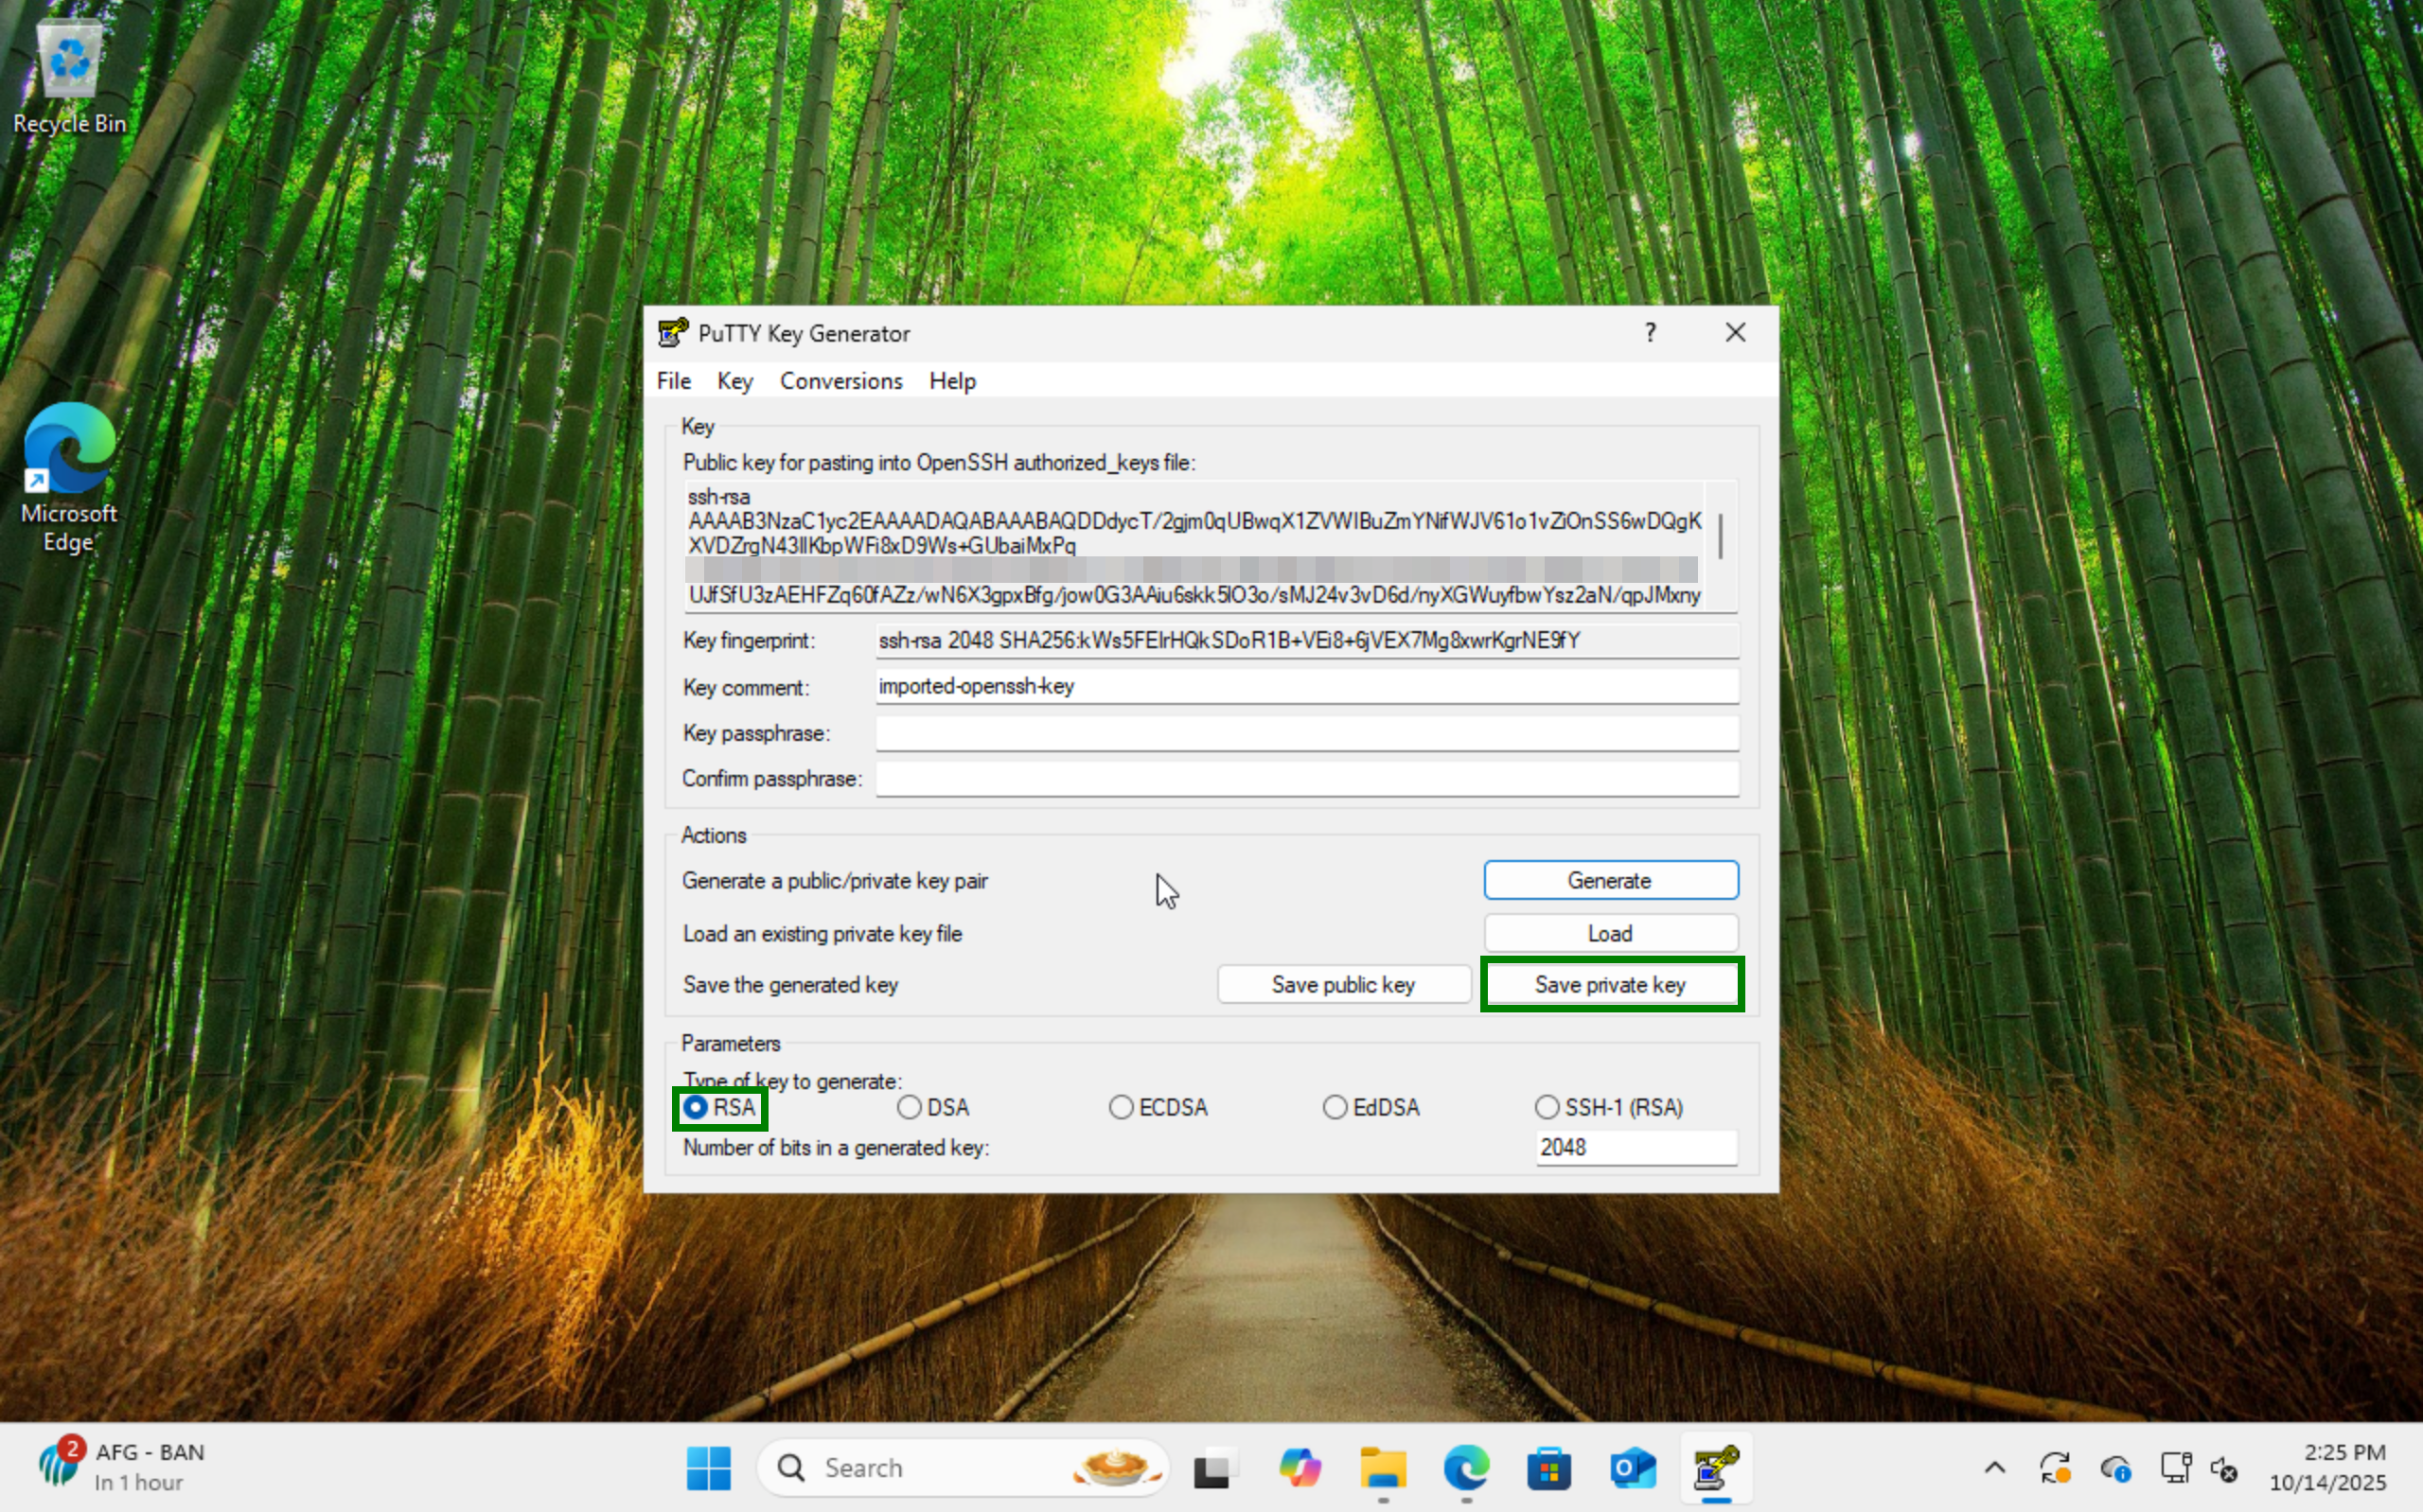
Tick "RSA" under Type and "Save Private Key". You can optionally add Keyphrase to secure the key.
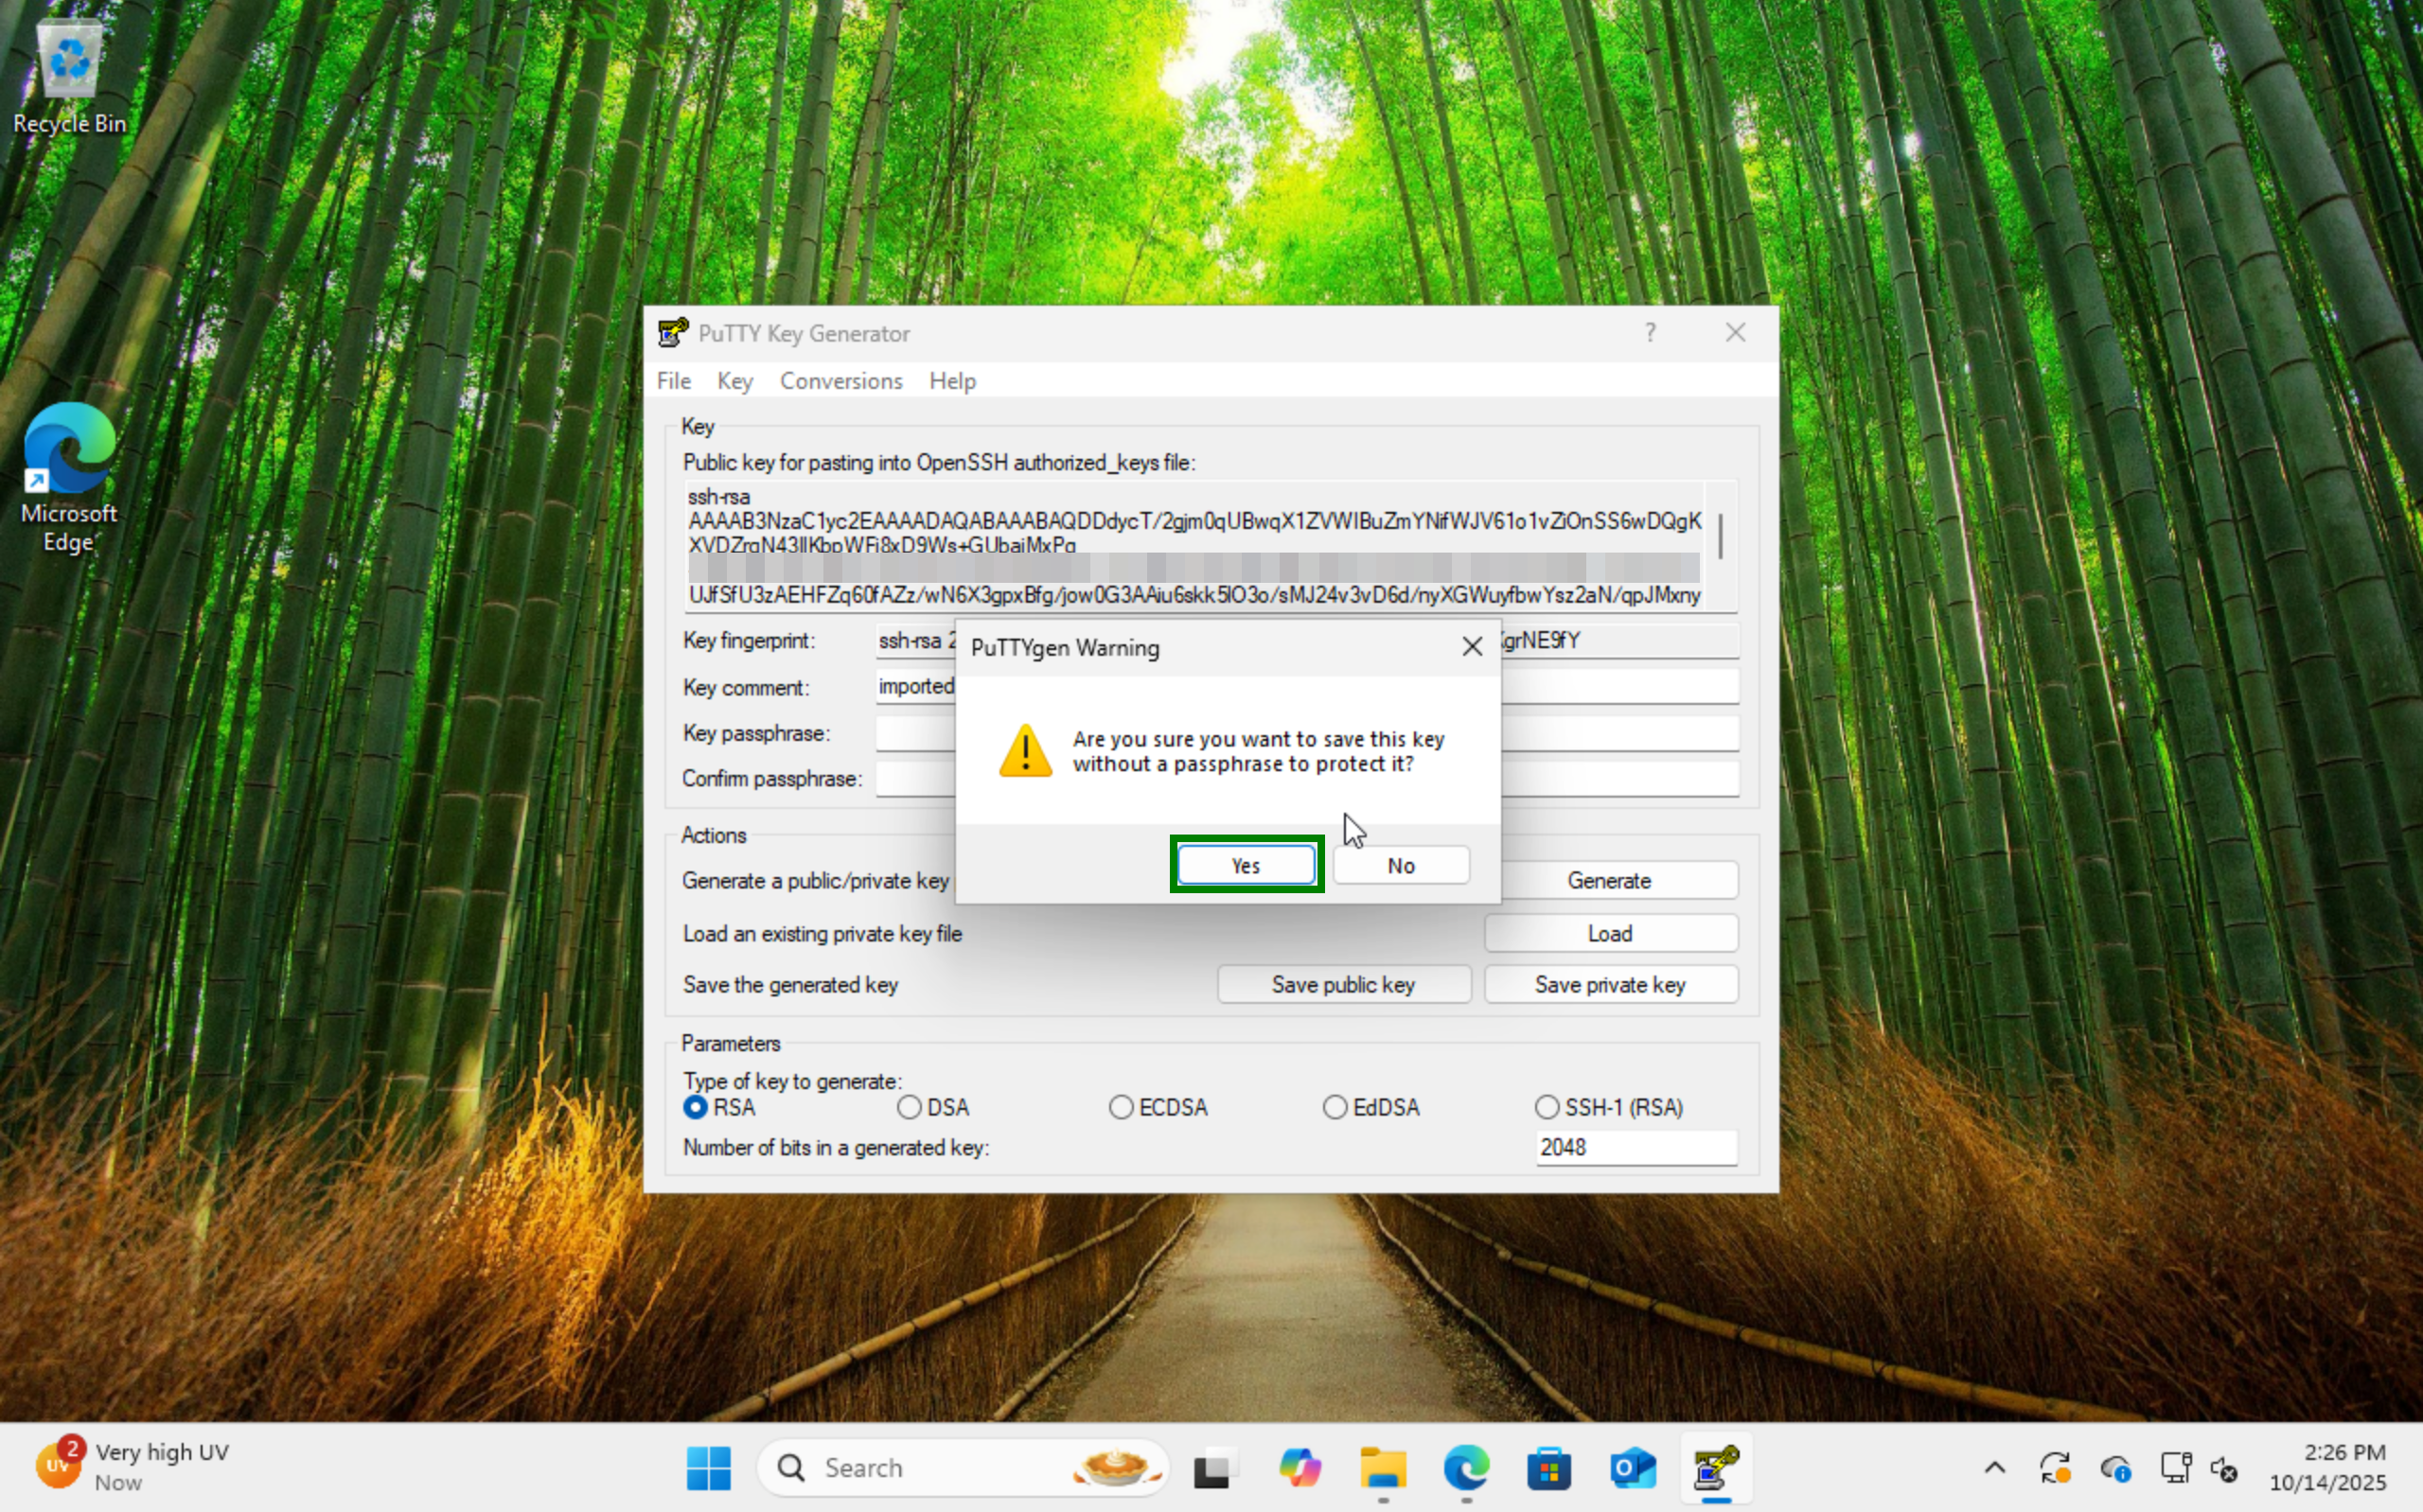
Agree to Save the key in your local machine.
Give it a name and save converted file.

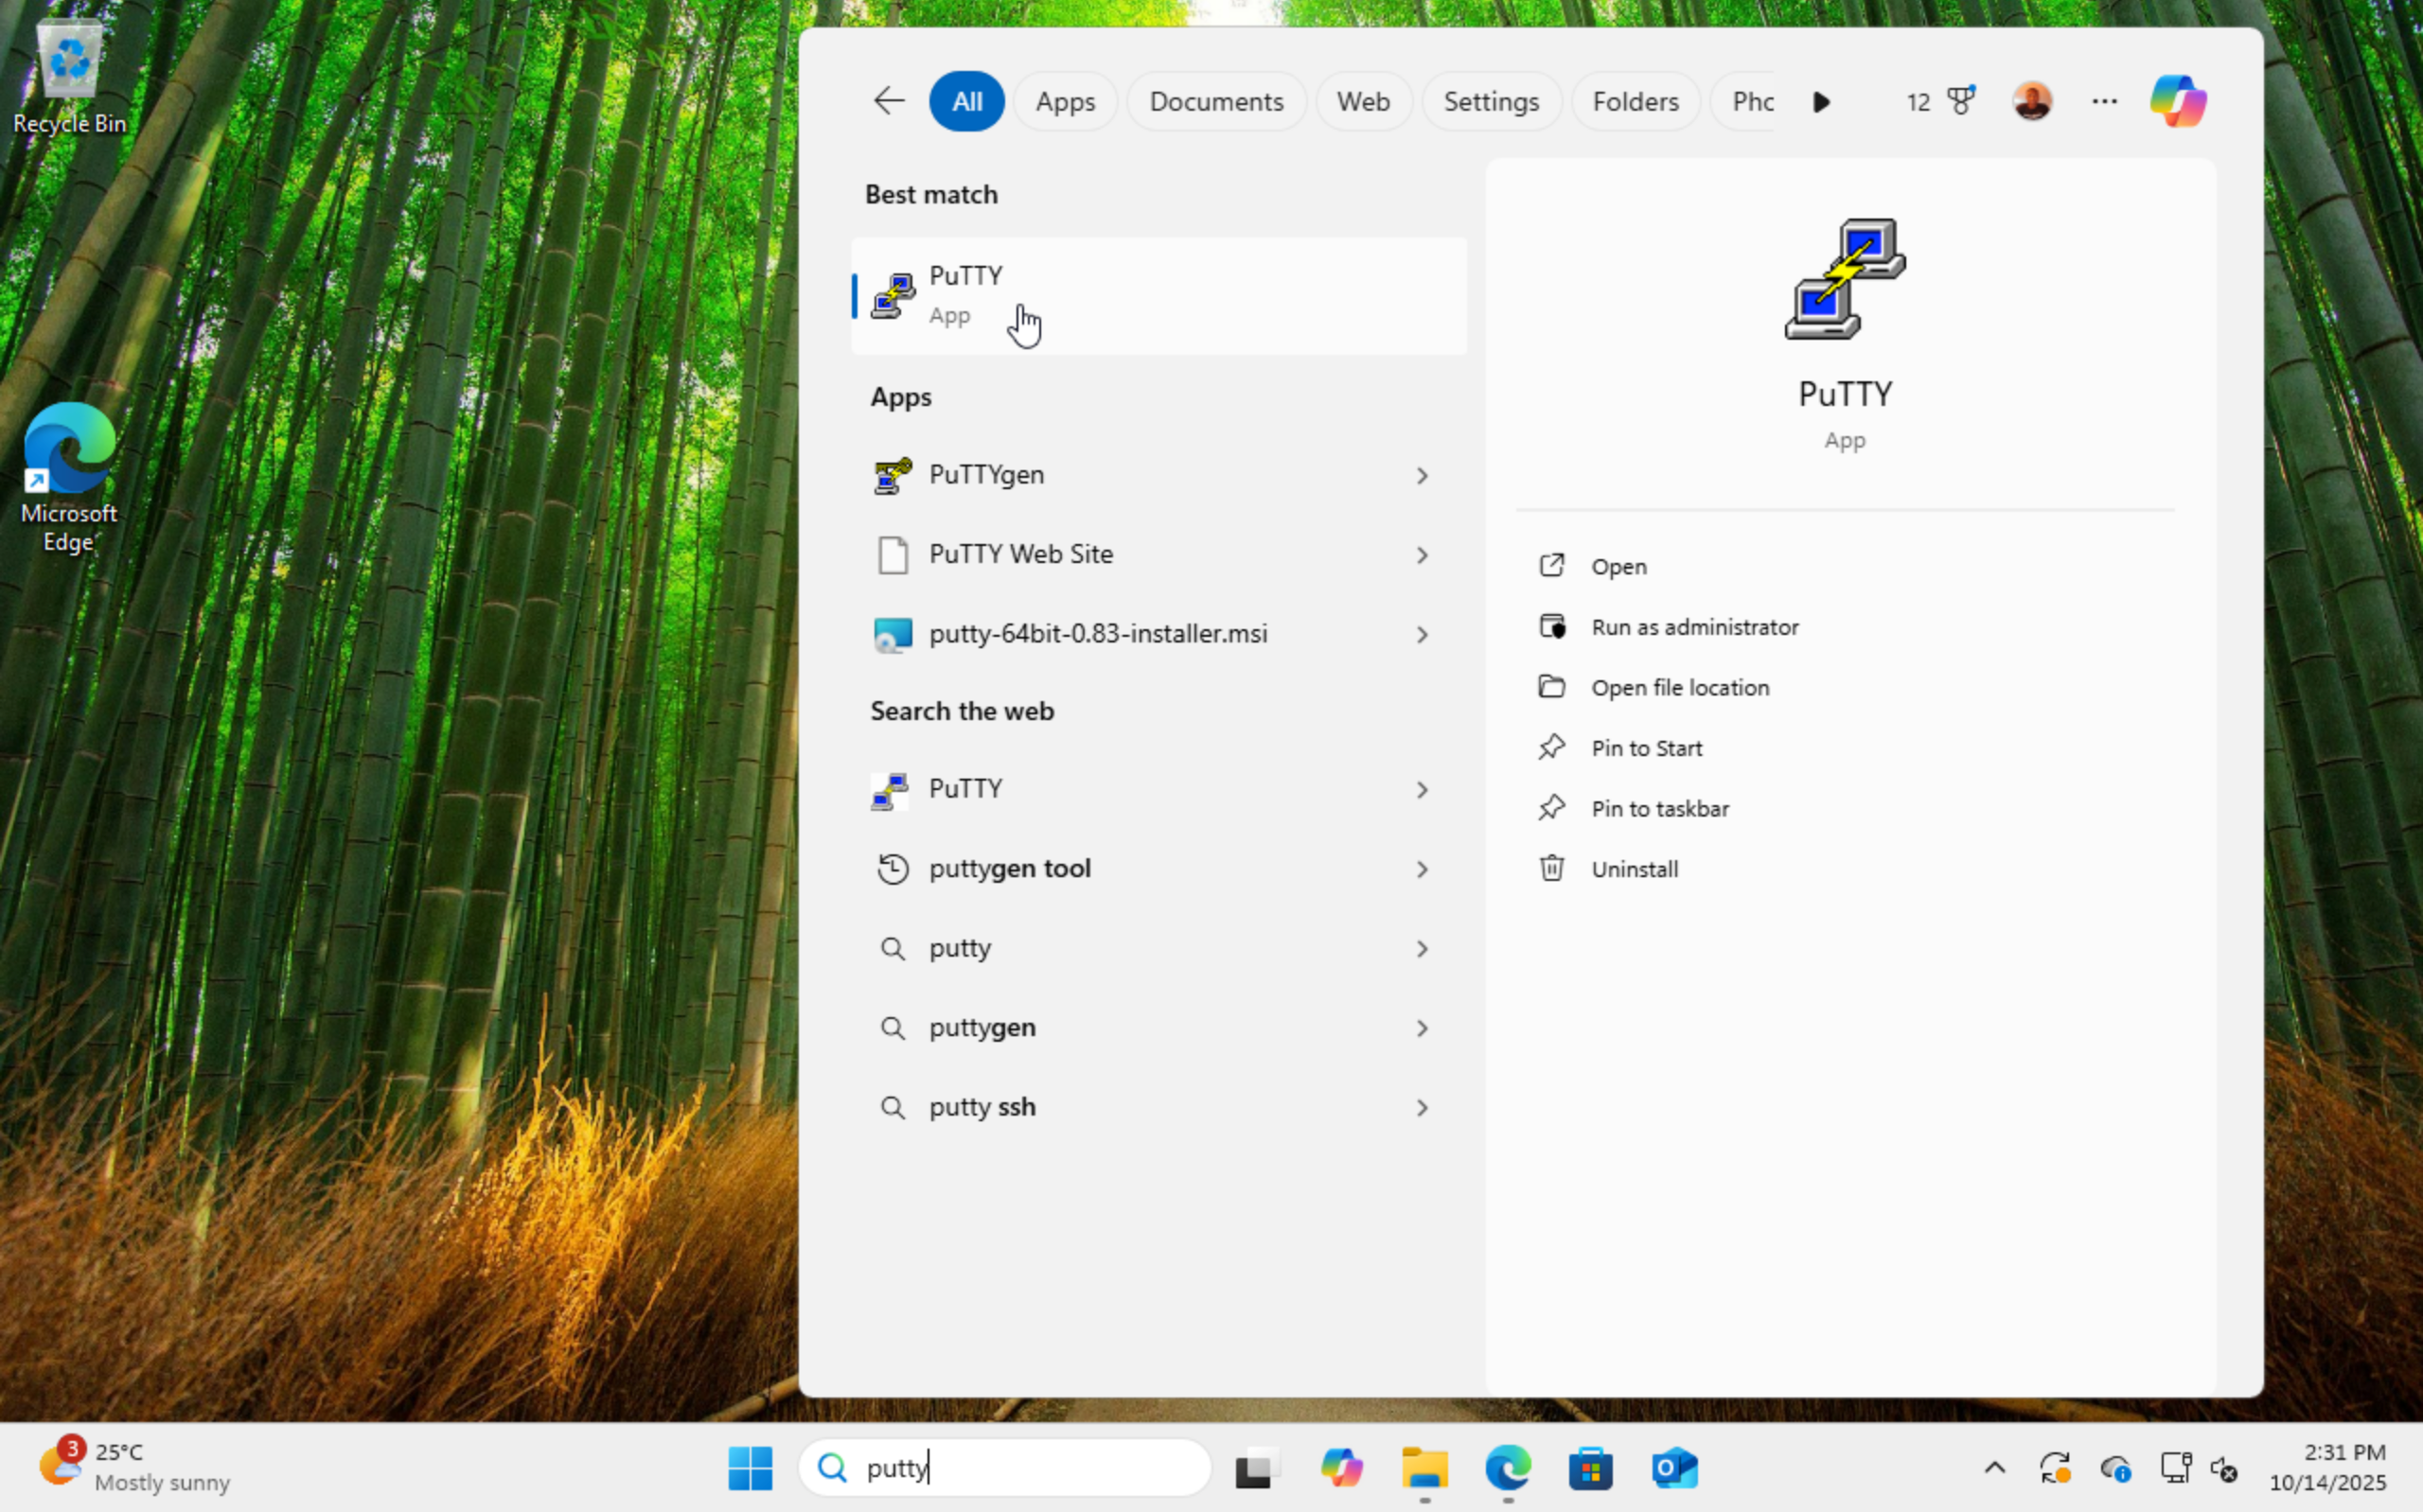
Search for "PuTTY" installed package.
Go to Connection --> SSH --> Auth --> Credentials --> "Browse" to import private key.
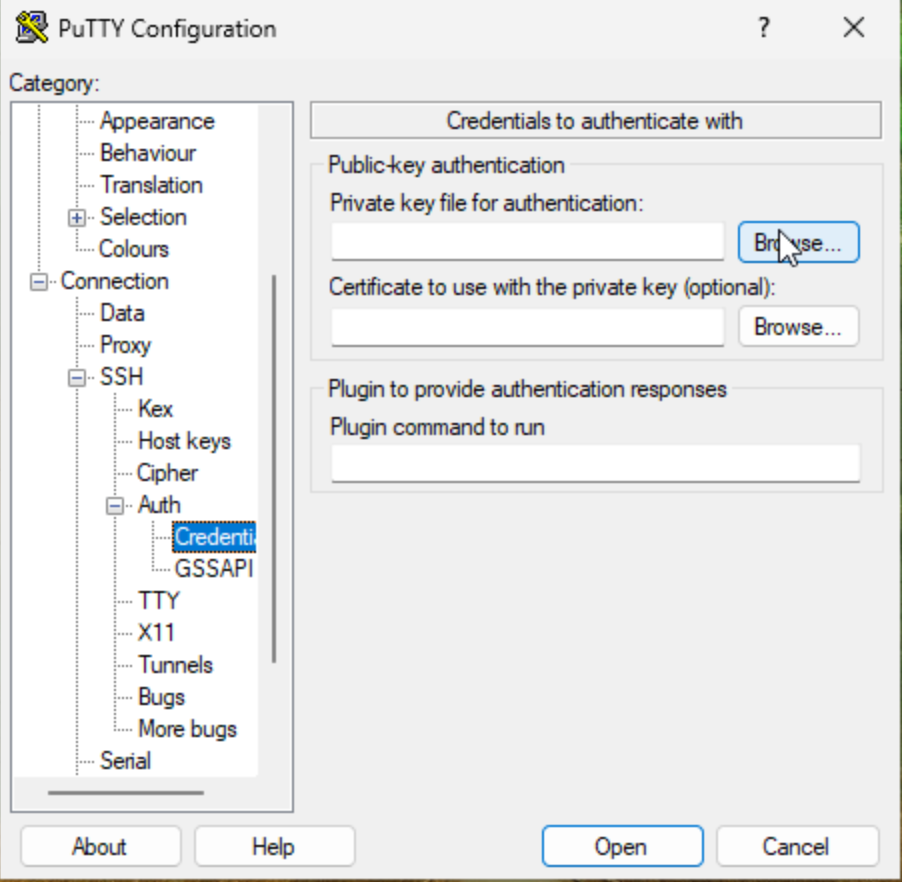
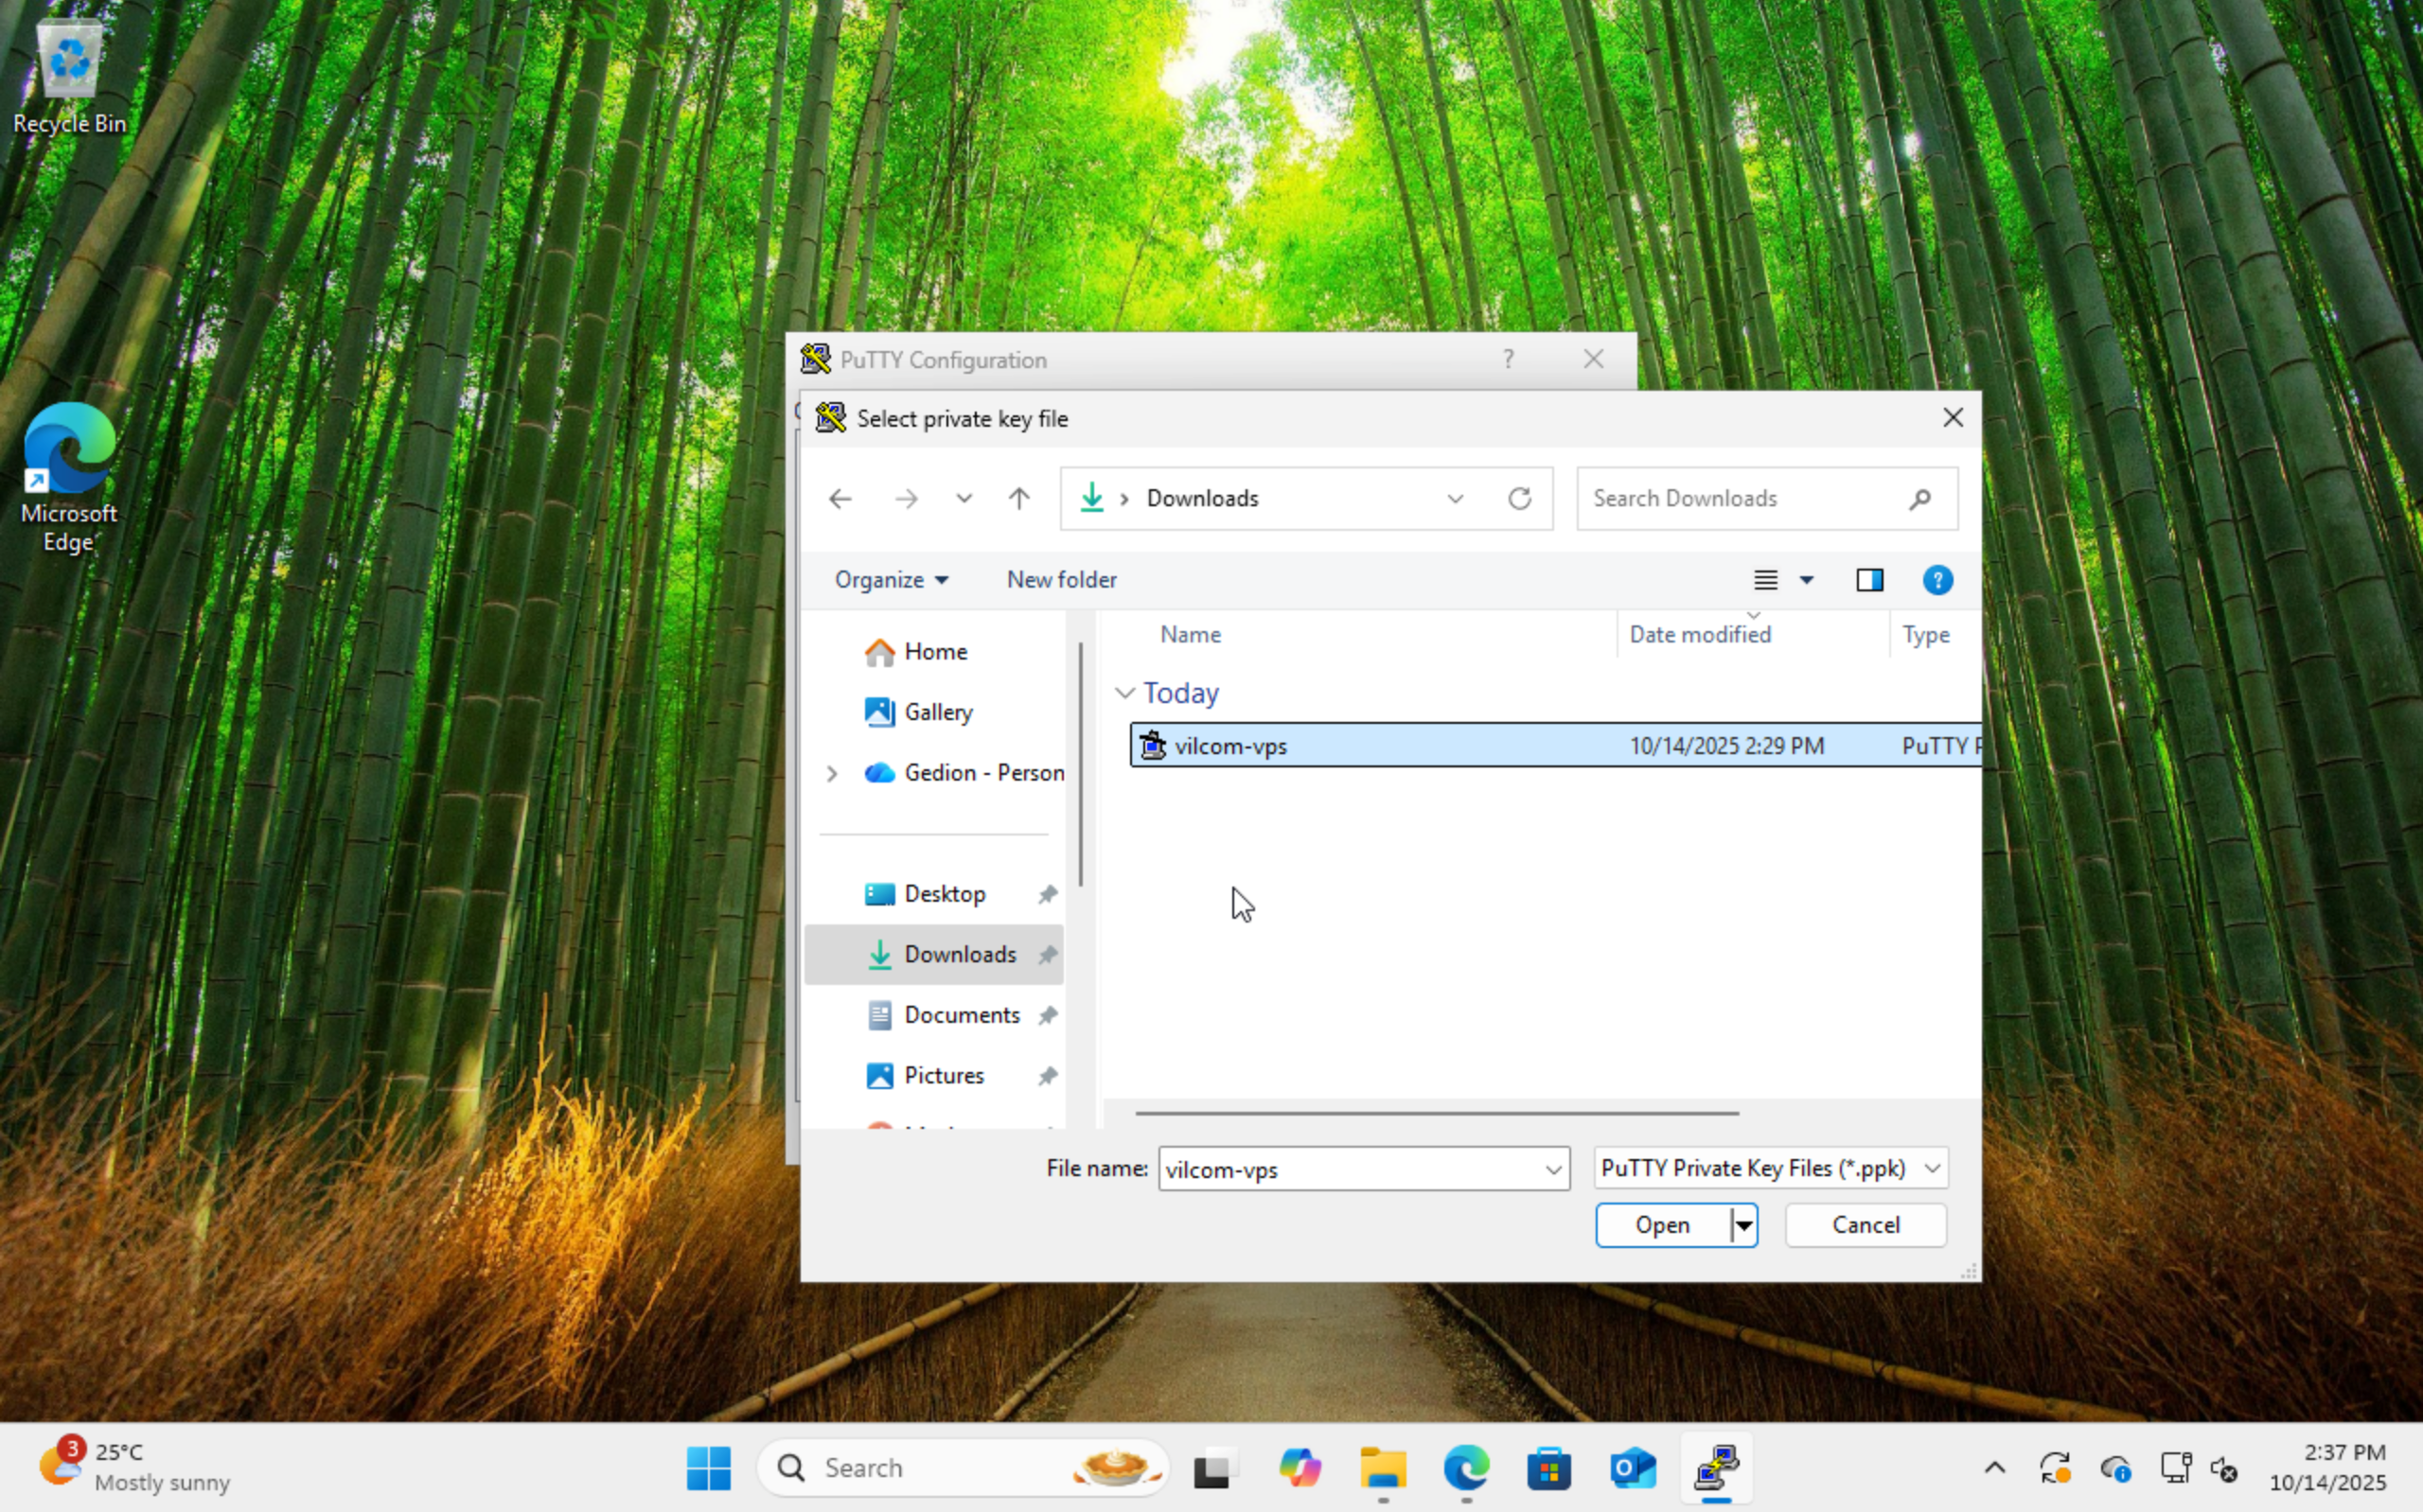
Select key file you saved after conversion.
Go to "Session" --> Input Host IP address (The IP address is available in your client dashboard).

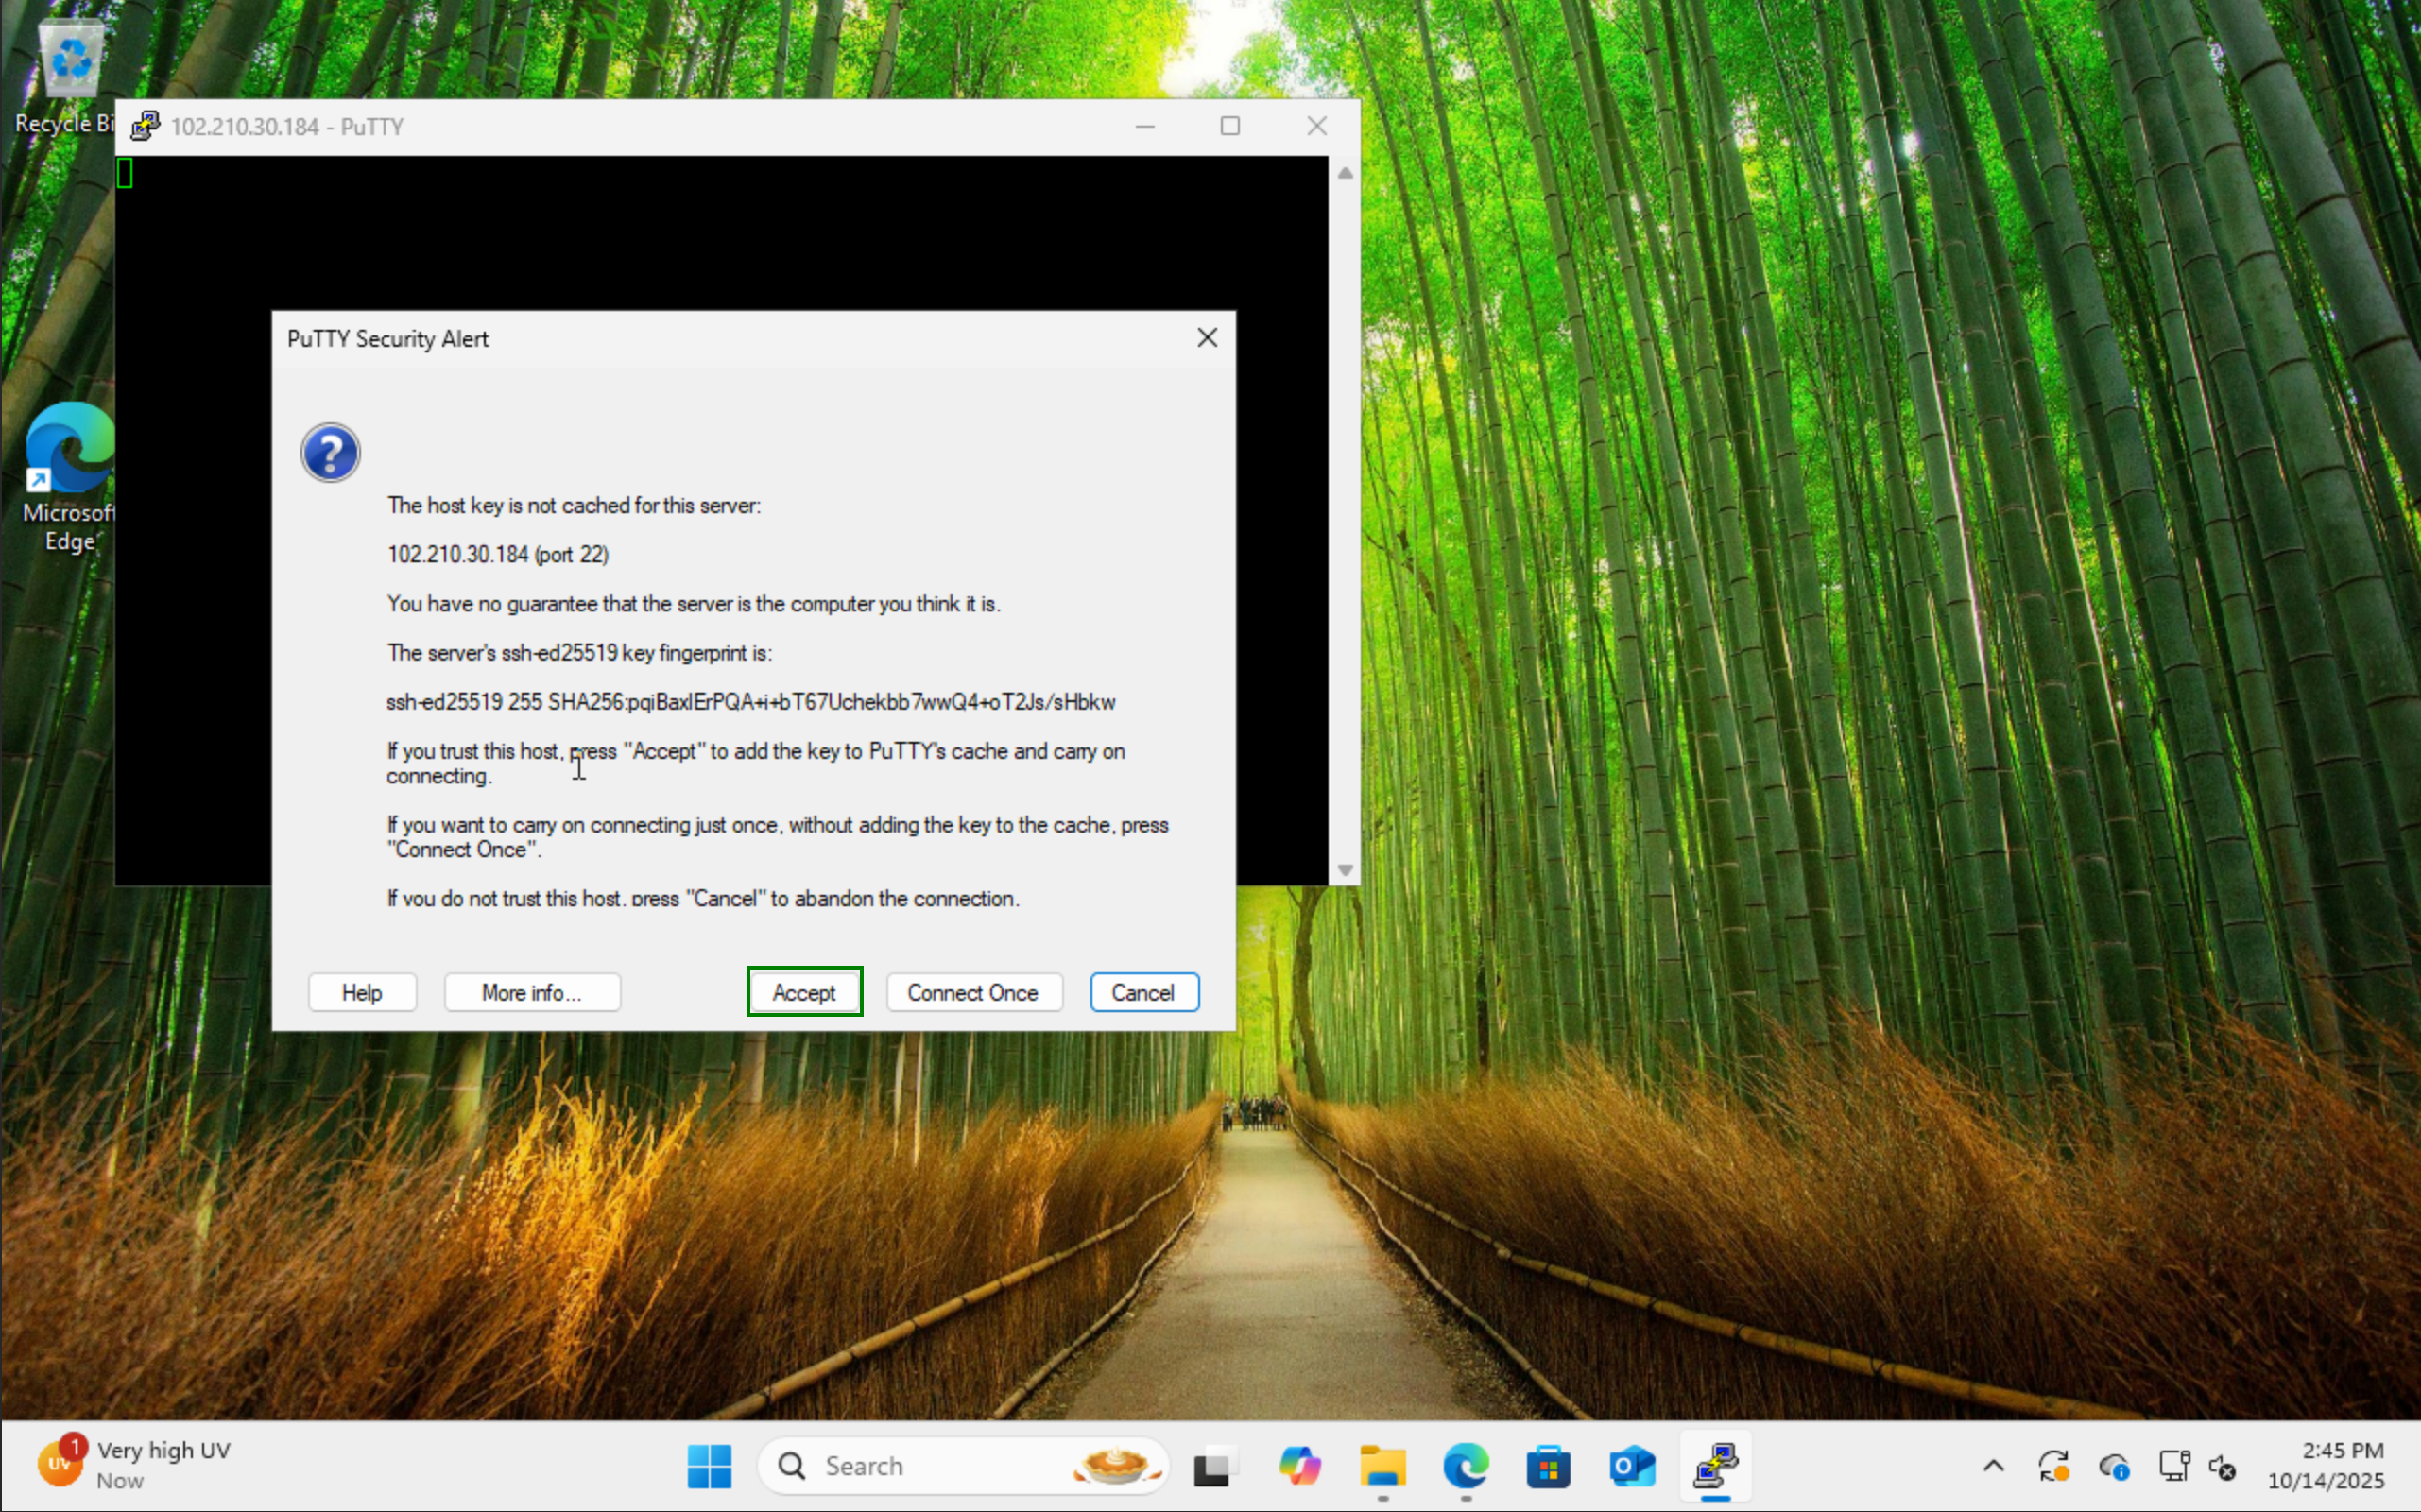
Click on Accept when prompted with the security alert to add the key to PuTTY's cache.
Enter "root" (the default username) when prompted and press Enter.

After inputting the username, press enter and you will get to VM OS ssh console.
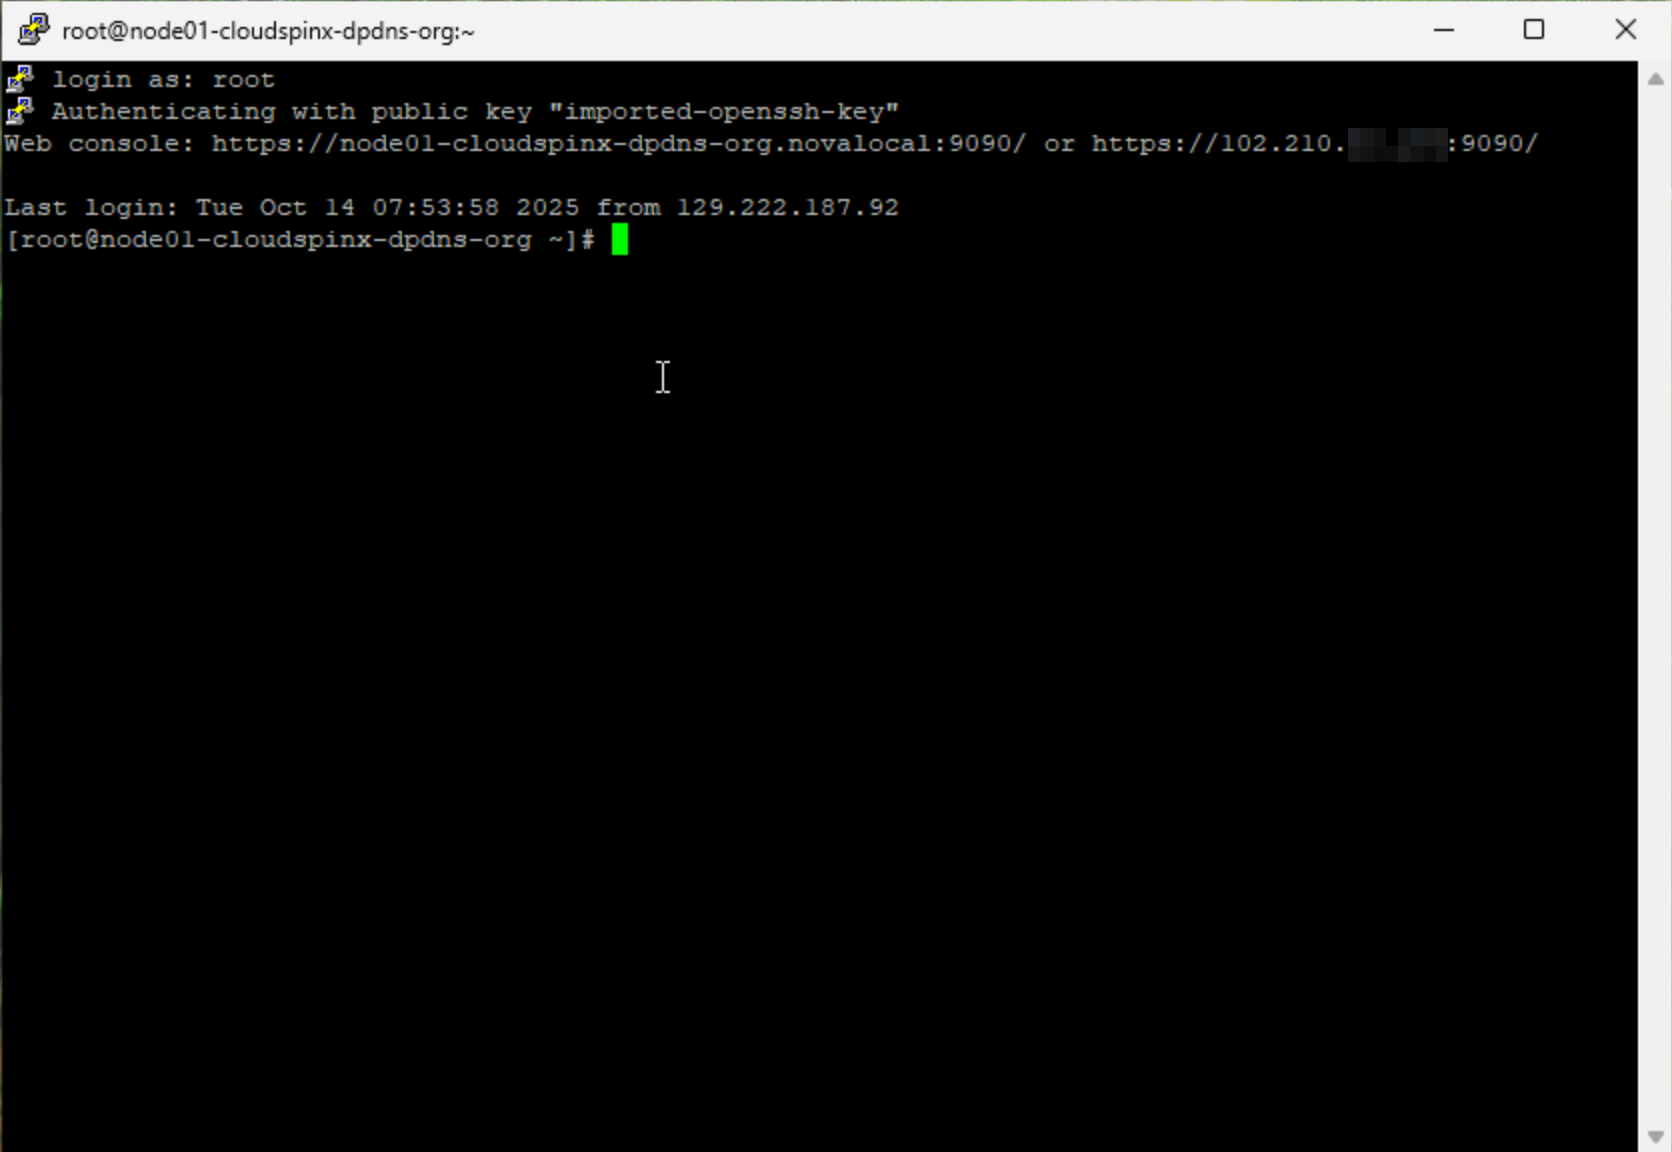
Congratulations! You are now securely connected to your Linux VPS via SSH.
Conclusion
This guide provides a basic framework for connecting to your Vilcom Linux VPS. Feel free to explore further resources and customize your server environment to suit your specific needs.
